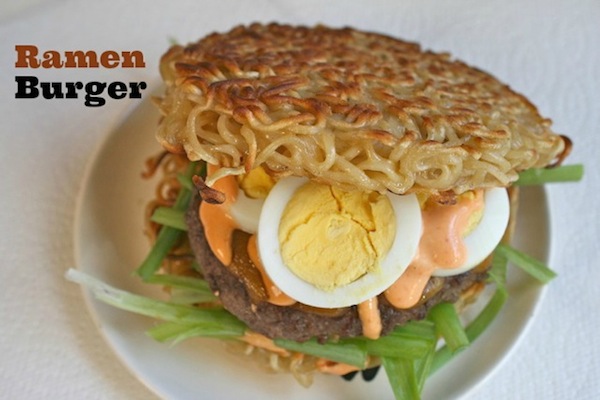
The Only Way I was Going To Taste The Ramen Burger Is If I Made It Myself!
I have been drooling over the ramen burger ever since I first saw it on the internet. I wanted it. I needed to become fast friends with it. I knew it would be super hard to find or if I found it, it would be a long line to get it, so I made my own. Get the step by step instruction on how to make it over on Babble…. by clicking here!