More Work Is Exactly What We Need!
I am proud to say I work for Walmart. They do so many things for our nation that no one talks about. Here are a few things that Walmart does: They are working to become supplied 100% by Renewable Energy, which means generating their own energy at stores and facilities, reducing gas emissions and making their private fleet of trucks more efficient. They are also are in partnership with the national fish and wildlife foundation and together they created “Acres For America.” This is a commitment by Walmart to purchase and preserve 1 acre of wildlife habitat in the U.S. for every acre of land they develop on. Fighting Hunger In The U.S. Walmart is committed to getting the best, healthiest, and most affordable food to as many people as possible. They are using their size and scale to help support and strengthen local farmers and their communities, produce more food with fewer resources and less waste, and sustainably source key agricultural products.
Recently I was having a conversation with a highly influential food writer, and she brought up a wonderful point to me that brought all things into perspective being a girl who thinks in terms of food. She said (I’m paraphrasing), “It’s easy for people to take a piss on Walmart, they are the world’s largest retailer making them an easy target. I give them all props and credit for bringing organic foods into their produce section. The little bit of organic foods they have brought in is going to make a huge difference to our nation’s view to eating better and in turn help the farmers and the economy. They are taking a huge step forward by introducing healthier options to the American diet.” I loved her for saying this.
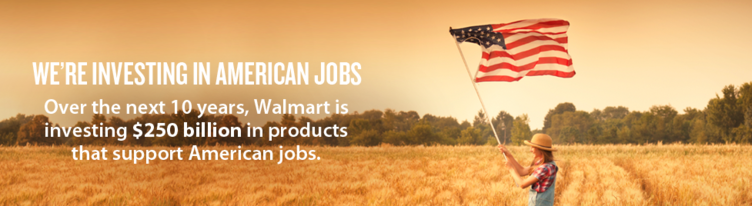
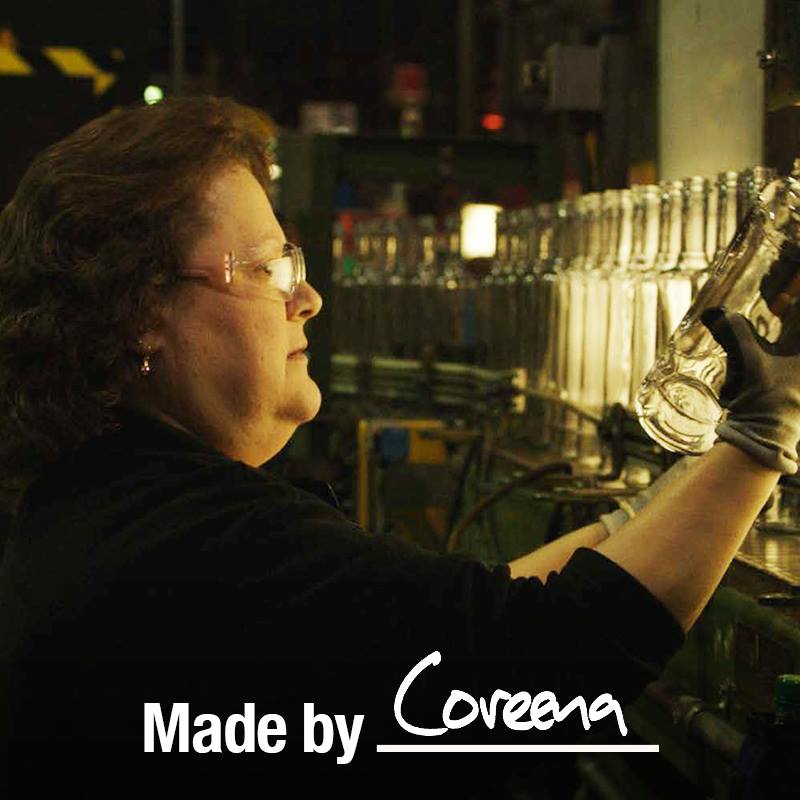 Now I am even more proud to stand with Walmart and announce to the world their latest commitment to create and keep jobs in America. Walmart is investing $250 billion in products that will support American jobs over the next 10 years. Creating and keeping jobs in America, they are helping to rebuild local and national economies. Work is a beautiful thing.
All of these facts are amazing and make me proud to join the Walmart Moms for a better tomorrow.