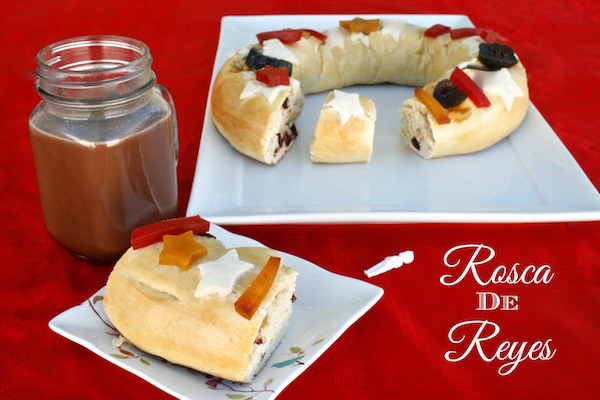
Rosca De Reyes For Three Kings Day
Christmas is long gone but Dia De Los Reyes is just around the corner. Typically children in Latin America and Spain celebrate the Three Kings on January 6th, which marks the 12 days of Christmas. It is believed that three kings came on the 12th day by guidance of the north star and found baby Jesus along with his parents in Bethleham. The kings bestowed gifts on the new born king, and during the celebration of three kings day on Jan. 6th gifts are exchanged and it is a serious celebration had by all. People also either make or buy a rosca de reyes (Three Kings bread), and it has little toy babies baked inside it (usually between 1 – 3 babies per rosca, depending on who is making it). Enjoying the rosca becomes a big event where a group of people gather to eat it, and if your slice has a toy baby in it, then you are appointed to provide a tamale dinner for the people at the rosca gathering on Feb. 2nd for Dia De La Candelaria. It sounds complicated, but it’s sort of like a game… The rules: if you find a baby in your bread you make a tamale dinner on Feb. 2nd for the group of people at the gathering.
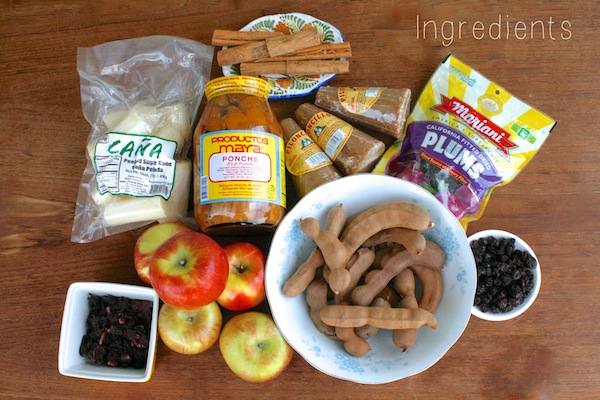
Get all your supplies to make your own Rosca De Reyes at Walmart…. and if you think you’ll get the toy baby, stock up on your tamale supplies there too.

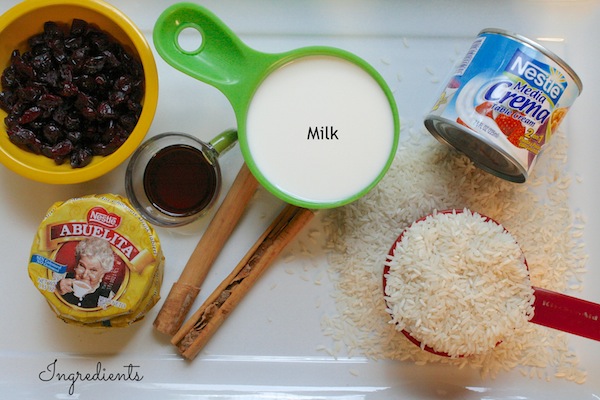
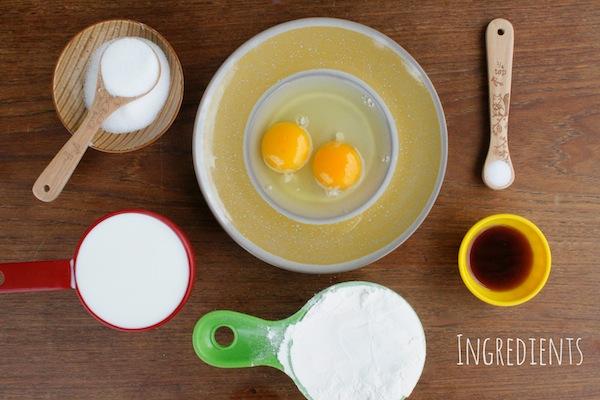
Ingredients for Rosca De Reyes:
- 1/2 – cup water
- 4 – anise stars
- 1 – packet yeast (about 2 1/4 teaspoons)
- 1/4 – cup milk
- 1/3 – cup sugar
- 4 – tablespoons butter
- 1 – tablespoon vanilla extract
- 3 – eggs
- 3 3/4 – cups flour
- 1/2 – cup dried cherries or craisins
Egg Wash:
- 1 – egg
- 1 – tablespoon water
Pasta Topping:
- 2/3 – cup sugar
- 1 – stick butter (1/2 cup)
- 1 – cup flour
Optional:
- dried fruit or paste
- toy babies
Directions:
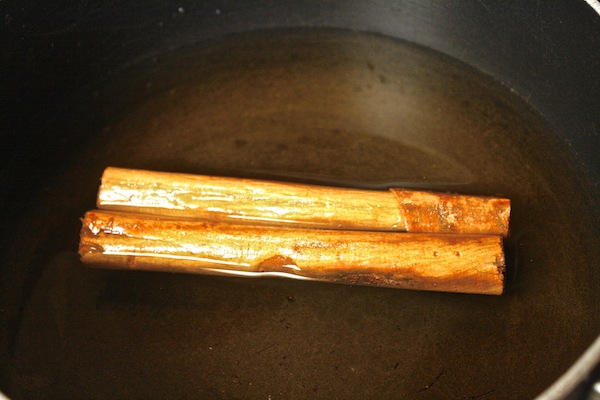
- In a small sauce pan over a medium flame add in water and anise stars. Bring to a boil and allow to boil for 5 minutes. Remove from flame and cool for 20 minutes. Remove anise stars and pour water into a bowl, it should measure out to 1/3 cup.
- Pour yeast into the warm anise water bowl and set to the side for a minimum of 5 minutes. the yeast will start to foam.
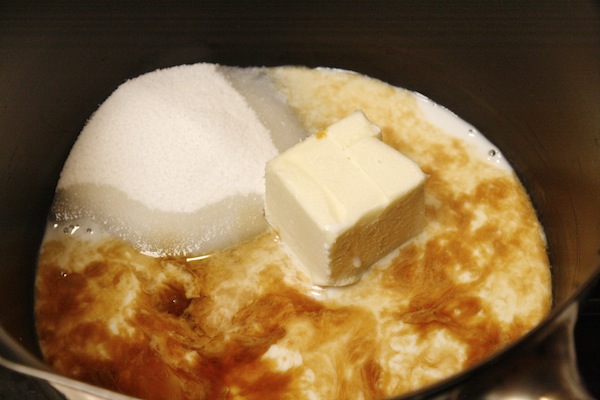
- In a small sauce pan over a medium-low flame add in milk, sugar, butter, and vanilla. Stir to combine and melt.
- As soon as the ingredients come together allow to cool for about 5 minutes then add in the yeast/anise water. Mix well. Set to the side.
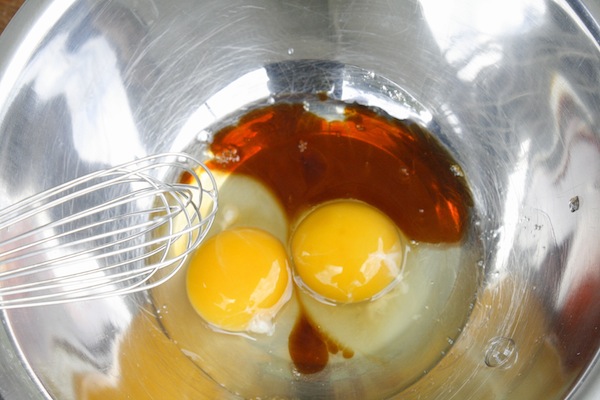
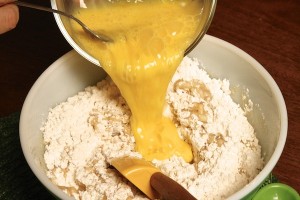
- In a separate bowl beat the eggs.
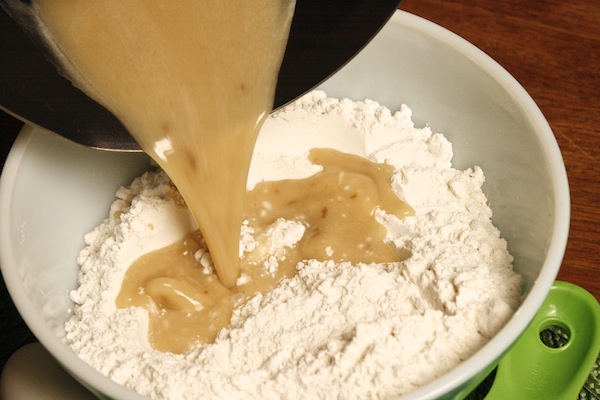
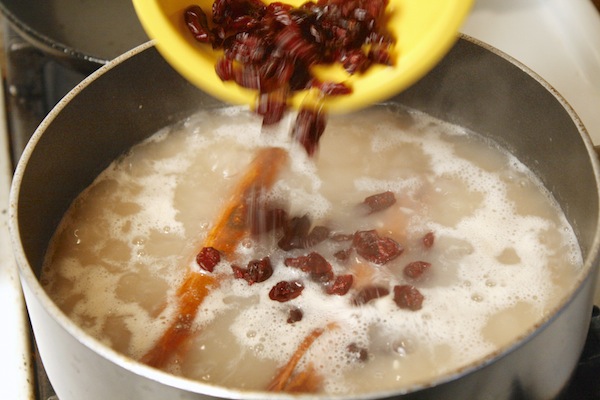
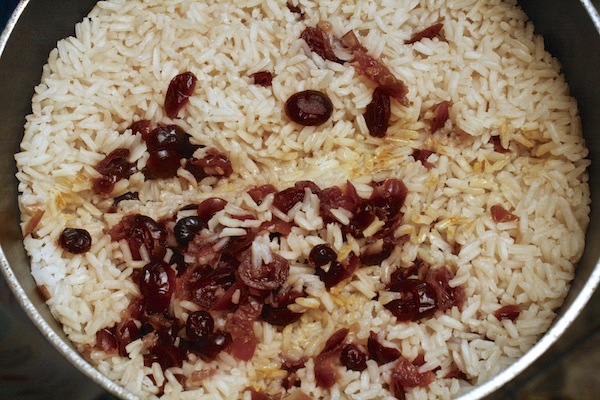
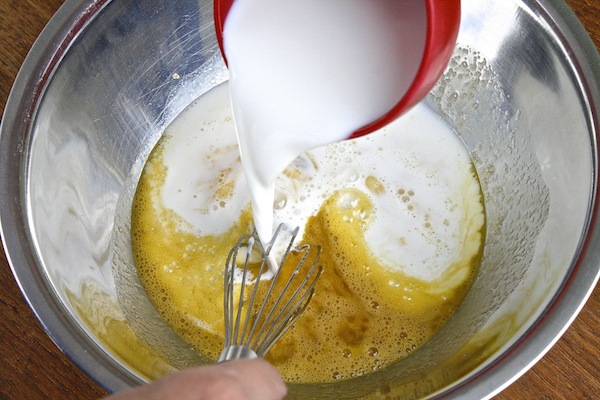
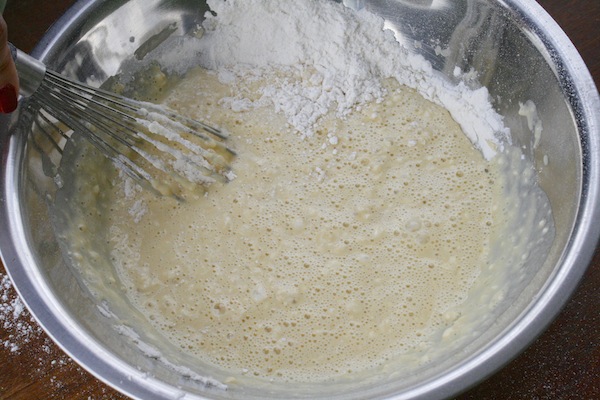
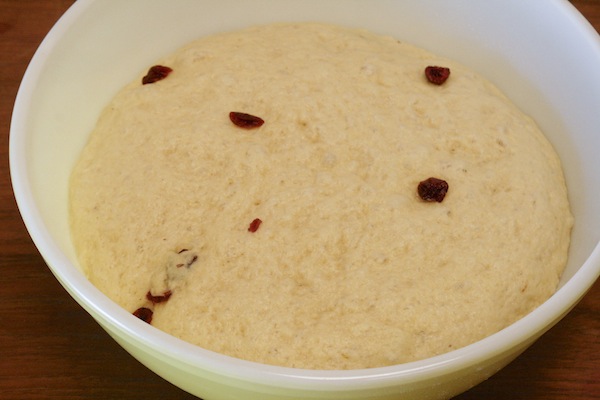
- Fill a large bowl with flour and cherries, then pour in the sugar/milk/yeast mixture and the eggs. Mix with your hands till the dough comes together.

- Then on a lightly floured surface knead bread, and make into a round loaf.
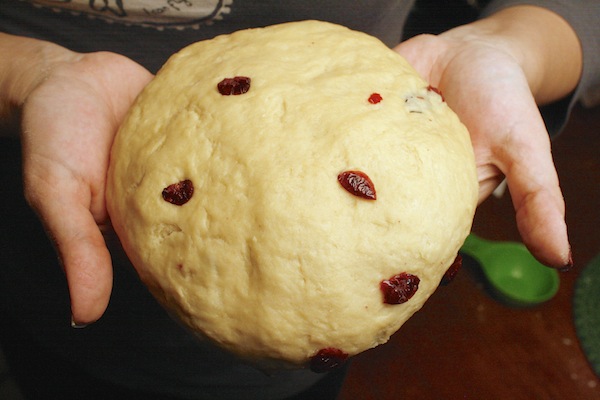
- Place the loaf in a lightly oiled bowl and cover with plastic wrap. Let it rest in a warm place for a minimum of on hour or overnight or until loaf doubles in size.
- Preheat the oven to 350 degrees fahrenheit.
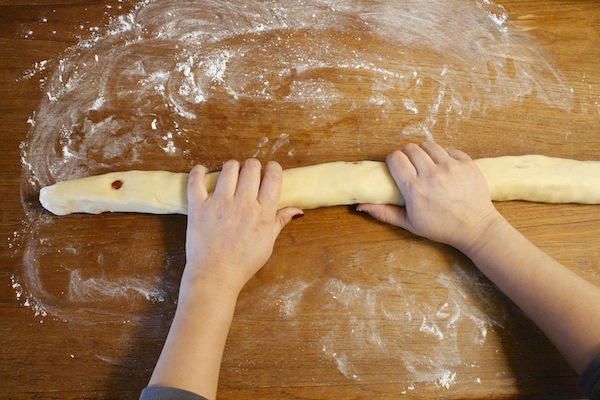
- On a lightly floured surface roll the dough out with your hands into a long snake.
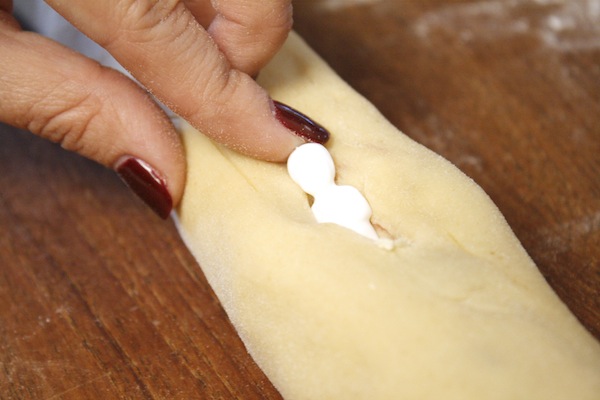
- Make a little slit on top of the bread and insert baby.
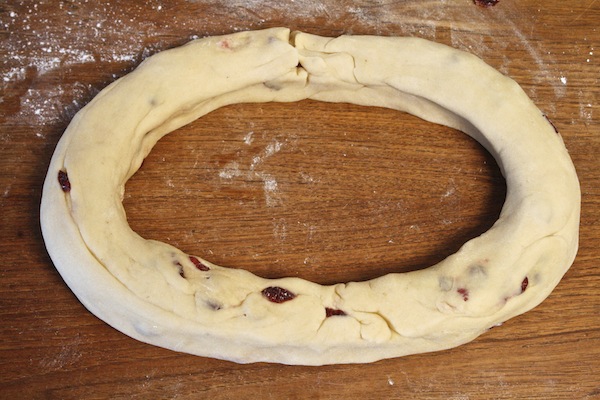
- Then form the dough into an oval shaped ring binding the ends together.
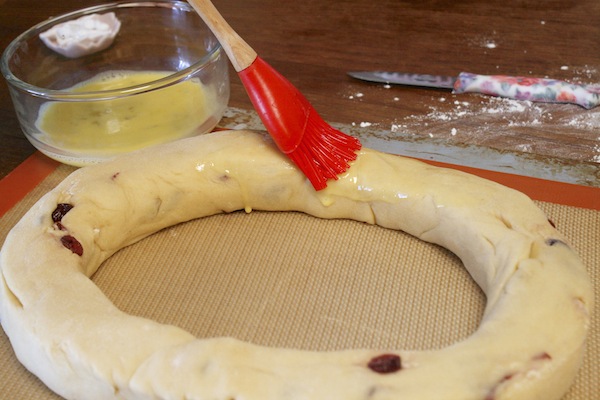
- Make the egg wash: In a small bowl whisk egg and water together. Then brush the top of the ring with the egg wash.
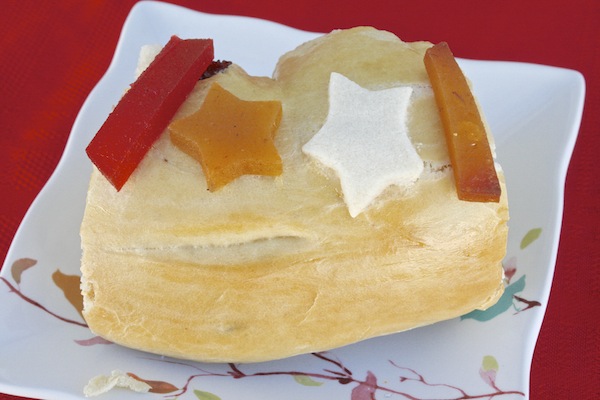
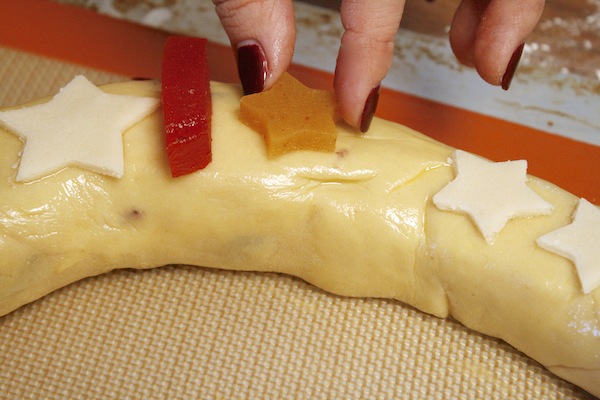
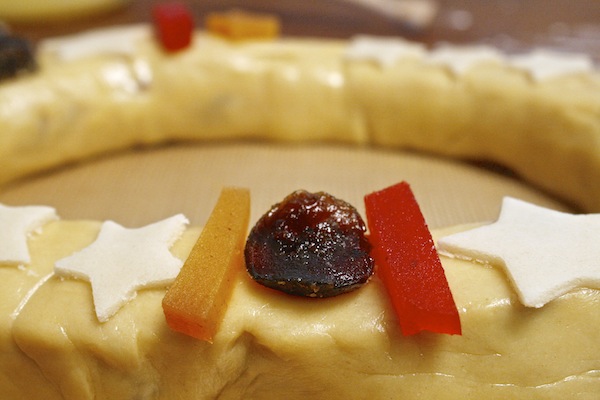
- Make the pasta: In a mixer beat sugar and butter until fluffy and light, then add in flour. Mix till combined. It will feel like thick paste, and be slightly crumbly. Gather the mixture and place on a surface and roll out with a rolling pin. Traditionally people cut pasta into thick strips, I decided to cut mine into stars to represent the stars the three kings followed. 🙂

- Place rosca on a baking mat on top of a cookie sheet, then pasta shapes and dried fruits onto rosca/ring and bake for 25 minutes.
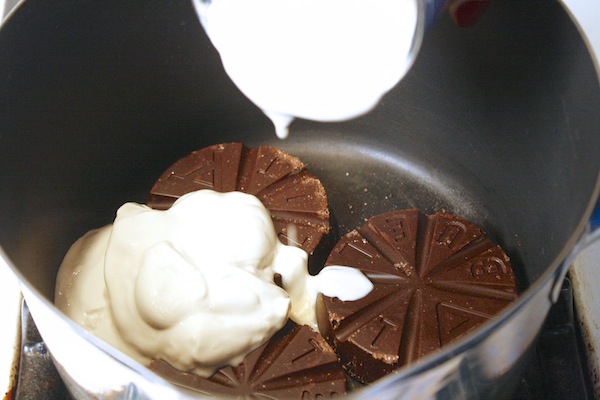
- Cut and enjoy with hot chocolate.