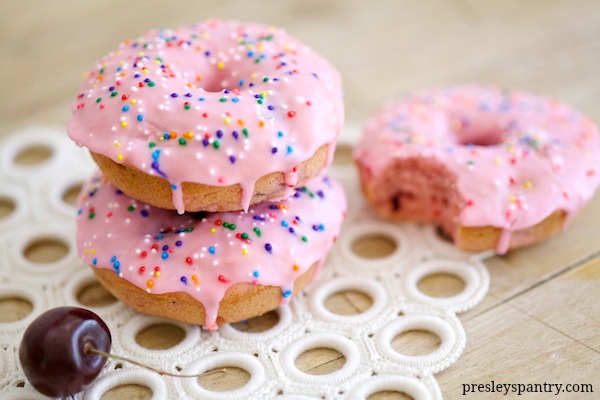
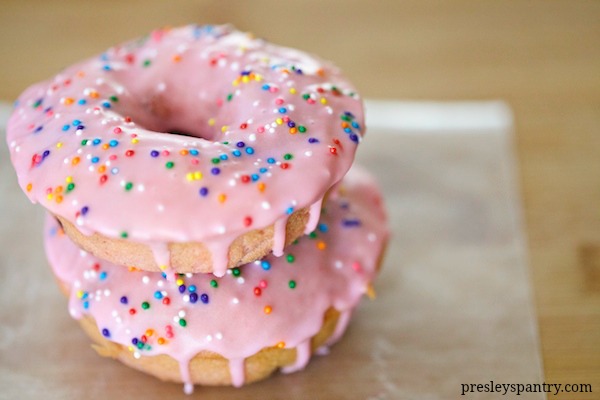
Maseca’s Berry Good Baked Donuts
Where there’s pink frosting, there’s gotta be donuts. I recently celebrated by son’s birthday in a big way with over 135 guests. There were lots of treats and it was a very boy driven day. I don’t think there was anything pink in sight for miles. As I stood there observing the kids at the party I realized we had a lot of little girls running around too. I watched them running with long hair and cute braids, some even had glitter in their hair. It made me miss celebrating my own girly side, and I made a small mental note when the chaos of life dies down a little I would take some time to be ultra girly again.
Yesterday I was organizing my pantry and came across some decorative colored candy sprinkles, you know the type you see on either Mexican or Italian cookies. I purchased them a while back and still hadn’t done anything with them. That instant was the perfect time to be girly. I fancied myself eating a pink donut topped with candy sprinkles. Now to get from point A to B was going to be a bit challenging. I started thinking of everything pink. I looked in the fridge and found some fresh cherries (strawberries or blueberries would have worked fine as well), then found a box of pink cake mix flour in my pantry too. It was all coming together. I wanted my pink donuts to be a little more dense than cakey, so I thought “Hmmmm, I bet if I add Maseca to this pink party, that will definitely do the trick!” And it did. Thanks to my wonderful versatile Maseca corn flour, I had pink donuts all day long, and it felt grand to be a girl.
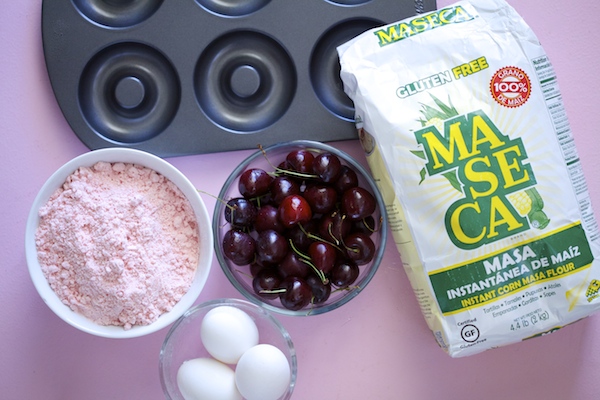
Ingredients for Maseca’s berry good baked donut:
- 3 – eggs
- 1 1/4 – cups water
- 1/3 – cup vegetable oil
- 1/2 – cup Maseca Corn Flour
- 1 – box pink cake mix flour
- 1 – cup fresh cherries (stems removed, pitted, and cut into pieces)
- 1 – cup powder sugar
- 1/8 – half and half
- pink food coloring
- candy sprinkles
Directions:
- Preheat oven to 350 degrees fahrenheit.
- Spray a donut pan with a non-stick spray. Set to the side.
- In a mixer add eggs, water, vegetable oil, Maseca, and pink cake mix flour. Mix until smooth.
- Add in fresh cherries (or berry of your choice), and mix to combine.
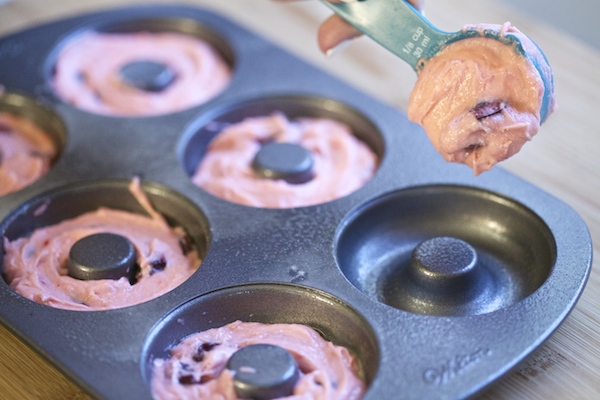
- Use a heaping 1/8 cup of batter and fill each space in donut pan.
- Bake for 15 minutes.
- Remove from pan and allow to cool completely on cooling rack.
- In a bowl whisk powdered sugar and half and half together until smooth.
- Color with pink food coloring. Mix until the color desired is reached.
- Dip one side of each donut into the pink frosting then place back on cooling rack to dry.
- Sprinkle the top with candy sprinkles and allow frosting to set for about 2 hours before eating.
- Enjoy!
Disclosure: This post is sponsored by Maseca. However, the recipe and opinions are my own.