Category: Recipes

Easy Cherry Cobbler recipe for all to enjoy!

Easy Cherry Cobbler recipe for all to enjoy!

I’m excited to say I have a second post up at SpanglishBaby.com…..  I worked with Pam No-Stick Performance Spray again, and this time I made cherry cobbler…..  Click here to see the recipe and a little video of me making the dish!  Enjoy!  For the record….  it didn’t stick.  Yay!

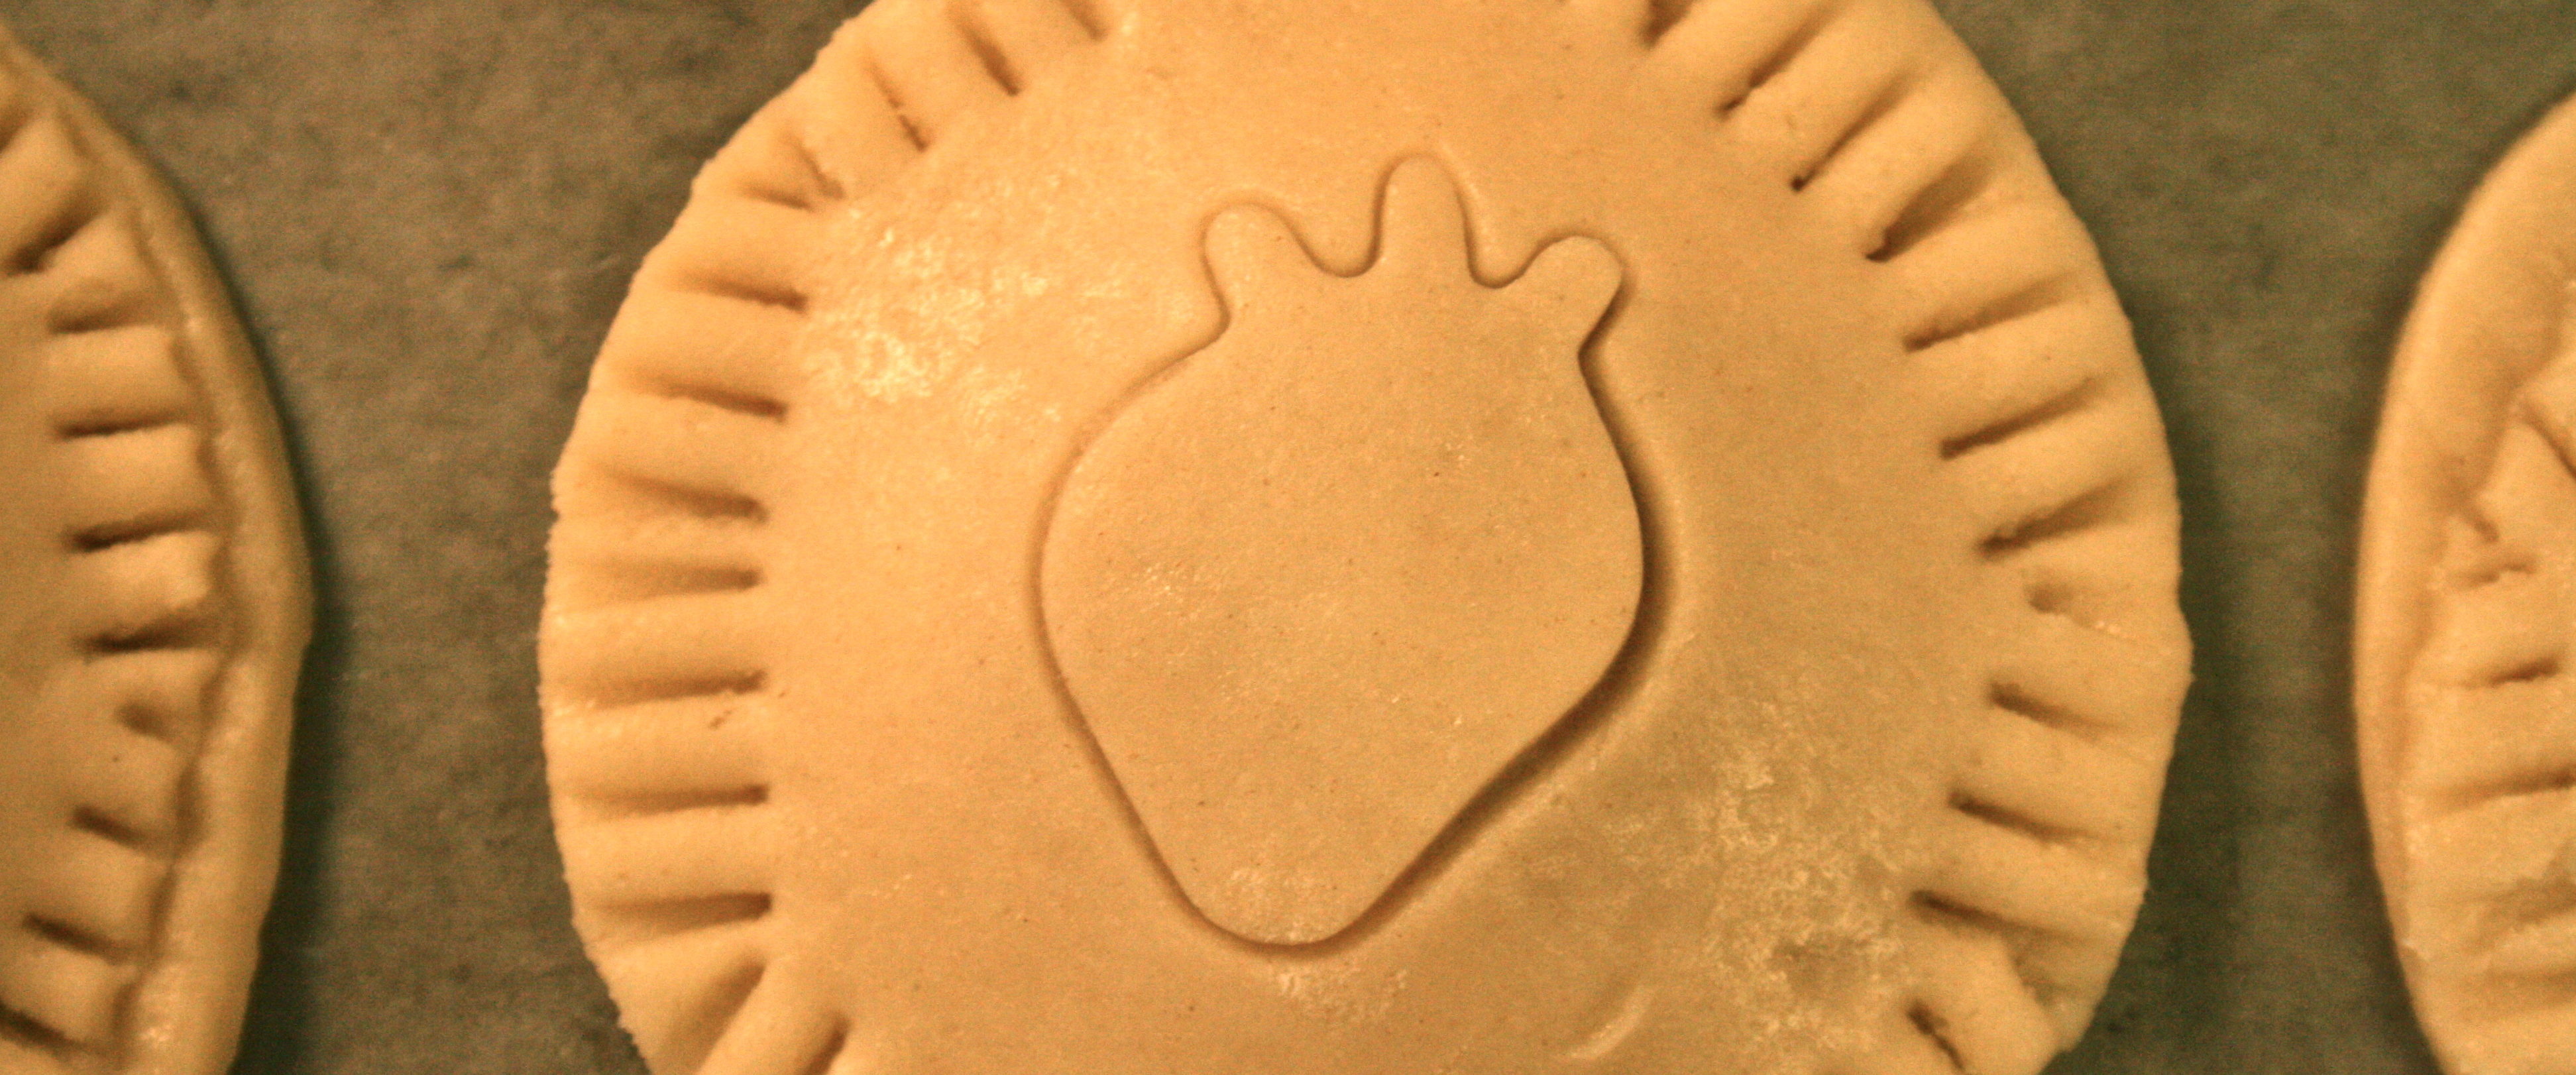
Photo taken by: Nicole Presley

Your little Masters could win big! Take a photo and submit!

Your little Masters could win big! Take a photo and submit!


Guess what friends? I just spoke to the Master of the Glass Half-Full and he told me all about this photo contest he’s holding on Facebook. Starting this very second he is asking fans to upload a picture of their child/children holding a glass of milk in the same fashion as he does. Photo submissions will gladly be accepted from NOW through October 21st, 2011 followed by on-line voting from October 24-28th . Winners will be announced on Monday November 7th , 2011.  Click HERE to submit!  What a great time! I can’t wait to see all the photos! Here’s the best part….. The PRIZES!!!!!! Yippppeeeee!

Grand Prize/1st Place:  French door stainless steel refrigerator with a year’s supply of milk

2nd Place: Bicycle with a front child seat and a year’s supply of milk

3rd Place: Professional blender with a year’s supply of milk

Can you imagine that fridge?  Or a year supply of MILK?  Eeeeek!  Get your cameras out and act like a shutterbug.  Post away!  You better bet your bottom dollar I’m going to submit a photo of my little guy…. TODAY!!!! Here’s a sneak peak of Maxie LOVING his milk.


Oh and before I forget to tell you….. As soon as I hung up the phone, the doorbell rang, it was the mailman delivering a letter from the Master himself.  I ripped open the envelope and realized it wasn’t a letter for me, it was for my readers. That was sweet of him. Right? Read what he has to say below.

Find Simon Felix on Facebook here!

Follow all his positivity on Twitter here!

Disclosure: This is part of a sponsored campaign with the California Milk Processor’s Board and Latina Mom Bloggers.

All photos taken by: Mando Lopez

I’m so excited about this photo contest…. I need a glass of MILK to celebrate!

Bang your spoons together for the Green Salsa that will make you throw your chips in the air!

Bang your spoons together for the Green Salsa that will make you throw your chips in the air!

I have my theory about salsa.  I don’t know how closely you follow my blog but a couple months back I posted a salsa recipe and talked about the crazy stinginess that surrounds salsa recipes.  I’m the polar opposite, if I come up with a salsa I’m proud of I want to scream it into the blog-o-sphere with a post/share.  I’ll start by telling you…. This yummy Green salsa is nothing like my Salsa for the ages, it’s just as good and it is worthy of five SCREAMS.  Try it out on your friends or family and you’ll quickly have a house full of noise. 🙂

Photos taken by: Nicole Presley and Mando Lopez

Ingredients for green salsa:

1 – tablespoon vegetable oil

1 – onion (remove outer peeling)

4 – garlic cloves (remove outer peeling)

1 – cup water

5 – tomatillos

1 – serrano chile

1 – jalapeno chile

1 – guero chile

1/3 – cup cilantro leaves

1 – large half of avocado (remove pit)

1 – teaspoon of white vinegar

1 – tablespoon Kikkoman Ponzu Citrus Seasoned Dressing & Sauce Lime

1 – tablespoon Kikkoman Soy Sauce

Place vegetable oil in a small frying pan over a medium high flame and allow to get hot. Then add peeled onion and peeled garlic cloves.  Fry till brown.  Set in the blender along with the rest of the ingredients and pulse till smooth.

Pour salsa out of blender into a bowl or pour into jars and refrigerate.  Serve with your favorite dish or simply place a bowl of tortilla chips by it’s side and watch them disappear.  Enjoy!

No compensation was received for this post. I was provided with a sample of  Kikkoman’s Ponzu and Soy Sauce to aid this recipe. The recipe and opinions are my own.


Lasagna Cups for PAM!

Lasagna Cups for PAM!


I am honored to announce Spanglish Baby featured my lasagna cups recipe on their blog today!  The easy instruction is made super simple with the aid of PAM!  Click HERE to read the recipe!  ENJOY!

Makes 12 cups!

Presley’s Strawberry Cream Hand Pies!

Presley’s Strawberry Cream Hand Pies!

I woke up today and realized the month of September was coming to an end….  I smiled at the thought of fall and all my jacket wearing days that lay ahead.  Then for a brief moment I started to panick thinking with the warm weather sneaking out the back door my beloved strawberries would be taking a leave of absence as well.  Oh the horror!  As soon as the thought entered my mind it was rescued with the realization that California strawberries are grown all year long , and could be picked up fresh or frozen.  Either way I’m going to celebrate my california strawberries this fall/winter wearing a jacket!

All photos taken by: Nicole Presley 

Ingredients for strawberry cream hand pies:

2 1/4 – cups flour

1/2 – teaspoon baking powder

2/3 – cup sugar

6 – tablespoons cream cheese (room temperature)

1 – stick butter (room temperature)

1 – teaspoon pure vanilla extract

1 – large egg

Mix flour, baking powder and sugar in a bowl and set to the side.  Then put cream cheese and butter in an electric mixer and mix for 3 minutes or until fluffy.  Add vanilla and egg in and mix well.  Then slowly add in flour mixture until combined.  Divide dough in half and pat into two disks.  Wrap with plastic wrap and place in fridge for an hour or over night.


Preheat oven 350 degrees Fahrenheit.  Line cookie sheets with wax paper or a non – stick baking mat.

Take one disk of dough of of the fridge.  On a lightly floured surface roll dough about 1/4 inch thick.  With a round 2 1/2- inch circle cookie cutter cut as many circles as possible. With the scraps re-roll and continue cutting until you’ve cut all the dough.  Then place your circles on prepared cookie sheets and place back in the fridge for 15 minutes.  Grab your second disk and repeat process.


While you are waiting for your dough to chill, let’s make the filling.

Ingredients for the filling:

6 – tablespoons cream cheese (room temperature)

3 – tablespoons confectioners sugar

1/3 – cup strawberry preserves

3 – strawberries chopped


Mix cream cheese and confectioners sugar with an electric mixer till combined, then set to the side in a small bowl.  Chop strawberries into tiny pieces and mix into perserves in another bowl.


On half of the pie circles place 1/2 teaspoon of cream cheese mixture in center of circle, then place 1/2 teaspoon of strawberry mixture on top.


Now on the other half circles take a small cookie cutter and barely imprint the center with the cutter (I used a strawberry cutter, this step is optional) make sure not to push all the way down.  This is purely for decoration.  Then place pie circle on top of circle with cream cheese and strawberry mixture to make your pie.  Press around the edges with your finger to seal, then take a fork and indent all around.


Place in the oven and bake for 7 minutes then rotate cookie sheet and bake for another 7 to 8 minutes or until edges are golden.  Remove from oven.

Ingredients for topping: 

1/2 – cup sugar

1 – teaspoon cinnamon

Mix sugar and cinnamon in a small bowl.  Then dip each hand pie in sugar mixture while still warm set on wire rack to cool completely!  Enjoy.  Should make 15 pies total.


Strawberries wrapped in warmth!  

Lay your eyes on my Coconut Flan.

Lay your eyes on my Coconut Flan.

I am known to adore many things, but one of my favorite foods is coconut.  I heart coconut confections, cookies, cakes, paletas,  you name it…. if one of the ingredients is coconut there is a good chance I love it.  The real truth is I have never made anything from a whole coconut, I usually buy the shredded sweetened coconut in a package, and go from there.  This time I tested my kitchen skills and decided to break open a fresh coconut to make a coconut flan.  I was nervous to see what the results would bring.  Me and my loved ones were smitten by the gorgeous scent this flan perfumed my kitchen with, so the anticipation of the actual taste was utter excitement.  ONE bite in,  I knew this flan was the one for me…. I’ll never be the same.

All photos taken by: Nicole Presley 

Ingredients for coconut flan:

1 – Melissa’s Produce sweet young coconut (to make 12 oz. coconut milk)

5 – large eggs

6 – ounces cream cheese

1/2 – tablespoon almond extract

1/2 – tablespoon vanilla extract

1 – can sweetened condensed milk (14oz.)

3/4 – cup cajeta

3/4 – cup shredded sweetened coconut


Preheat oven to 350 degrees Fahrenheit.

First things first. Take your sweet young coconut and cut off the diamond shaped point on top with a sharp knife. Then poke a hole in the exposed shell and pry off the circular crown.


Drain and reserve all the liquid. Once all the liquid is drained, break the coconut in half and spoon out the flesh.


Marry the two in a blender and blend for 3 minutes to get a thick coconut milk. Then pour through a sieve and collect the coconut milk…. this should make 12 ounces.


Pour coconut milk back in the blender, along with the eggs, cream cheese, almond extract, vanilla extract, and sweetened condensed milk. Blend for a minute or until completely combined.

Spray a bundt pan with a non stick baking spray, then fill the bottom with cajeta.

Next pour in flan mixture. Then top with shredded sweetened coconut.


Cover the pan with aluminum foil and place inside a large pyrex baking dish. Pour hot water into the pyrex baking dish to fill up half way.

Then place the baking dish into the oven and bake for 1 hour.

Once out of the oven, remove from water bath and uncover to allow cooling. Run a small knife around the edge to ensure it from sticking.  Let the flan rest for one hour then flip it over onto a plate. Slowly lift pan up away from plate. Then put in the fridge for 5 hours or overnight.  ENJOY!!!!!!

No compensation was received for this post. I was provided with a sample of  Melissa’s Produce young sweet coconuts to aid this recipe. The recipe and opinions are my own.


Membrillo, Manchego, Crema, and Pistachios= Decadent Dessert

Membrillo, Manchego, Crema, and Pistachios= Decadent Dessert

When I eat this dessert I feel like I should be sitting at a table surrounded by aristocrats. Oohing and Awwing over the beauty of the taste that has somehow caught people off guard.  This dessert is magical in the way of being able to transport me to many places, it reminds me of times in my life I will never forget.  It is the taste of conversations with my dearest friend. It is the taste I remember most when my palate was coming of age. It is the taste of unusual decadence. It is the taste of my Latina culture amplified by 10. The pairing of Wonderful Pistachios with membrillo, manchego, and cream is a taste EVERYONE should be fortunate enough to savor and enjoy!

All photos taken by: Nicole Presley

This recipe will make 4 desserts

Ingredients for decadent dessert:

A slab of membrillo (quince jam)

1/4 – cup grated manchego cheese

1/8 – cup whipping cream

10 – wonderful pistachios (chopped)

For a single serving…. grab a little dessert plate and place a small slice of membrillo in center.

Then take a small pinch of grated manchego  and place on top.

Then pour a little bit of whipping cream over the top.

Lastly sprinkle with your chopped Wonderful Pistachios…. A pairing worth celebrating!

Try not to gobble it all down in two seconds!

No compensation was received for this post. I was provided with a sample of  Wonderful Pistachios to aid this recipe. The recipe and opinions are my own.

Here’s a cute idea if your having a dinner party…. serve your dessert in a spoon for a bite size portion.


Ay cabron, que bueno!