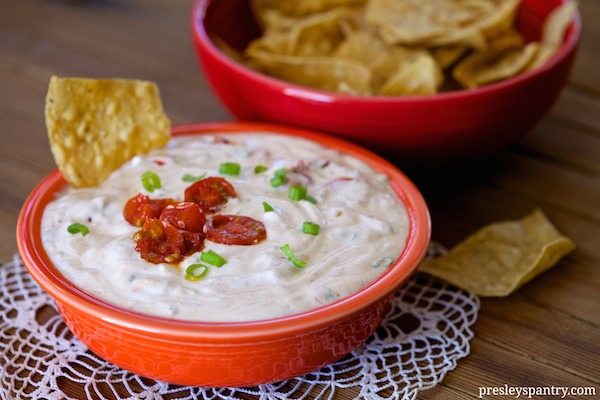
Spicy Habanero Blistered Tomato Dip #TabascoTasteMakers
Disclosure: This post is sponsored by the wonderful Tabasco family. It is my pleasure to be a Tabasco Tastemaker. The recipe and opinions are my own.
Oh yeah, the summer is still lingering. Even though my mind is completely consumed with “back to school” my kitchen is still telling me it’s “hot in here.” I guess I’m hanging on to the last couple of weeks of longer days, eating on the patio, and entertaining guests all in a very simple easy style. I want to enjoy these last moments of the summer of 2014 with easy to make snacks, refreshing drinks and a gaggle of family and friends.
Since the clock is ticking, carpe diem…. I started with this spicy yet cool dip. I imagine myself outside in the patio with a slight breeze blowing through, good music from the 70’s creating a heartfelt ambiance, a tall drink on ice, my nearest and dearest hanging out in comfy clothes, and a big bowl of spicy habanero blistered tomato dip with chips to bring it all together.
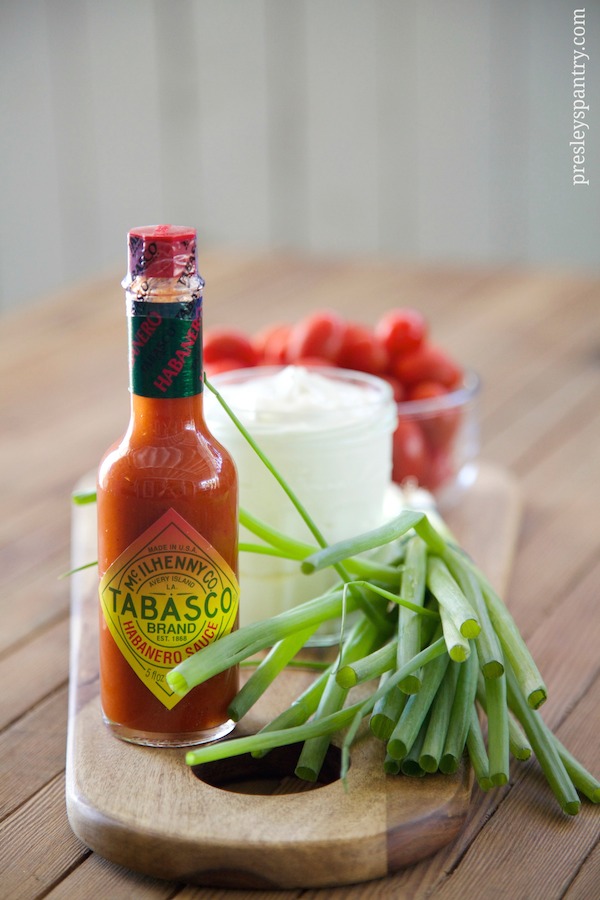
I used sour cream as my base, spiked it with a nice helping of Tabasco Habanero Sauce, and added a tribe of blistered tomatoes. Mixed it all together, served it with corn chips, and sat down to enjoy my afternoon. The dip has a amazing contrast of flavors going on, from very cool and creamy to spicy with a slight hint of sweet. It is very addicting and could be eaten by the spoonful or poured over rice, but I should warn you now it is fiery hot with a vibrant intensity and delicious tangy taste! Enjoy the rest of your summer!
Ingredients for spicy habanero blistered tomato dip:
- 2 – tablespoons olive oil
- 2 1/2 – cups cherry tomatoes (cut in half)
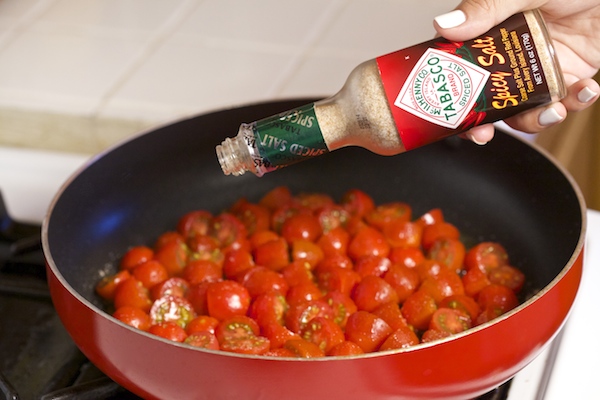
- 1 – teaspoon Tabasco Spicy Salt
- 2 – cups sour cream
- 4 – green onion stalks (chopped)
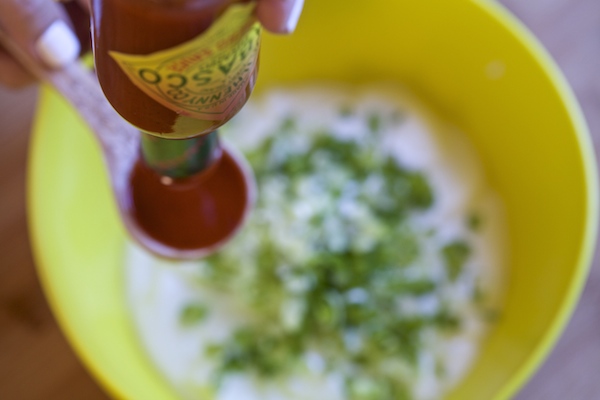
- 1 – tablespoon Tabasco Habanero Sauce
Directions:
- In a large frying pan over a medium high flame add in olive oil and allow to get hot.
- Add in tomato halves and sprinkle with tabasco spicy salt.
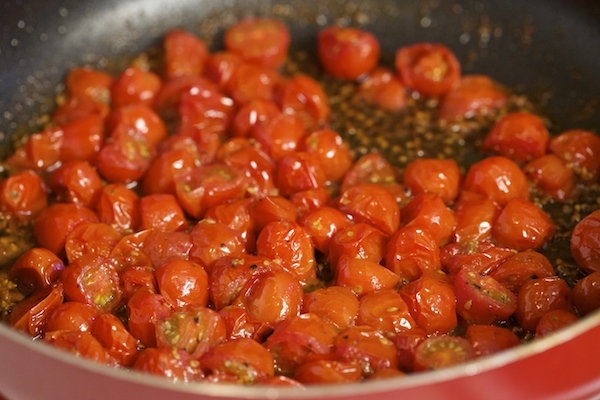
- Cook on each side for about 7 to 8 minutes. Remove pan from flame. Set to the side and allow to cool.
- In a bowl combine sour cream, green onion, and Tabasco Habanero Sauce.
- Add blistered tomatoes to sour cream mixture. Mix to combine and serve with chips.
- Enjoy!