Category: Foods for LENT

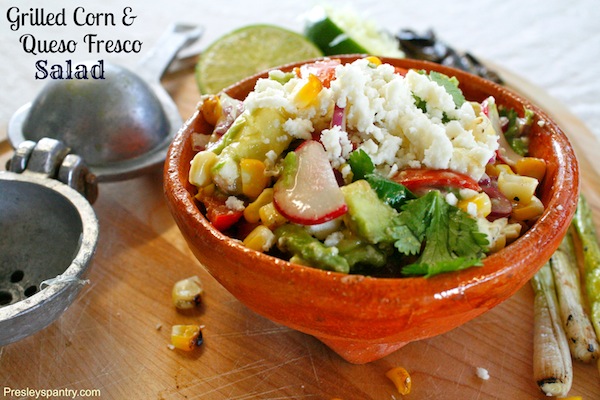
Grilled Corn And Queso Fresco Salad #VivaCADairy

Grilled Corn And Queso Fresco Salad #VivaCADairy

This is a sponsored post in collaboration with Latina Bloggers Connect and the California Milk Advisory Board.   All opinions are my own. 

Are you ready to rev up that Bar-B-Q pit and shish kabob for grilling? It’s officially grilling season with Memorial Day around the corner and Father’s day a stones throw away. It’s time to start planning your menus and gathering people around the pit. What do you typically like to grill? My family grills carne asada and anaheim chiles stuffed with queso quesadilla. We love to grill veggies and green onions, if my uncle is around he always wants his share of jalapenos thrown a top the fire-y hot grate. I like to make packets of aluminum foil and fill them with chopped zucchini a little bit of olive oil and cotija cheese…… I call them Bar-B-Q calabasitas. Here’s the serious truth, we can’t have an outdoor cooking session without making Grilled Corn And Queso Fresco Salad. I usually prep the corn in the house then throw it on the barbie, while the maize is grilling I chop up the other ingredients and make a dressing of crema, lime juice, and a little cotija cheese. OMG…. My mouth just watered recounting the details of this recipe back to you. Every time I make the salad (which is when we have a Bar-B-Q) my fiance tells me I need to be making this salad at least once a week. My Mom loves it cuz it’s vegetarian, and I heart it because it’s down right GOOD! I usually make it as a side dish but it could be enjoyed as a meal all on it’s own. Don’t get me wrong, it does taste lickable paired with a slice of chicken or sizzling piece of carne asada as well. But what really makes this salad pop is the queso fresco teamed up with the sweet corn and the tangy crema lime cojita cheese dressing. Delish! Make it for your next Bar-B-Q! Plus it’s so easy to get all the hispanic dairy needed for this recipe. With California being the leading producer of hispanic dairy products all you have to do is look for the Real CA Milk / cheese seals on the labels of your hispanic dairy. These cheeses will give your next meal the authentic touch of latin cuisine and make it taste better then you could have imagined. Enjoy!

Ingredients for Grilled Corn and Queso Fresco Salad:

  • 1 – tablespoon of butter (room temperature)
  • 4 – corn on the cob
  • 5 or 6 – stalks of green onion
  • 1 – tablespoon of olive oil
  • salt to taste
  • 2 – ripe avocados (sliced and cubed)
  • 1 – cup chopped tomatoes
  • 1 – cup sliced red onion
  • 1/2 – cup cilantro leaves
  • 5 – radishes (thinly sliced)
  • 1 – package queso fresco Ranchero (crumbled in large pieces)
  • (optional) 2 – grilled green chiles- diced (serrano, or jalapeno, or anaheim)

Ingredients for Crema Lime Cotija Cheese dressing:

  • 3 – tablespoons crema
  • 1 1/2 – large limes (juiced, about 4 tablespoons)
  • 1 – tablespoon cotija cheese
Directions:
  1. Heat up the bar-b-q or grill.
  2. Smear butter on the corn on the cob. Set to the side.
  3. Trim edges of green onions off and smear with olive oil. Set to the side.
  4. Sprinkle both corn and green onions with salt to your liking.
  5. Place both corn and green onion on bar-b-q and grill for green onion for about 6 minutes. 
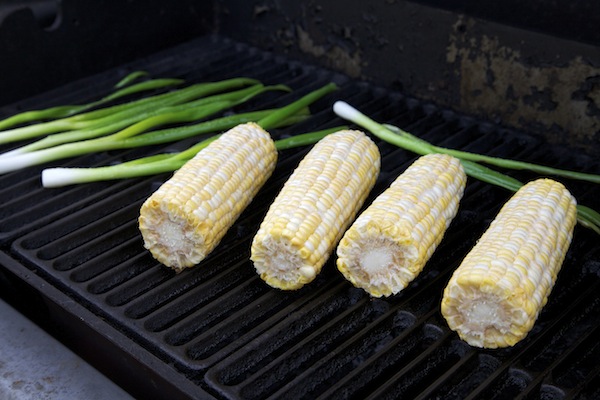
  6. Grill the corn for 15 to 20 minutes or until kernels are slightly charred. 
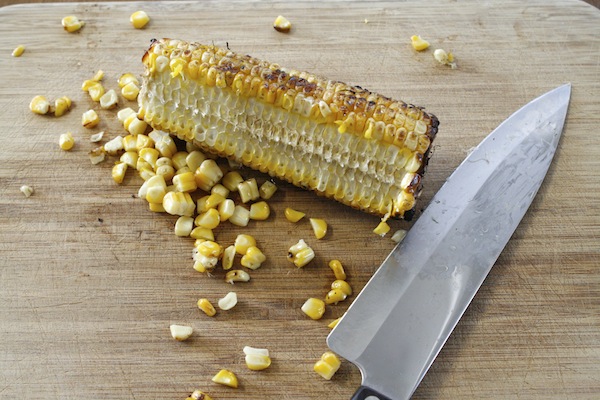
  7. Remove from grill and shave the kernels from the cob with a sharp knife. 
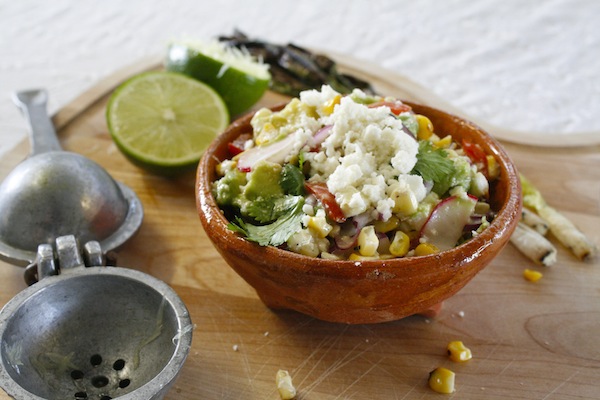
  8. Add shaved corn to a bowl along with avocado, tomato, red onion, cilantro, radishes, queso fresco, (optional) green chiles, and grilled onion to serve on the side. (pictured above)
  9. Give the ingredients a good mix, and set to the side.
  10. In a small bowl mix ingredients for dressing with a whisk, then pour over salad and give a final mix.
  11. Serve with grilled green onion on the side.
  12. Enjoy!
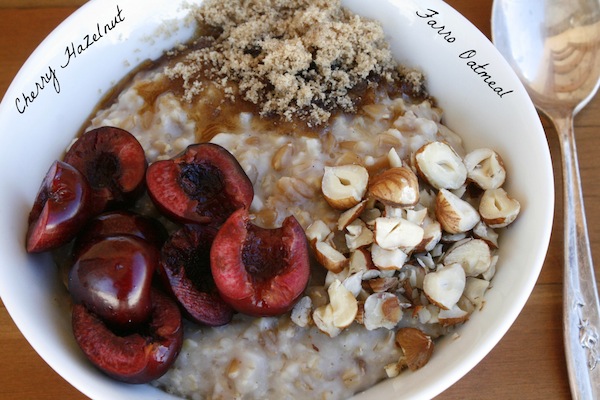
Cherry Hazelnut Farro Oatmeal

Cherry Hazelnut Farro Oatmeal

It’s breakfast time again here at Presley’s Pantry.  I promise to stop with the breakfast posts for a little while after this one.  I use to dislike Oatmeal with a fierce passion.  I’ll just say it out loud… I LOVE OATMEAL now (click over to Babble for the whole story on my sudden love with oatmeal).  For my nearest and dearest who are snickering at that remark calling me a hypocrite through a whisper in their teeth, I have declared a change of heart.  Now when I open my eyes in the a.m. I can’t wait to get my hands on a bowl.  I’m still playing around with different combos of steel cut love, but here is one I have been quite pleased with lately.  Enjoy it!

Serves: 4

Ingredients for Cherry Hazelnut Farro Oatmeal:

Directions:
  1. In a pot over a medium flame add water, vanilla bean pod, and cinnamon stick. Bring to a boil.
  2. Add in oatmeal and farro, give it a good stir and bring to a boil.
  3. Once oatmeal/farro are boiling, cover pot with a lid and lower the flame to a simmer. Simmer for 30 minutes.
  4. Remove from flame and let sit for 5 minutes.
  5. Serve hot in a bowl and garnish with brown sugar, hazelnuts, cherries, and milk. Add cherry jam if you like things extra sweet.
  6. Enjoy.


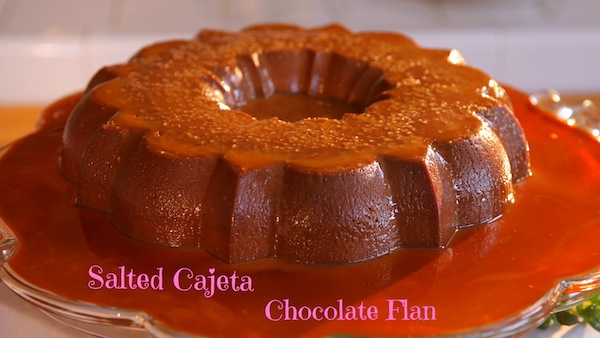
Webisode 6: Salted Cajeta Chocolate Flan

Webisode 6: Salted Cajeta Chocolate Flan

Ever fall hopelessly head over heels in love with flan?  The type of love where you have tunnel vision, and all your surroundings just fade to black because all you could think about is your flan?  I had it bad, I was MAD…. as in madly smitten with the sweet and salty cajeta drenched chocolate flan that I had to do something grandiose as a gesture of my amor.  I made this video so lovers around the world could unite and  find themselves in the arms of a delicious flan!  HAPPY VALENTINE’S DAY!

Ingredients for Salted Cajeta Chocolate Flan:

  • Non- stick baking spray
  • 1/2 – cup cajeta
  • 1 – 7.6 ounce Nestle’s Media Crema
  • 12 – ounce semisweet chocolate chips
  • 5 – large eggs
  • 4 – ounces of cream cheese (room temperature)
  • 1 – 14 ounce can of  Nestle’s La Lechera Sweetened Condensed Milk
  • 1 – 12 ounce can of evaporated milk
  • 1 – tablespoon vanilla
  • sea salt to taste

Directions:

  1. Spray a 12 cup budnt pan with non stick spray.
  2. Pour cajeta evenly into bundt pan. Set to the side.
  3. In a medium sauce pan over a medium flame add Media Crema and chocolate chips and stir until completely melted and smooth. Remove from heat and allow to cool for 15 minutes.
  4. Add eggs, cream cheese, La Lechera, evaporated milk, and vanilla to a blender. Blend till smooth.  Then add in the chocolate mixture and blend till combined.
  5.  Pour flan mixture over the cajeta filled bundt pan.
  6. Cover the bundt pan with a piece of aluminum foil and place inside a large pyrex baking dish.  Pour hot water into the pyrex baking dish to fill up half way.
  7. Then place the baking dish into the oven and bake for 1 hour.
  8. Once out of the oven, remove from water bath and uncover to allow cooling.  Run a small knife around the edge to ensure it from sticking.
  9. Let the flan rest for two hours then flip it over onto a plate.  Slowly lift pan up away from plate.
  10. Place in the fridge for 5 hours or overnight.
  11. Sprinkle top with sea salt right before serving.
  12. ENJOY!
Thank you with my entire heart and gratitude to my most awesome crew! I sincerely love you guys big.
Directors:  Mando Lopez and James Ford
Director of Photography:  Tony Molina
Producer:  Lacey Reilly
 Editor:  James Ford
Set Design:  Mando Lopez
On-set morale booster: Kristen Warren
Sound:  Adriana Sanchez
Equipment: Paul Hopkins
Opening Music: Anger Bros
Disclosure: This post is sponsored by Nestle, the recipe and opinions are completely my own. 
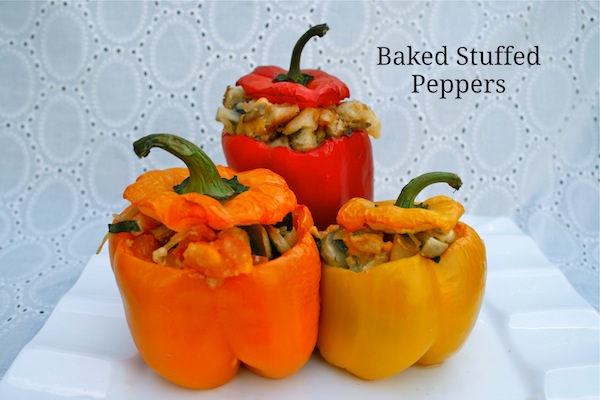
Baked Stuffed Bell Peppers

Baked Stuffed Bell Peppers

I made this recipe for the first time about 6 years ago. I found myself in a strange house a top the hill in Mount Washington. My Aunt Brilla was here in Los Angeles visiting, and had rented this beautiful home, it being my first time in this kitchen made cooking a little difficult since I had no idea where anything was. I searched the drawers and cabinets and could only find a baking dish, a sharp knife and a frying pan.  We had a house full of visitors who had come by to see my Aunt since she’s not in town that often and many of them were vegetarians. I thought fast on my feet and started frying up some cubed potatoes to make a vegetable stuffing for the pile of bell peppers a friend had brought over. Simple. Delicious. Easy to make. I stuffed the peppers popped them in the oven for 45 to an hour and by the time they were done so was the rest of the meal.

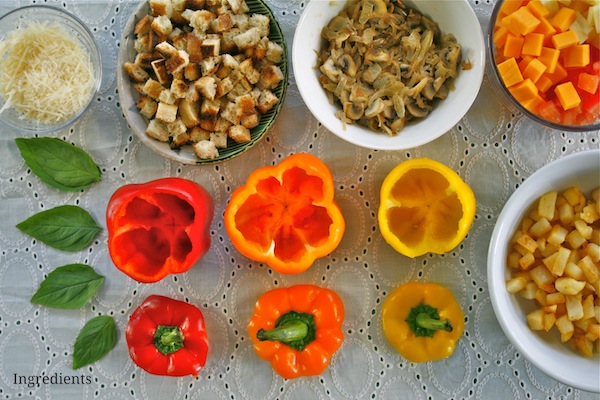
Ingredients for Baked Stuffed Bell Peppers:

  • 3 – Idaho Potatoes (peeled, diced into cubes and fried til crisp and cooked through)
  • 1/2 – cup cheddar cheese (cubed)
  • 1/2 – cup pepper jack cheese (cubed)
  • 1/2 – cup parmesan cheese (grated)
  • 3/4 – cup tomato (chopped into small cubes)
  • 1 – onion (sliced)
  • 8 – mushrooms (chopped into quarters)
  • 2 – tablespoons butter
  • 10 – fresh basil leaves (torn into pieces)
  • 4 – slices of rosemary bread (toasted and cut into cubes)
  • 1 – tablespoon garlic (minced)
  • 1/2 – vegetable broth
  • 10 – bell peppers

Directions:

  1. Preheat oven to   degrees Fahrenheit
  2. Fry potatoes and once cooked remove from flame and set to the side.
  3. Cut cheeses, and tomatoes and set to the side.
  4. In a frying pan add butter and saute onion and mushrooms together for about 10 minutes or until onions are limp. Remove from heat and set to the side.
  5. Toast Rosemary bread and cut into cubes. Set to the side.
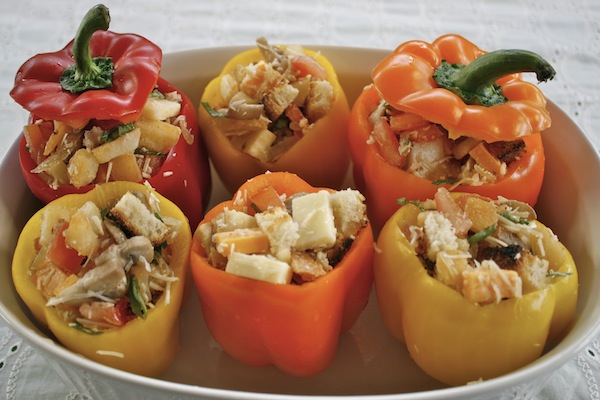
  6. In a large bowl add potatoes, cheeses, tomatoes, onions and mushrooms, basil leaf pieces, toast, and garlic. Mix well. Then pour broth over top and mix again. Set stuffing mixture to the side.
  7. Wash and dry bell peppers. Then cut off tops of bell peppers (reserve tops to the side) and remove seeds and veins from the inside. Set to the side.
  8. Place empty bell peppers in a baking dish, then once they are snug take a huge spoonful of stuffing mixture and fill to the top. Then top each pepper with the top. 
  9. Bake for 45 to 60 minutes.
  10. Enjoy!
A simple Chile de Arbol Salsa

A simple Chile de Arbol Salsa

I started making this simple salsa many moons ago, as a fast tasty sauce for my tacos. Just a handful of ingredients and a few minutes and you have the ultimate salsa. I love the simplicity of the chile de arbol and tomato combination that this salsita brings to my burritos, eggs, steak, or popcorn…. It makes any meal perfectly spiced. Click here to watch a quick how to make this yummers salsa video.

Ingredients for Chile de Arbol Salsa:

  • 4 – cups of water
  • 1 – tablespoon salt
  • 3 – tomatoes
  • 16 – chiles de arbol (stems removed)
  • 5 – garlic cloves
  • a pinch of oregano
  • salt and pepper to taste

Directions:

  1. In a pot over a medium high flame add water and salt and bring to a boil.
  2. Once water is boiling add tomatoes and chile de arbol, and boil for 30 minutes.
  3. Remove pot from flame and add tomatoes and chile de arbol to a blender. Use one cup of water that you boiled the chiles in and add to the blender as well.
  4. Add garlic, oregano, salt and pepper to blender, and blend on high till smooth.
  5. Pour into a bowl and enjoy on tacos or anything that tickles your fancy.
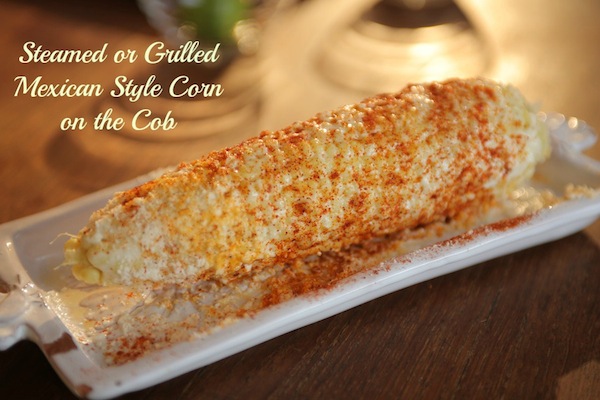
Mexican Corn on the Cob

Mexican Corn on the Cob

Are you lucky enough to have had a Mexican Corn on the Cob? This addicting treat is a favorite in my house. We make it often or buy it from the street vendor who frequents my neighborhood everyday. Next time you are craving a spicy cheesy treat, give Mexican Corn on the cob a try, it’s the caramel apple of corns.

To watch my video on how to prepare this delicious kernel treat, click here.

Ingredients for Mexican Corn on the Cob:

  • 1 – cooked corn on the cob (grilled, boiled or steamed)
  • The juice of 1/2 a lime
  • 1 – tablespoon butter
  • 1 – tablespoon mayo
  • 1 – tablespoon cotija cheese crumbled
  • cayenne pepper to your liking

Directions:

  1. Squeeze lime juice onto hot cooked corn on the cob.
  2.  Spread butter on corn.
  3. Slather it in Mayo.
  4. Sprinkle the cotija cheese on top.
  5. Last spice with cayenne pepper.


Shrimp Ceviche served in a Avocado Shell

Shrimp Ceviche served in a Avocado Shell

Avocados from Mexico sent me to NYC for the BlogHer12 conference.  It was a wonderful experience talking to people about what comes to mind when they hear the words “Avocados from Mexico” and “Abuelita.”  I had such a rip roaring time meeting bloggers I’ve known from the internet and meeting up with friends I only get to see every so often.  Connecting with my peers in person instead of a screen, hearing what they have to say first hand.  I learned.  I danced.  I ate and I socialized…. Isn’t that what conferences are all about?

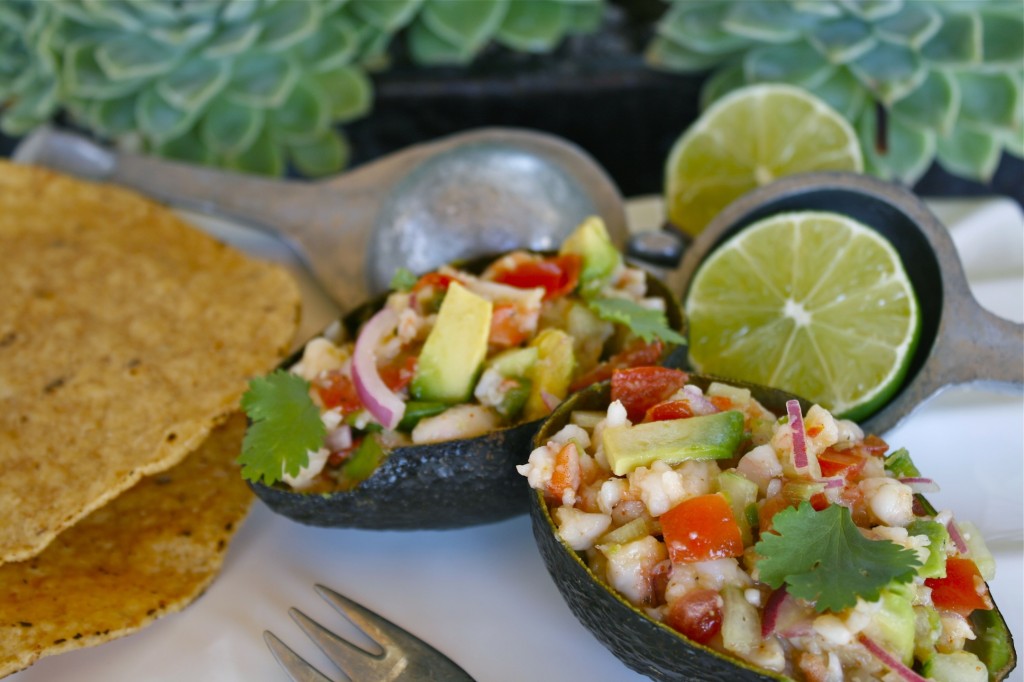
The New York summer weather had me sweating up a storm, it was hotter than Hades. The humid hot air made me crave my Abuelita Yadira’s fresh Shrimp Ceviche.  She always made sure to chop up plenty of avocados into the tangy cool meal and if I was lucky, she would serve me in the avocado shells with a side of tostadas. The minute I got back to LA I had to make a batch of what comes to mind when I hear the words “Avocados from Mexico” and “Abuelita.”

Ingredients for Shrimp Ceviche:

1/2 – cup of lime juice

2 1/2 – cups of lemon juice

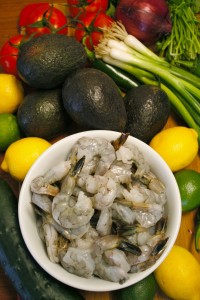
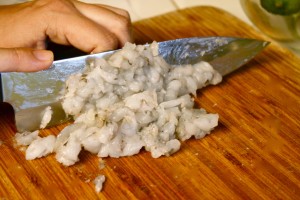
2 – pounds raw shrimp (deveined, peeled, and minced)

2 – cups minced tomatoes

1 – cup thinly sliced red onion

1 – cup minced cucumber

1/2 – cup green onion (chopped)

1/2 – cup cilantro leaves

1/2 – cup minced jalapeno

2 1/2 – cups Avocado chunks

salt and pepper to taste

2 – tablespoons Tapatio

1/2 – tablespoon garlic powder

pinch of oregano

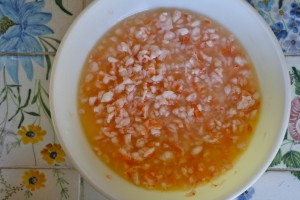
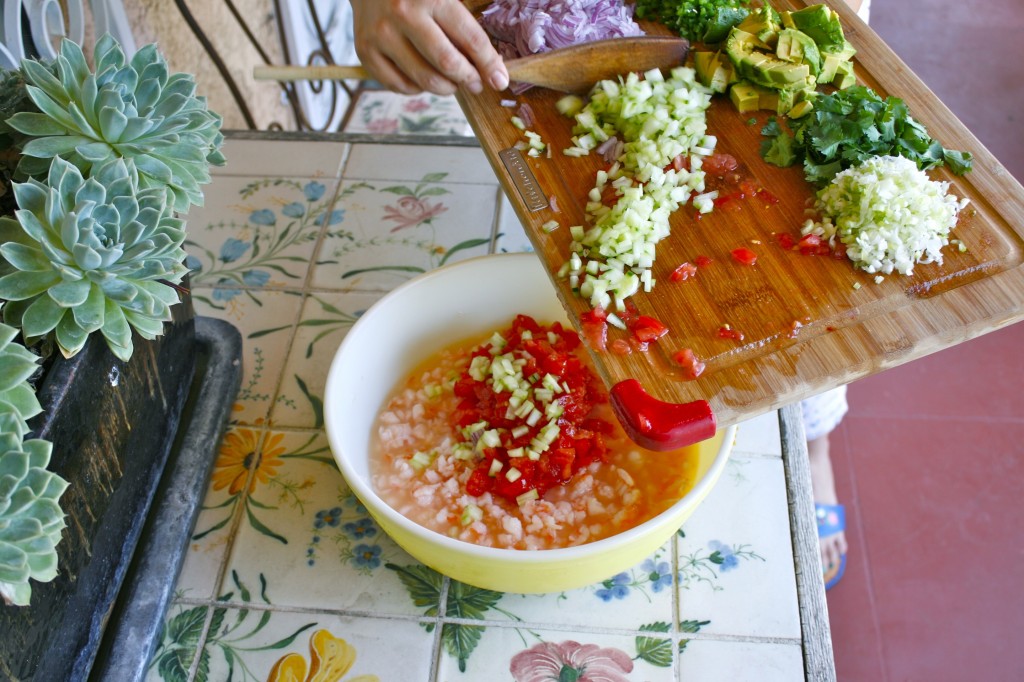
In a large bowl juice lime and lemons. Then mince shrimp to 1/4 of an inch pieces. Add shrimp to lime, lemon juice, then cover bowl with plastic wrap and place in the fridge for a minimum of 3 hours or overnight.


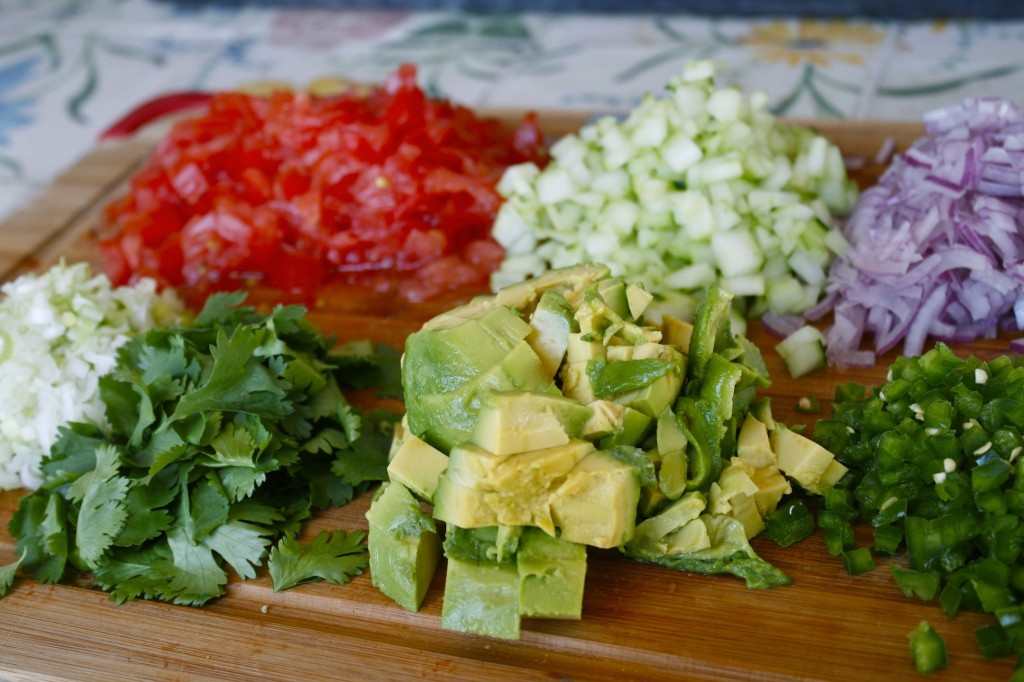
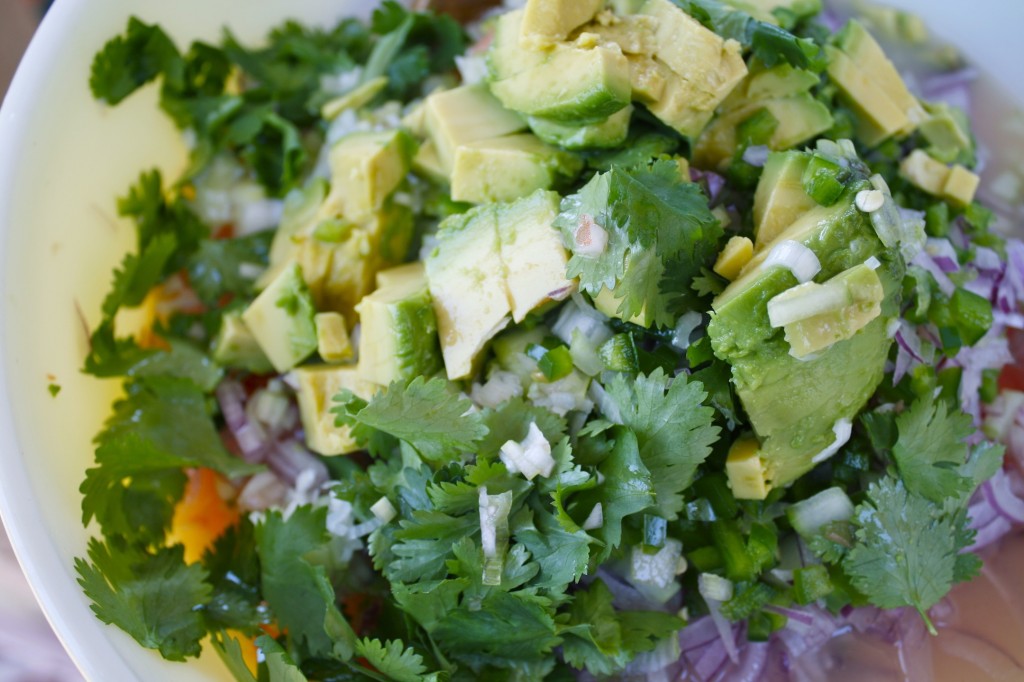
In the meantime chop and mince the rest of the ingredients.

Then pour it into the shrimp lime lemon mixture.

Give it a good mix, and serve in a avocado shell or a bowl. I enjoy eating mine with a tostada and an extra squeeze of lime.

Disclosure: This is a sponsored post on behalf of Avocados from Mexico and Latina Bloggers Connect. The recipe is mine and my Abuelita’s and the opinions are my own!  Yes, and without a doubt #ILoveAvocados #AmoLosAguacates

All photos taken by: Nicole Presley and Mando Lopez