Month: October 2011

What to do with pumpkin seeds? Make spicy curry pumpkin seeds or HALLOWEEN maracas for all to hear!

What to do with pumpkin seeds? Make spicy curry pumpkin seeds or HALLOWEEN maracas for all to hear!

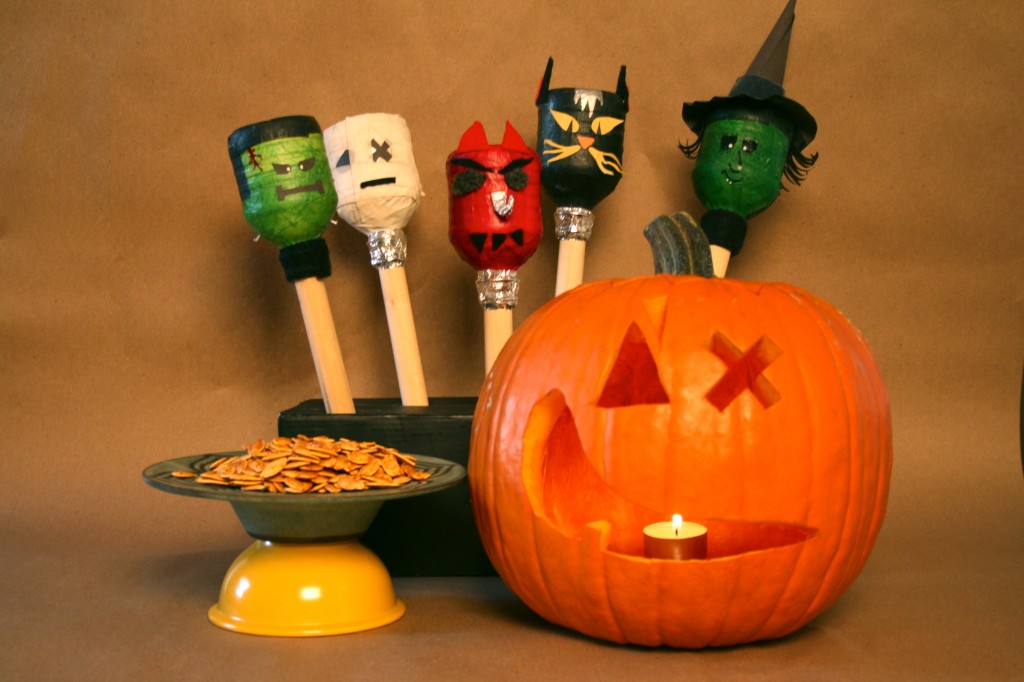
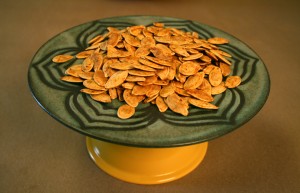
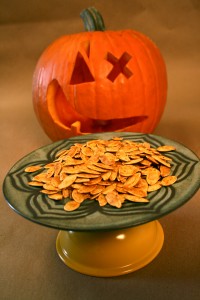
While the rest of the United States was busy dressing up for Halloween parties on Saturday night, my little family and I decided on some crafty fun.  We carved our pumpkin and scooped out the seeds to make spicy curry pumpkin seeds.  We had a few left over kernels and went big in the maraca direction making noisemakers!

All photos taken by: Mando Lopez and Nicole Presley

Here’s how we did it….

Ingredients for spicy curry pumpkin seeds:

1 1/2 cups pumpkin seeds

enough water to fill a pot halfway

3 tablespoons of salt

juice from 1 1/2 limes.  Should make about 3 tablespoons

1/4 teaspoon yellow curry powder

1/4 teaspoon chipotle powder

1/4 teaspoon Lawry’s seasoning salt

1/4 teaspoon Tajin (chile and lime pepper)

non-stick cooking spray.

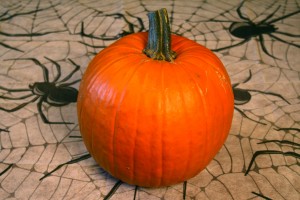
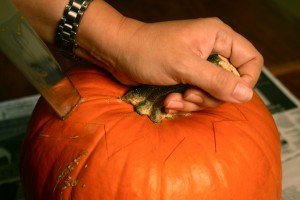
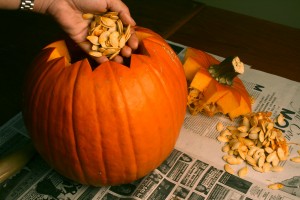
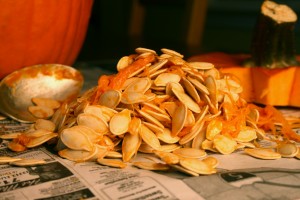
First cut into pumpkin and scoop out all the seeds…


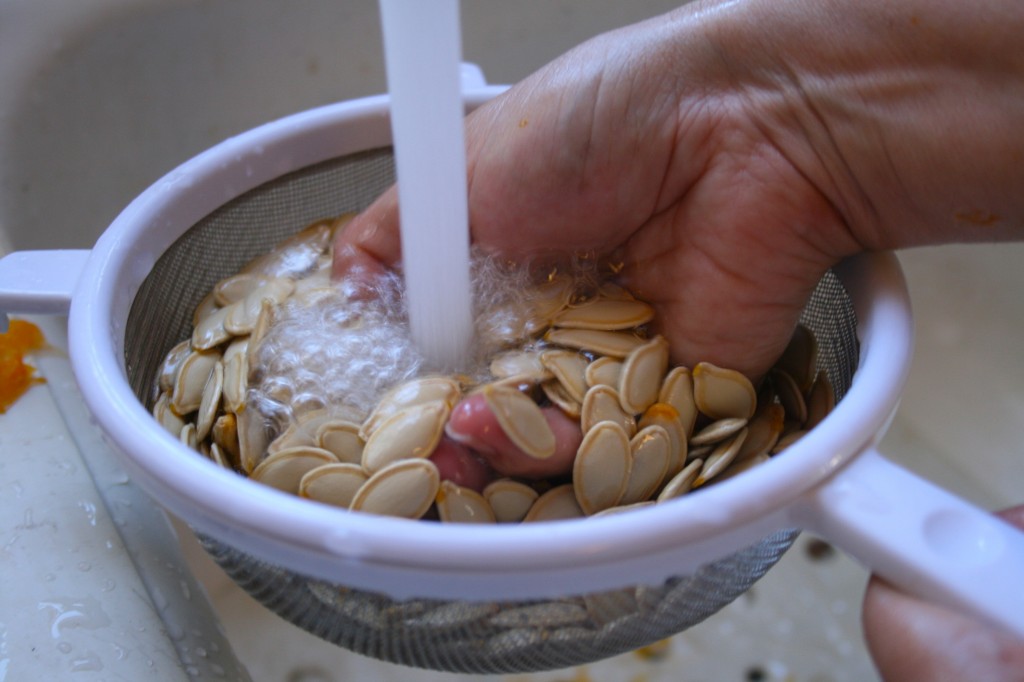
Pour water into a medium sauce pan to fill halfway, then add salt. Bring salted water to a boil over medium flame.  While you are waiting for your water to boil.  Clean gunk off of pumpkin seeds by running under water.

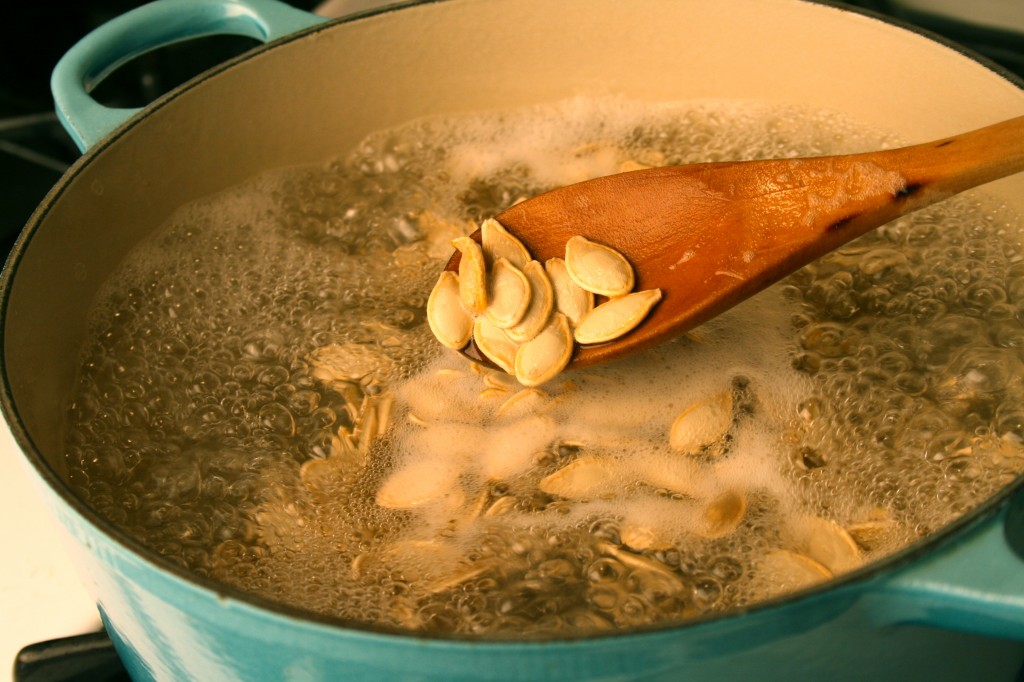
Once water is boiling add pumpkin seeds and boil for 7 to 8 minutes.  Remove from flame and allow seeds to soak in hot water for another 5 to 10 minutes.

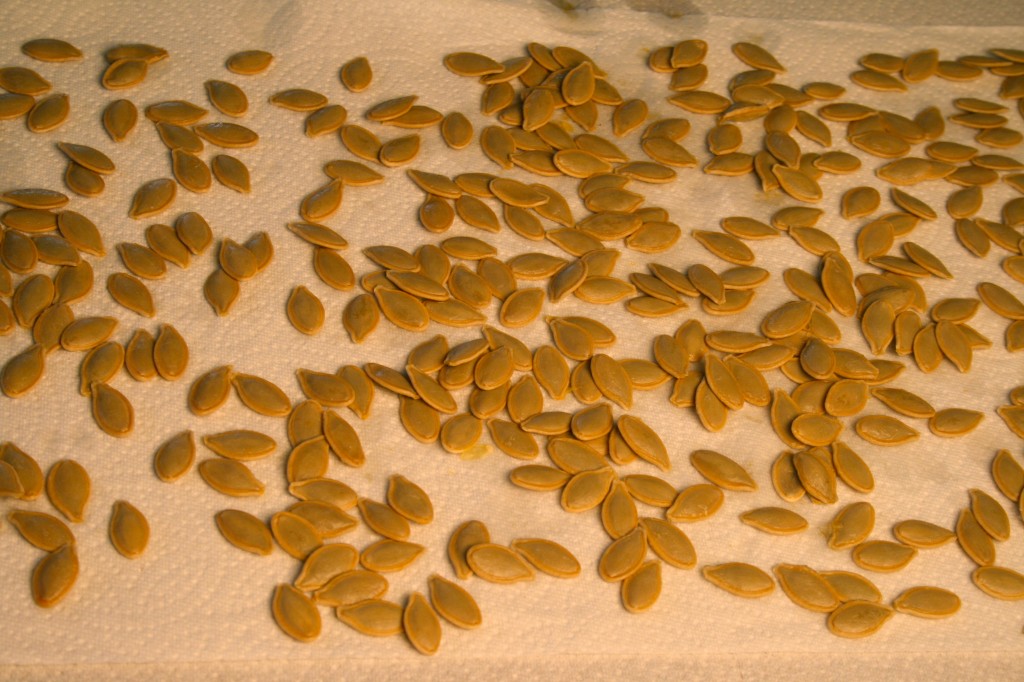
Then drain seeds and dry off on a paper towel.

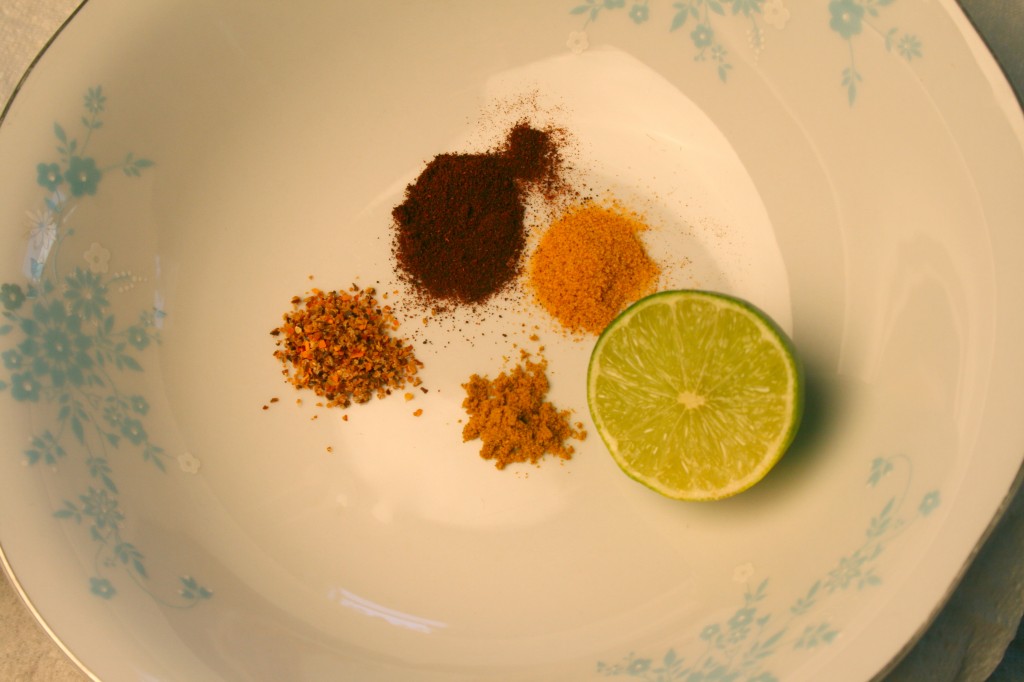
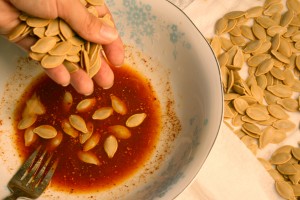
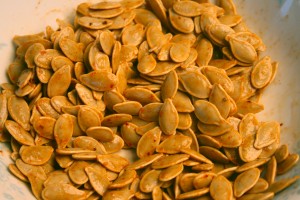
Next mix  lime juice, yellow curry, chipotle pepper, Lawry’s, and Tajin in a small bowl together well.  Then add in dried off pumpkin seeds.  Mix to coat.


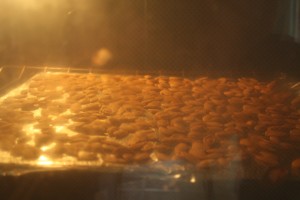
Spray a baking sheet with a non-stick cooking spray and spread the coated pumpkin seeds on top in a single layer.  Bake for 20 minutes or until golden/dry. Keep an eye on your pumpkin seeds because they have a tendency to burn quickly.


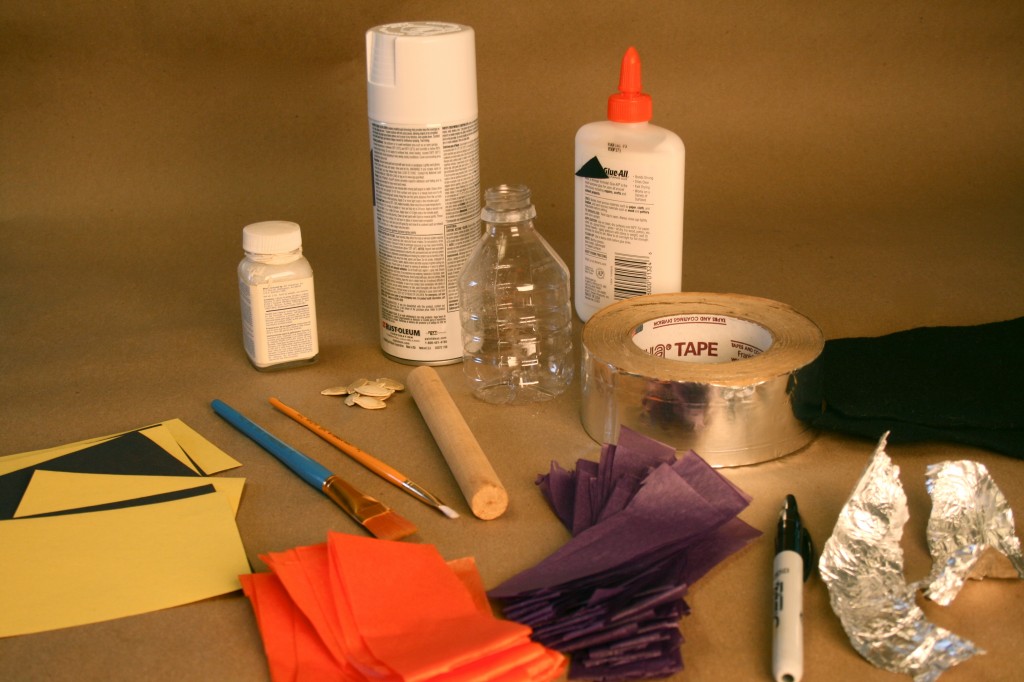
Things needed for maracas:

– Empty 8oz. water bottle

– A round stick to fit opening of bottle

– Pumpkin seeds ( about 10 to 15)

– White spray paint

– Glue water (1 part glue, 1 part water)

– Felt

– Tissue paper

– Construction paper

– Foil tape

– Aluminum foil

– Sharpies

– White water-color paint

Start by spray painting the outside of the water bottle white.  Allow it to dry a bit, then add pumpkin seeds inside.


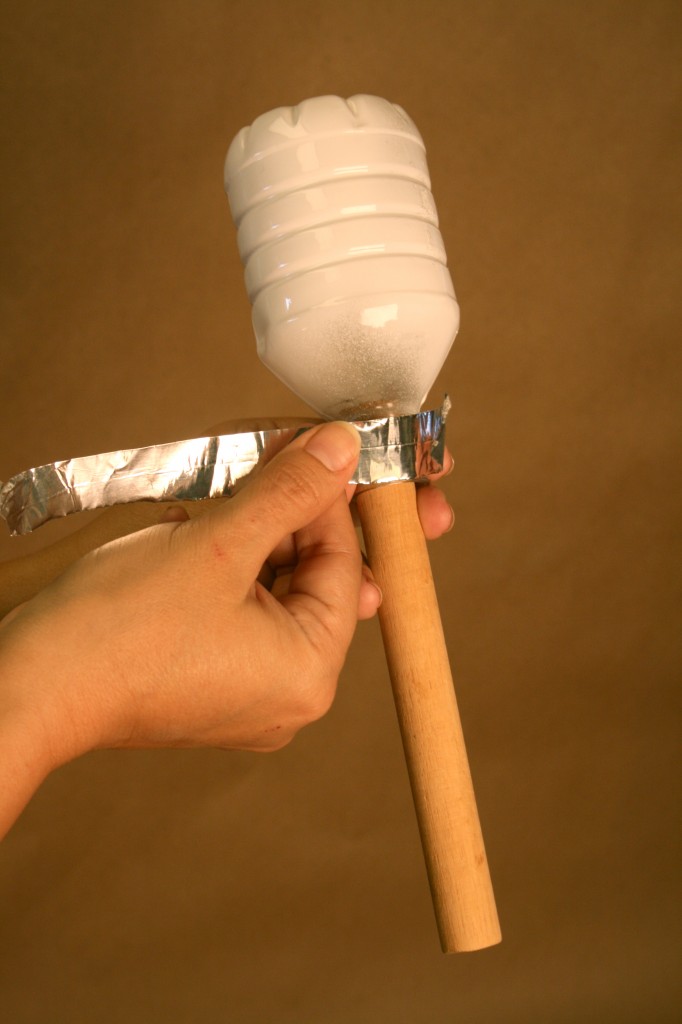
Next take some glue and apply to the inside rim of the bottle.  Then insert the round stick for a firm fit.  Last wrap the foil tape around the opening and the stick.

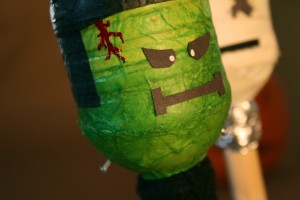
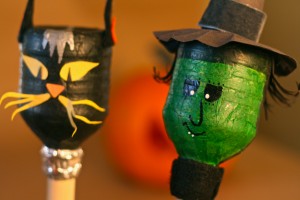
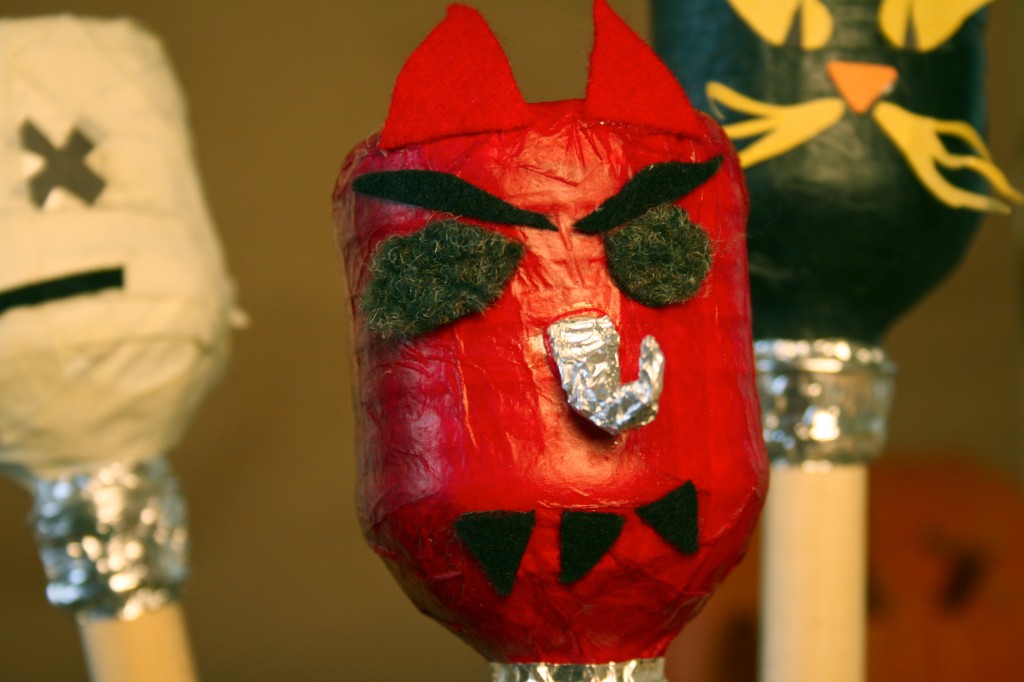
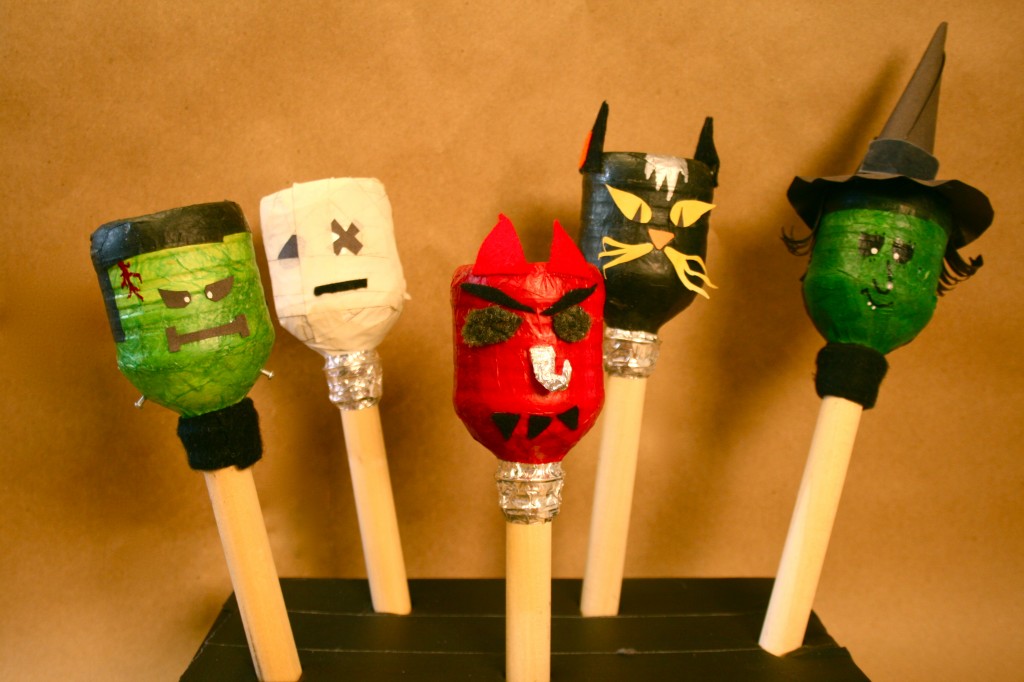
What you do after this is entirely up to you.  Create your spooky maracas anyway you wish.  I used tissue paper to create the color of skin I desired.  Take your gluewater and brush it on the entire bottle, then take strips of tissue paper and place them around the bottle.  Next brush gluewater over the tissue strips.  Repeat till you reach the desired hue.  Then decorate it with felt, construction paper, paint, aluminum foil or sharpies to create the face of the maraca….. Here are a few examples of what we did.


Happy Halloween! Hope it’s a SCARY one!


Bertolli Soup for Two!

Bertolli Soup for Two!

Try to imagine the sound of a hundred little lady-bugs on a marching line playing snare drums, slightly out of sync.  That’s what the rain sounds like when it hits the awning outside my window.  I wait for that sound because when I hear it, that means it’s time to get cozy.  I woke up to the lady-bugs drumming this morning and thought I would love to have some soup to accompany the musical rain.  The problem is that I just don’t have the time today to put hours into making one.  I was a little bummed but then I remembered I had a few packs of Bertolli’s soup in my freezer.  Thats right, I said soup in the freezer…. and they’re yummy.  

Bertolli is now making a wonderful variety of frozen traditional Italian soups.  What I find interesting is the way they are packaged.  All of the vegetables are hand chopped then flash frozen individually, so they are fresh and picked at the height of their ripeness.  The pasta is cooked to perfection and not mushy at all.  The super cool part is the broth, it’s packaged in little ice cubes.  Nice.  Put it all in a pot with a cup of water and simmer for 10 minutes….  PRESTO your done!  Soup for two. 
  
Would you like a chance to try this gorgeous soup for yourself?  If you said YES….. I have a giveaway for you to enter.  This giveaway will run till October 30th.  Winner will be notified on the 31st before noon. Prize includes…..
  • Two Tasting Certificates for Bertolli Premium Meal Soup for Two
  • Stainless steel soup ladle
  • Woven oval bread basket
  • Bertolli reusable freezer bag
To enter:
1.) Tweet:   Bertolli’s New Soup giveaway @PresleysPantry! Enter to win here! http://t.co/e5AyXN1z

2.)  Leave a comment on your thoughts of frozen soup.

Make sure to leave a comment below for each of your actions.  This will give you the opportunity to have two entries instead of one. 🙂

* Open to U.S. Residents only.  No PO Boxes, please. Must be 18 years or older to enter.   Contest ends October 30, 2011 at 11:59 PM, PST and one (1) winner will be randomly chosen from all entries through random.org.
* No compensation was received for this post. I was provided with the same product above to review through a sponsored campaign from Bertolli. All opinions are my own.
Dia De Los Muertos (Day of the Dead) and Pan de Muerto recipe… Embraced Rituals.

Dia De Los Muertos (Day of the Dead) and Pan de Muerto recipe… Embraced Rituals.

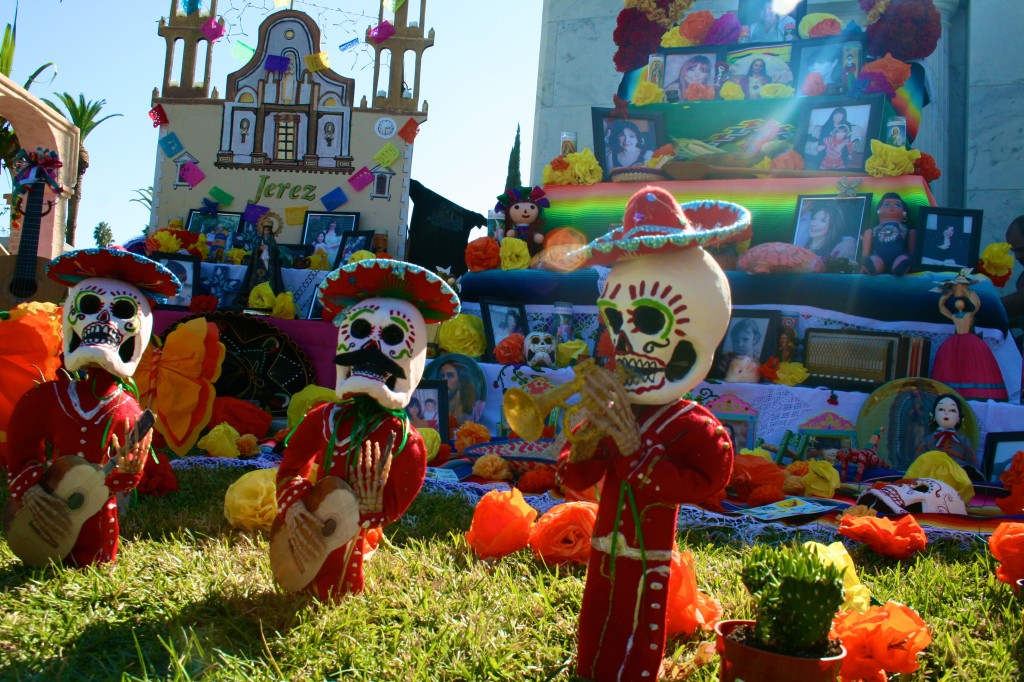
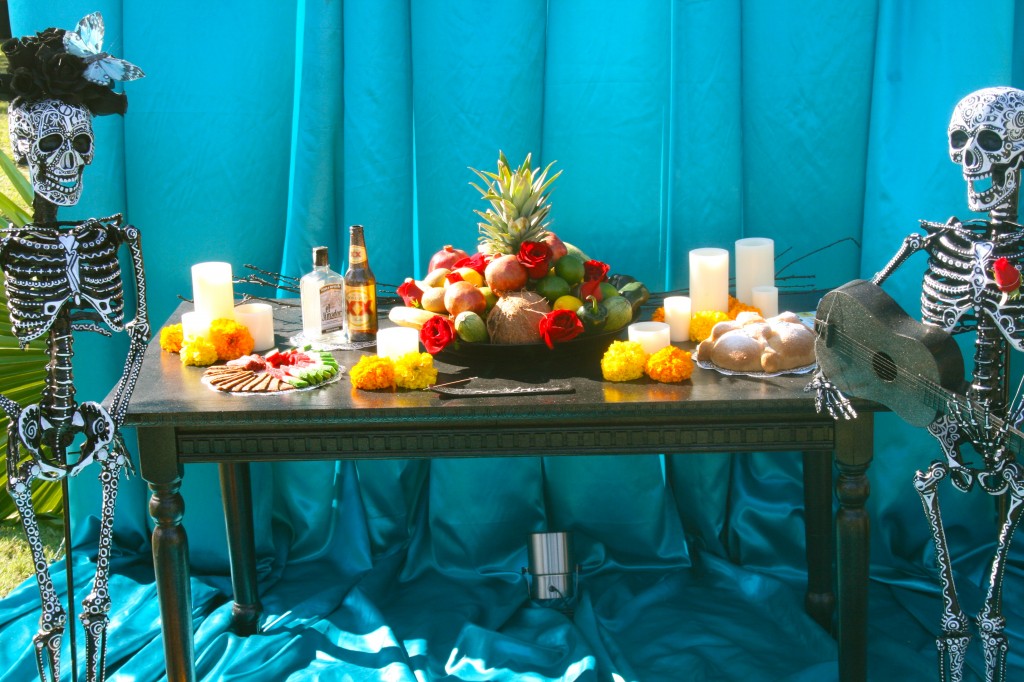
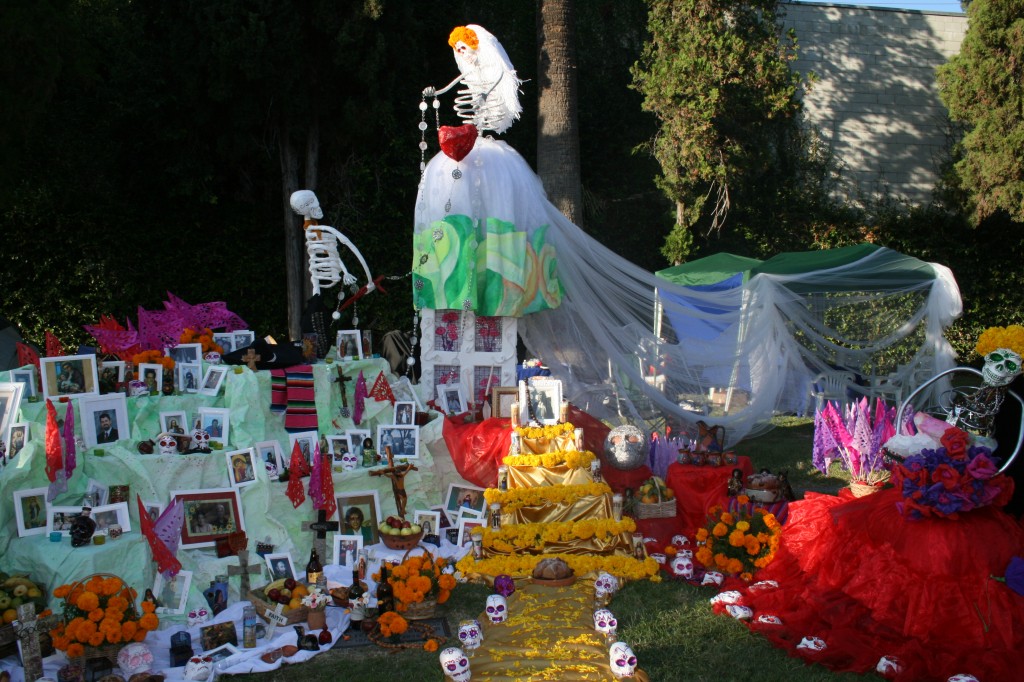
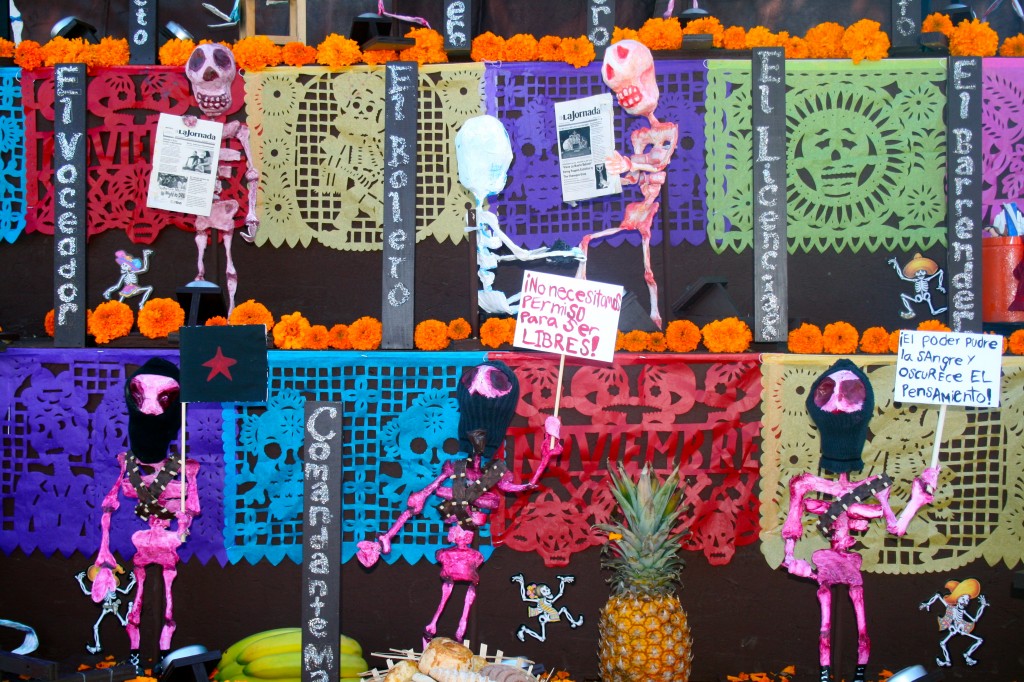
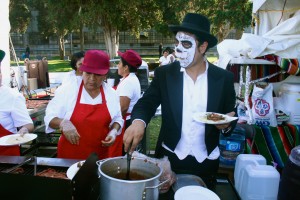
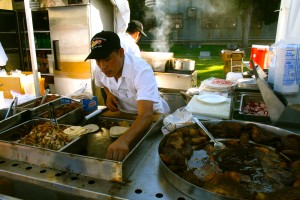
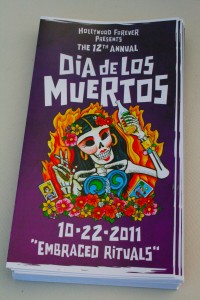
 I’ve been celebrating Dia de los Muertos (Day of the Dead) since I was a young girl.  As I get older, the holiday grows in importance.  Over the years I have lost many who are near and dear to me.  Death is such a sad, wild reality, but one we must all face.  I have spent many days mourning the death of loved ones lost and find Dia de los Muertos is a happy medium.  Its a day to honor and remember a departed loved one’s spirit by offering their favorite food or beverage.  Many people build private alters in their homes (we did), and some build them at events for remembrance and festivity.  This weekend we went to the 12th annual Dia De Los Muertos Celebration at the Hollywood Forever Cemetery.  In my opinion it is one of the BEST events that takes place here in Los Angeles.  I go every year and wouldn’t think of missing it!  You can expect everything from Aztec dancers, Mayan rituals, paper mache skeleton procession, costume contest, ballet dancing, performance art, craft and art vendors, yummy mexican food, micheladas, and some of the best altars you’ve ever seen!  Here is a nice collection of photos from the event.  If you don’t live in Los Angeles, Google a Dia de los Muertos event in your city.  The actual holiday takes place Nov. 2nd.

All photos taken by: Mando Lopez and Nicole Presley


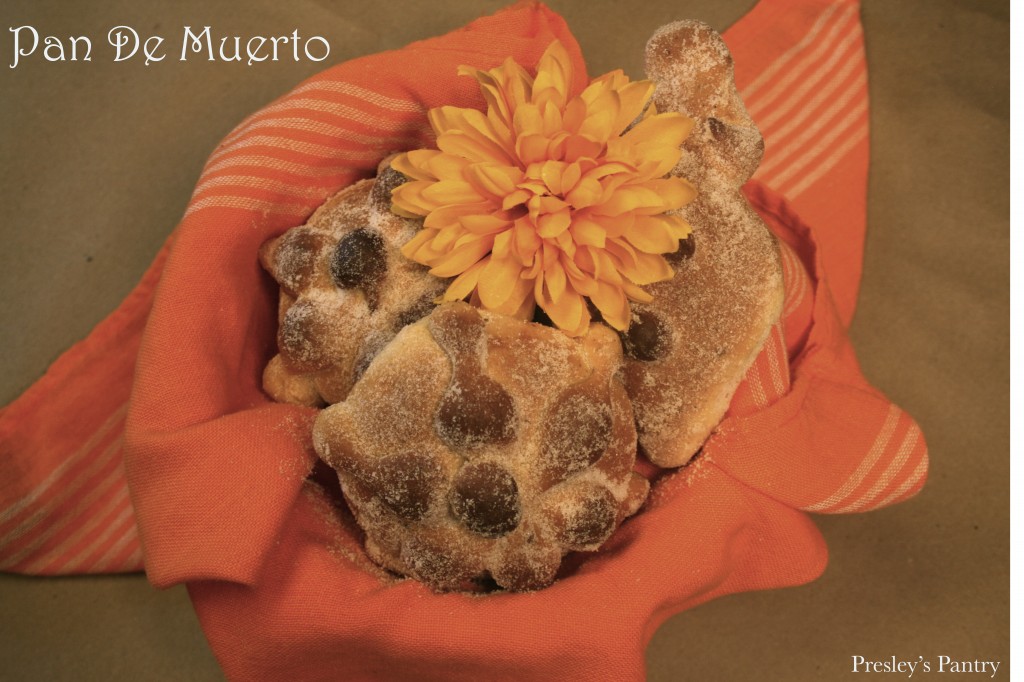
Pan de muerto is traditionally offered to the spirits in the upcoming days leading to Dia de los muertos (Day of the Dead), which is celebrated Nov. 2nd.  You can leave it at the gravesite of your loved one along with their favorite food or at a homemade altar.  Here is a simple recipe for you to make your own.  BTW….. it’s not just for the departed, the living find it tasty too!

Ingredients for pan de muerto: 

1/4 – cup milk

4 – tablespoons butter

1/3 – cup sugar

1/2 – teaspoon salt

1 – package active dry yeast

1/4 – cup warm/hot water

2 – eggs (beaten)

3 – cups all-purpose flour

1/2 – teaspoon anise seed

1/4 – cup orange juice

1/4 –  teaspoon ground cinnamon

1/4 – cups sugar plus 2 tablespoons

In a sauce pan over a low medium flame melt butter and stir in milk. Bring to slight boil and remove from heat.  Add in 1/3 cup sugar and salt, and mix well to combine. Set to the side.

In a very large bowl, mix yeast and warm/hot water together and stir until yeast is dissolved. Let it rest for 15 minutes to cool down then add the milk mixture.

In a medium bowl mix flour and anise seed together . Then add flour and anise seed mixture to yeast/milk mix, and gradually work in the beaten eggs. Mix until dough forms into a ball.

Flour your work surface well and place dough in the middle. Knead for 5 minutes or until dough is nice and soft. Place it back into the large bowl and cover with a kitchen towel or plastic wrap. Let dough rise in a warm place (inside your oven when it’s off) for an hour and a half to two hours. Meanwhile, grease a baking sheet and set to the side.

Then remove dough from large bowl and punch it down and shape it into one large loaf or several small loaves. Reserve a small portion of dough to make a knob on top of loaf or braids around the loaf, or little strips to represent bones. Form your loaf then place on greased baking sheet and cover loosely with plastic wrap or kitchen towel for another hour (in a warm place) or until it’s doubled in size.

Then preheat oven to 350 degrees fahrenheit, and bake for 35 to 45 minutes. If you make small loaves then 35 minutes…. if you make one big one 45 minutes. About 5 minutes before the pan de muerto is done baking….. make the glaze.

In a small saucepan over a medium flame add orange juice, cinnamon, and 1/4 cup sugar. Bring to a boil and remove from flame. Set to the side. Next remove pan de muerto from oven and let cool slightly, then brush with glaze. Then sprinkle glazed bread with remaining 2 tablespoons sugar! Celebrate Dia de los muertos by offering your loved one a pan de muerto this year!

Con mucho amor!

Lick your chops! It’s time for Pistachio Meatballs with Gravy and Rice!

Lick your chops! It’s time for Pistachio Meatballs with Gravy and Rice!

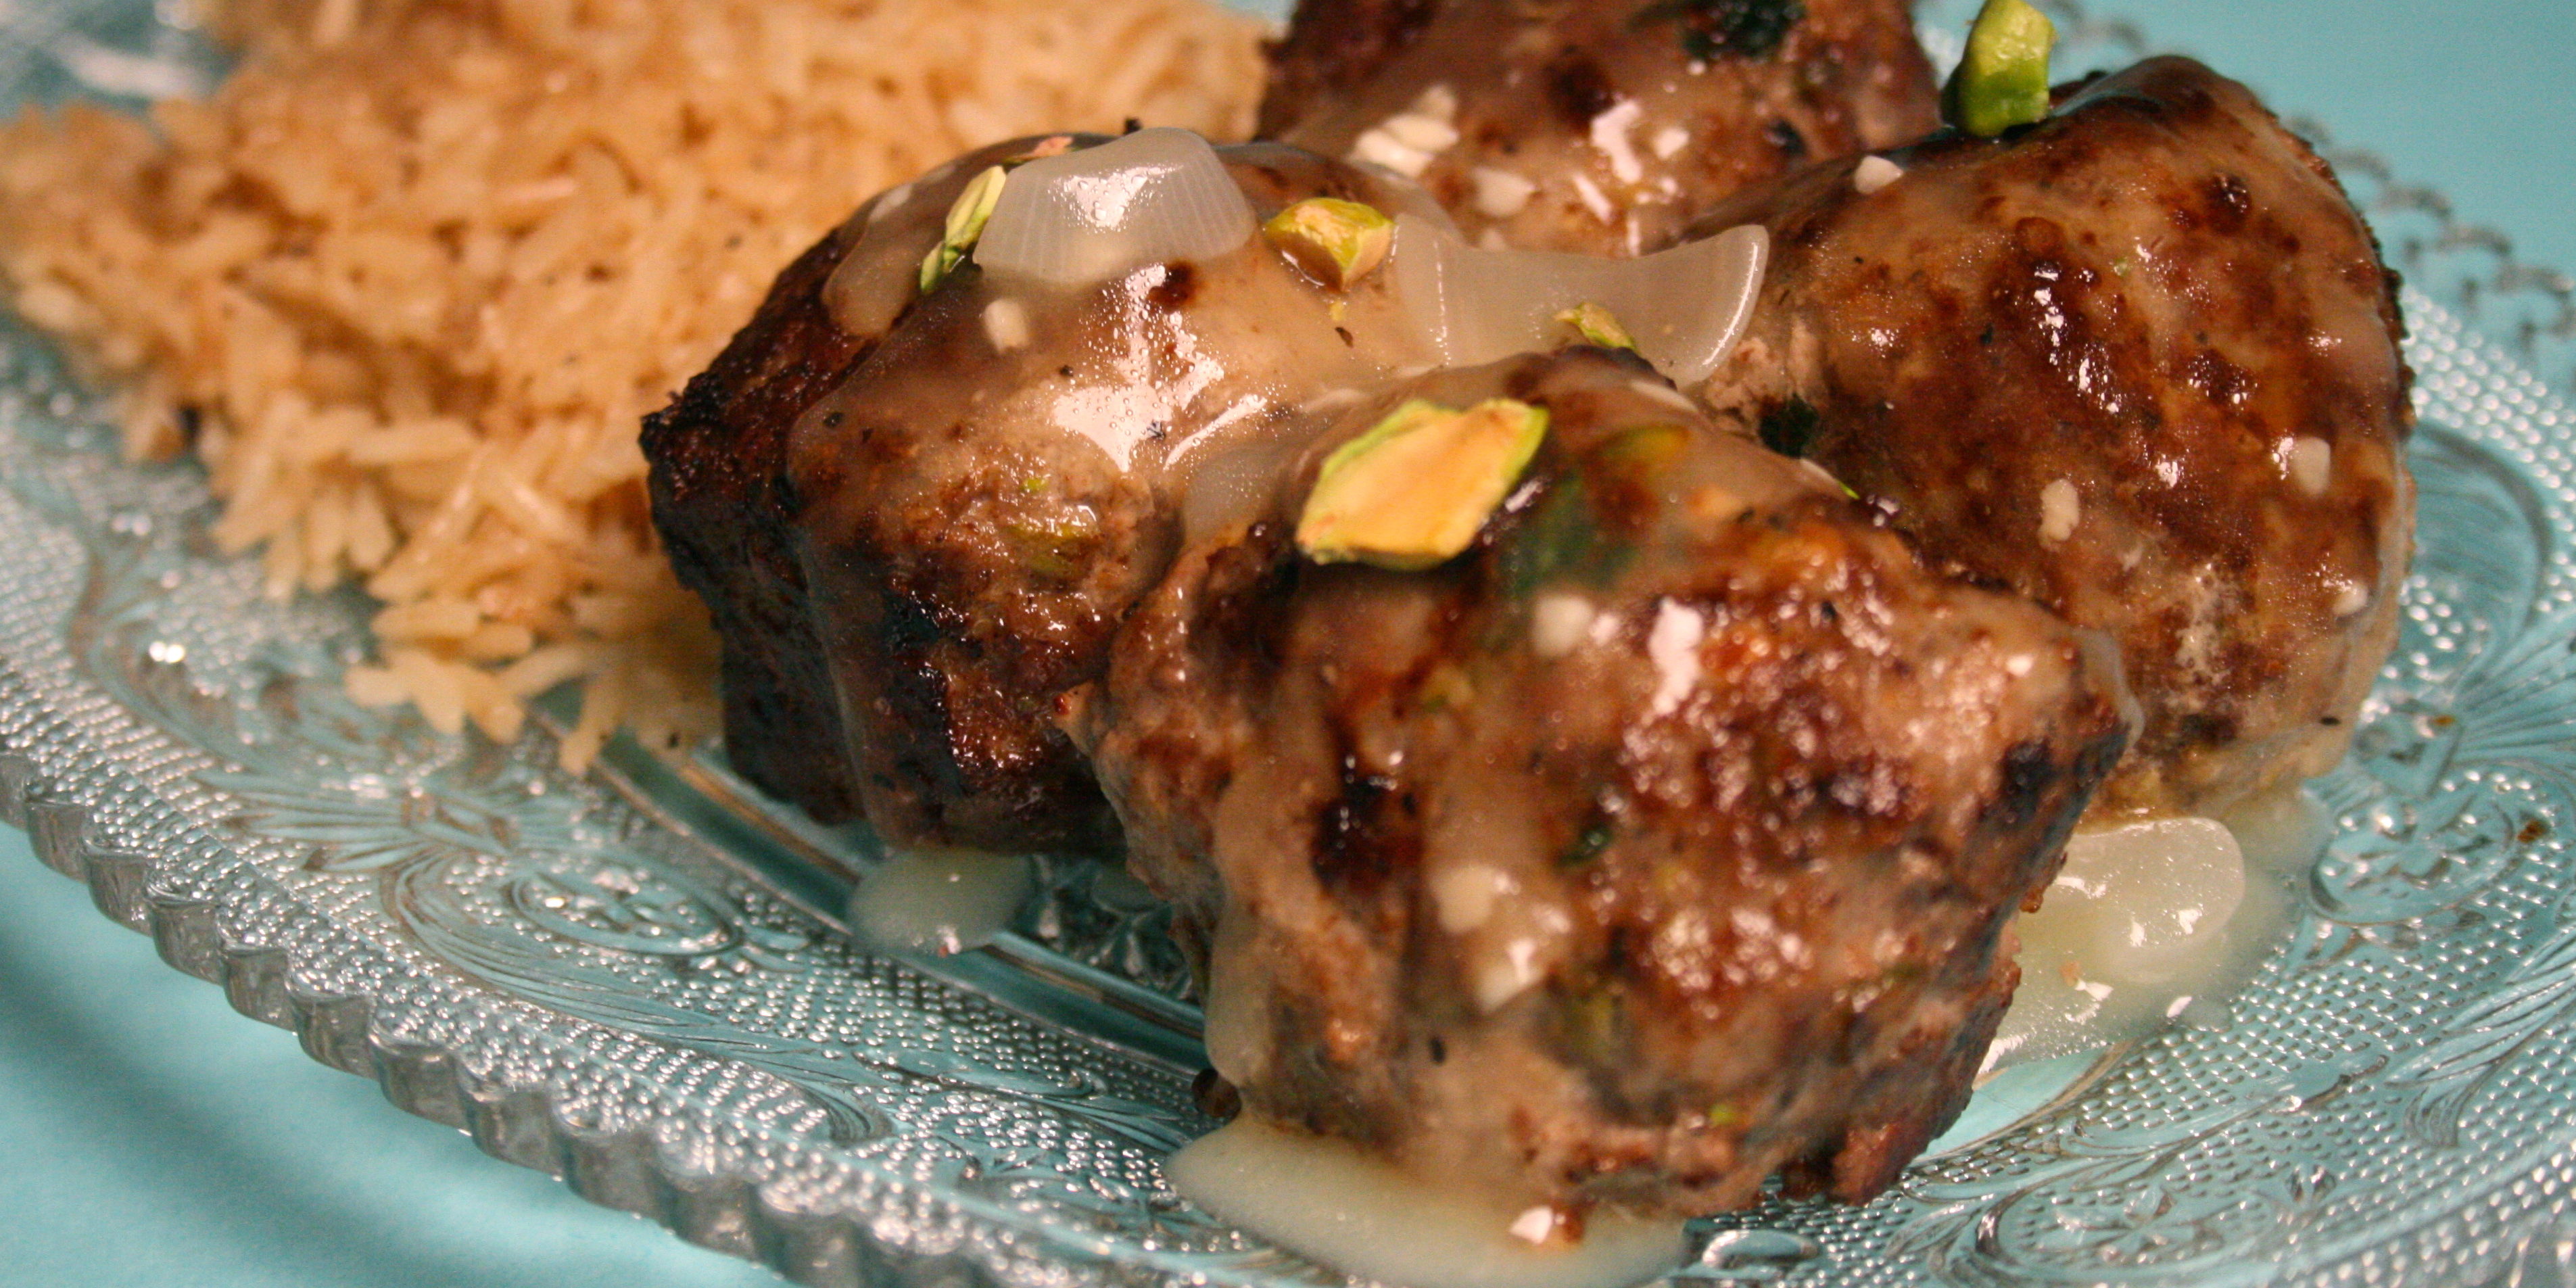
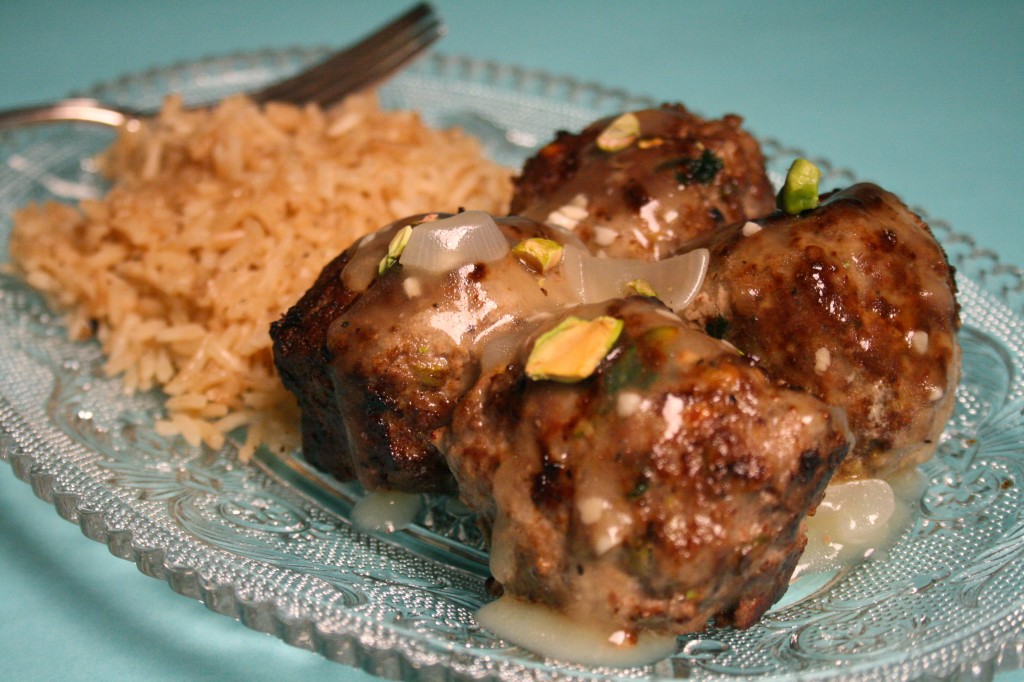
  I find it interesting when my Mom recounts the days of her youth.  She tells it in a very matter of fact tone.  For the most part it was an unfair childhood, but the way my Mom paints it you can tell she never felt sorry for herself.  I’m the one who gets crushed for her when I hear what she lacked.  One of the things I remember her telling me was that she never had money to eat in the cafeteria at school when she was a little girl.  She says they use to serve a rice dish with meatballs and gravy on top and it always smelled delicious, but not once did she ever try it.  When I started cooking I decided it was time for my Mommy to have her meatballs and gravy over rice.  Thank the cafeteria chief for making a simple child-proof dish that I jumped all over and vamped into an adult plate.  I added Wonderful Pistachios to the meatballs and rice to give it an extra bite of flavor.  My Mom use to love this dish before she became a vegetarian, but my man and our son think this is one of the best things I make. 🙂  Enjoy!

All photos taken by: Nicole Presley and Mando Lopez

Ingredients for meatballs: 

1 – pound ground beef

1 – pound ground pork

1 – egg

1/4 – cup chopped green onion

1/3 – cup Wonderful Pistachios (shucked and chopped)

1 – heaping tablespoon of minced garlic

1/4 – cup fresh cilantro leaves

1/3 – cup chopped mushrooms

1/4 – cup bread crumbs

Salt and pepper to taste

Using your hands, mix all ingredients in a bowl. Then grab a small handful of meat mixture and roll into a ball. Repeat until done. Set to the side.

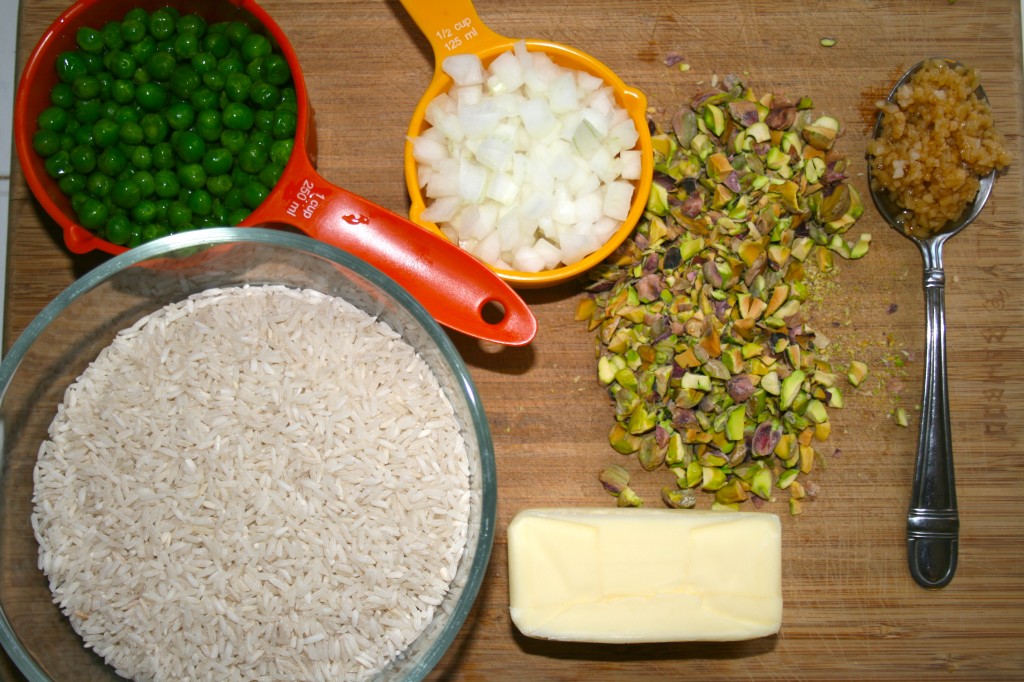
Ingredients for pistachio rice:

 4 – tablespoons butter

1 – tablespoon minced garlic

1/2 – cup onion

1 1/2 – cup long grain rice

1 -tablespoon toasted sesame seeds

1/3 – cup Wonderful Pistachios (chopped)

1 -teaspoon salt

1 -teaspoon black pepper

3/4 – cup peas (optional)

3 – cups chicken broth

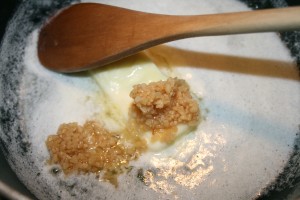
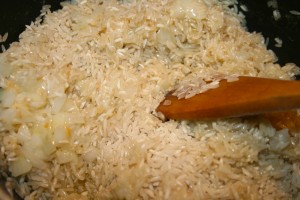
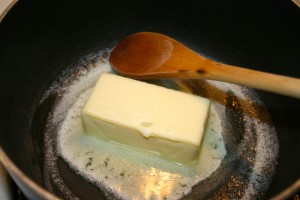
Over a medium high flame add butter and garlic to a sauce pan with a lid. Melt butter, then add onion and rice. Mix until rice starts to brown. Then add sesame seeds, chopped pistachios, salt & pepper and mix well.  Add peas if you like. Wait until rice is very golden brown. Then add chicken broth and bring to a boil. Once broth starts to boil, lower flame to low, and put the lid on the rice. Cook the covered rice for 20 minutes. Then remove from flame and set to the side.


While your rice is cooking, let’s start the gravy.

Ingredients for gravy:

4 – tablespoons butter

1/2 – tablespoon minced garlic

1/2 – cup chopped onion

1/2 – cup chopped mushrooms

2 – cups beef broth

1 – tablespoon corn starch

1/8 – cup water

In a small sauce pan over a medium flame add butter and allow to melt.  Then add garlic, onion and mushrooms.  Saute until onions are soft.  Then add beef broth and bring to a boil.  Once broth is boiling get a small cup and fill with water then add corn starch and mix until corn starch is completely dissolved.  Now add corn starch water to boiling broth onion mixture.  Mix well.  Broth will thicken and remove from flame.


Lastly… over a medium flame take a large frying pan and add 1 tablespoon vegetable oil, and allow to get hot. Then add your reserved meatballs and cook on each side for 5 to 7 minutes or until cooked all the way through.

That’s it your done. I like to add a piece of pineapple to the plate for the perfect touch of sweetness! You could enjoy this dish either way!


No compensation was received for this post. I was provided with a sample of  Wonderful Pistachios to aid this recipe. The recipe and opinions are my own.

Disney-Interactive HALLOWEEN Party pictures! Plus….How to make Jack Skellington Cupcakes!

Disney-Interactive HALLOWEEN Party pictures! Plus….How to make Jack Skellington Cupcakes!

 It’s not everyday I get invited to the Disney Studio Lot for a Halloween Party.  Boy was it a nice one.  Lots of activities for the kiddies, but an equal amount of fun for adults too.  Or maybe I just relish in childish venture.  There was a ton of video games, craft making, cookie decorating, a drawing station, and a costume contest.  The excitement didn’t end there…. we got a tour of the studio back lot.  I felt like a fly on the wall walking the halls of the animation building.  Looking at old posters and glazing over vintage collectables from the archives.  It was indeed a lucky day.  I snapped a few pictures along the way, let me give you a peak.


Back at the Party the snacks were in full swing. Mini burgers, mac and cheese cupcakes, caprese salad, ceasar salad, chicken skewers, candied apples, Mickey Mouse cupcakes and Jack Skellington  cupcakes too.

  These cupcakes would be the perfect HALLOWEEN treat. Why don’t you make them?Here’s how.

You’ll need:

  • Batch of chocolate cupcakes
  • White buttercream frosting
  • 2 toothpicks
  • Tube of black decorator’s icing

Instructions:

  1. Frost the cupcakes.
  2. For each cupcake, use the tip of a toothpick to lightly etch the outline of two large Jack Skellington eyes in the frosting.
  3. Slowly pipe black decorator’s icing onto the etched lines and then fill in the inner circles. Use another toothpick to spread and smooth the icing.
  4. Pipe on two short lines for a nose. Next, pipe a long line across the bottom of the cupcake for the mouth. For the finishing spooky touch, randomly top the mouth with a bunch of short icing barbs.

Thank you Disney for inviting me and my family to your wonderful party. We had too much fun!

All photos taken by: Nicole Presley and Mando Lopez.  Except the Jack Skellington Cupcake photo is courtesy of Disney Family.com

Halloween fun in a SPOOKY rice krispie treat graveyard!

Halloween fun in a SPOOKY rice krispie treat graveyard!

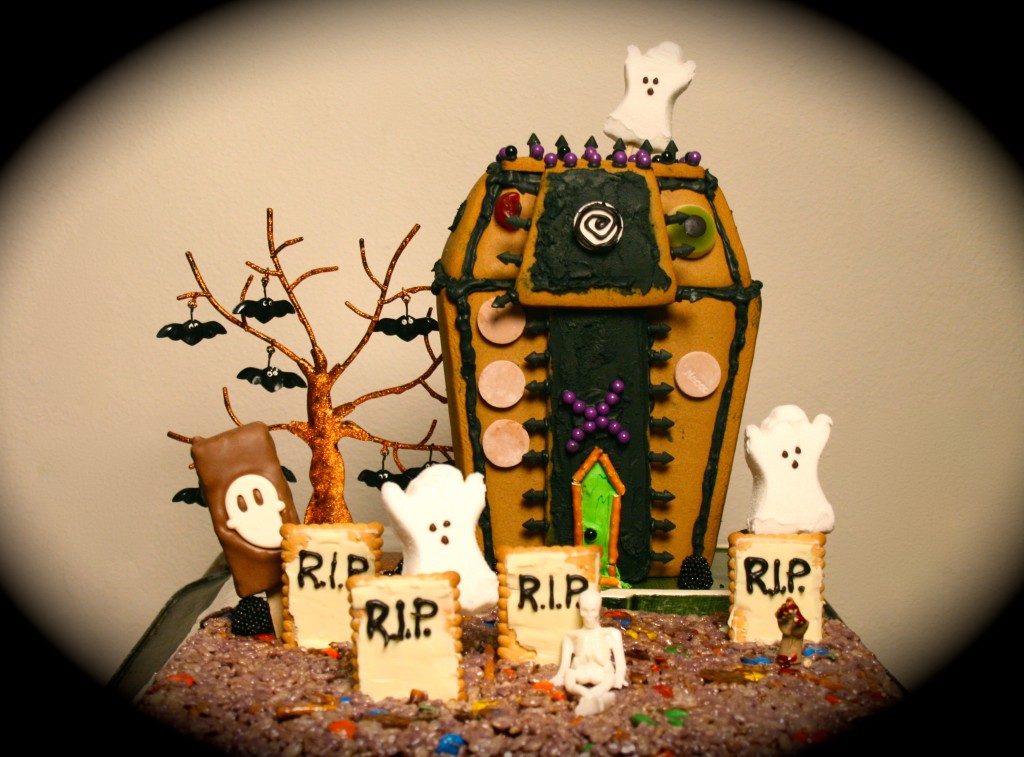
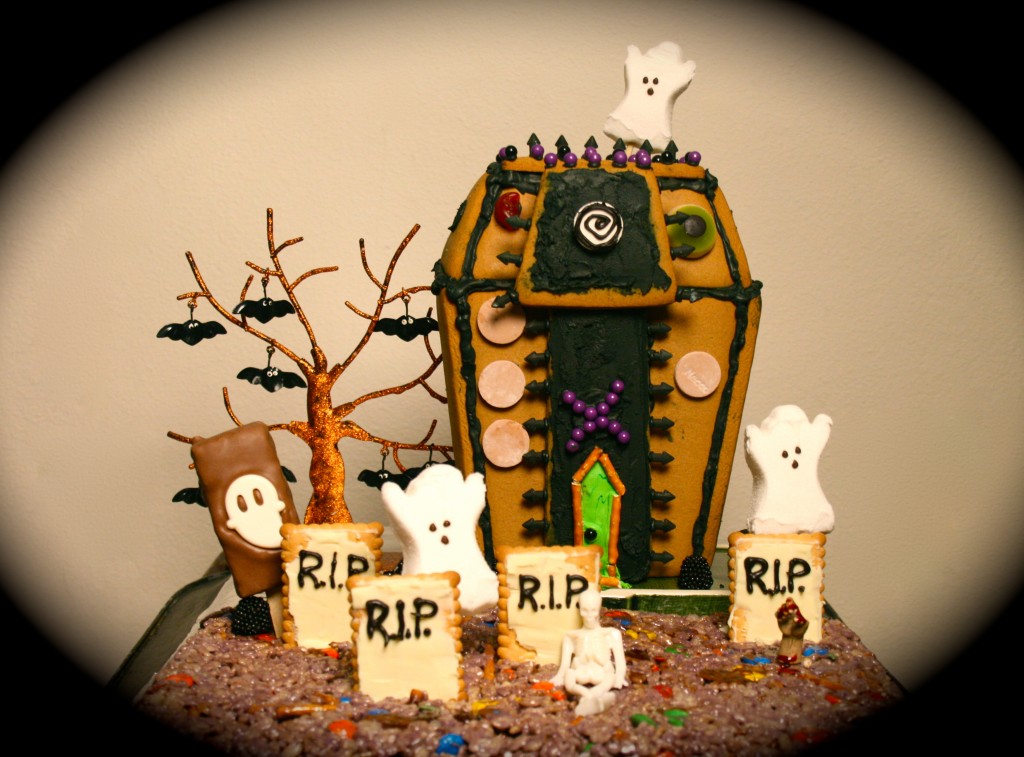
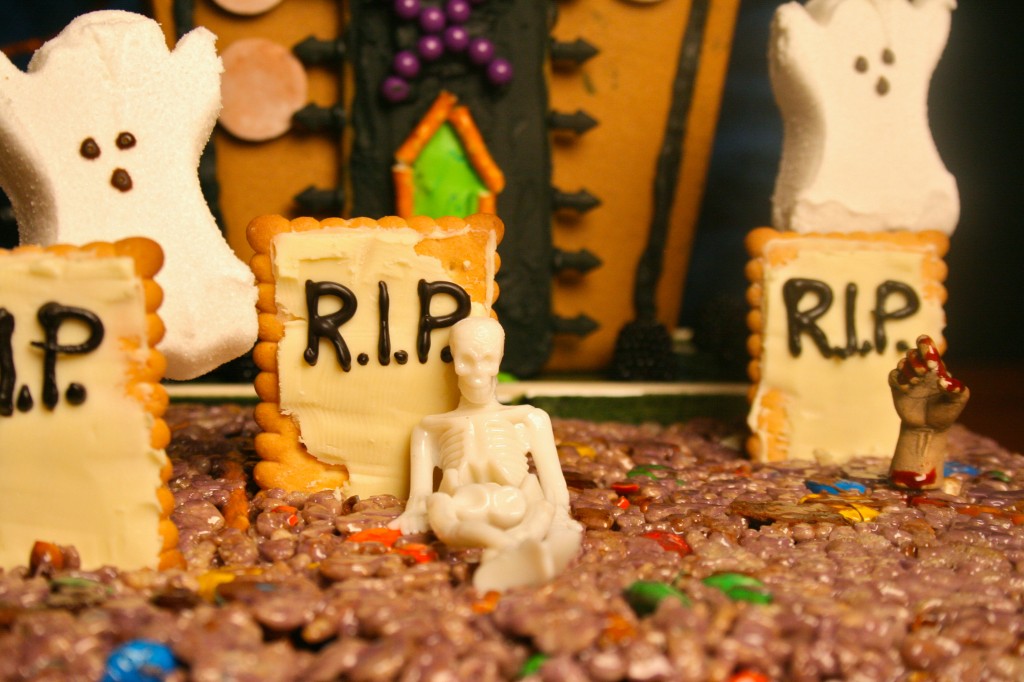
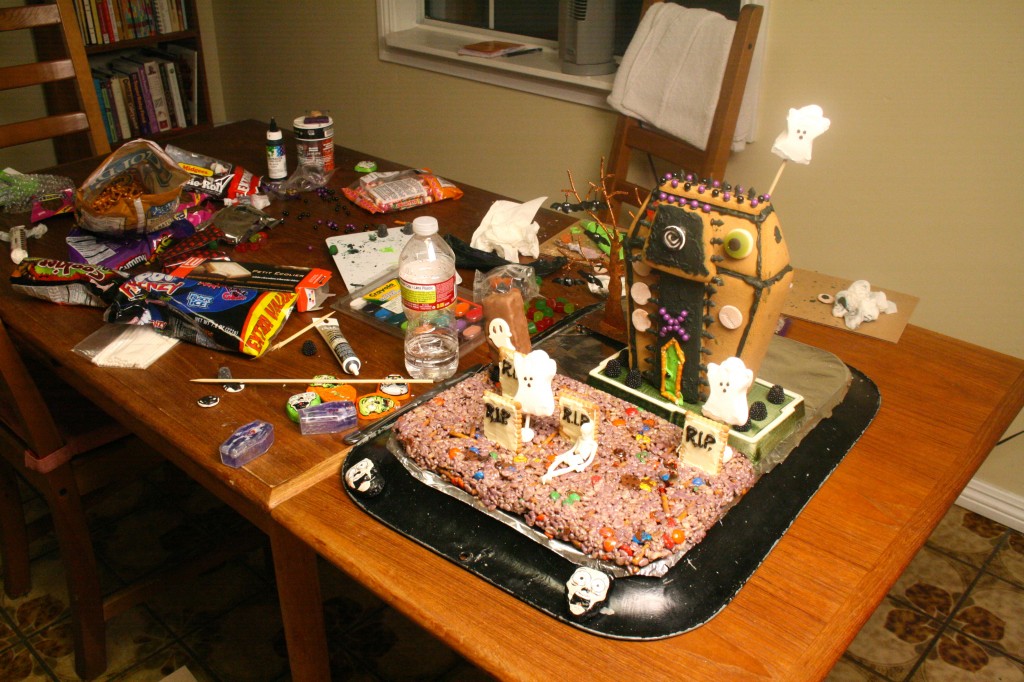
Halloween came out of nowhere for me this year.  I am known in my circle of friends as a Halloween queen…..  I always have my costume ready weeks in advance and try and make it myself.  I’m NOT the store bought kinda Halloween gal.  This year time sideswiped me and I am slightly behind on my ghoulish duties.  Over the weekend I decided it was time to play catch up…. fast.  I started by decorating the house, and getting my son’s costume in order.  Then I wanted to do a fun edible graveyard scene for my kitchen.  Well let me tell you it certainly turned into a project.  I had never made rice krispie treats and thought it would make for a good graveyard….. that’s until I started melting the vegan marshmallow.  Holy Moly!  That stuff sticks to everything.   So there I go….. I used Pam on my rice krispie treat graveyard, and it was so much easier to manage.  Don’t laugh, I had to make them twice, the first time was a complete disaster, it was like being stuck in a spider web.  Once that was settled, we built a little haunted house and let some ghost come and squat there. Gosh…. I love Halloween.  Now I’m on a roll.  The festivities in this house have not stopped.  Here’s a little play by play incase you want to make a spooky graveyard in your kitchen too!

Ingredients for graveyard rice krispie treats:

Pam non-stick cooking spray

4 – tablespoons butter

10.5 – ounces of vegan marshmallows

food coloring

5 – cups rice krispie cereal

1 – cup pretzel sticks

3/4 – cup plain m&m’s

1 – 13×9 pyrex dish

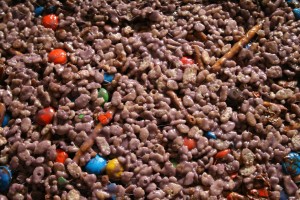
Spray pam in a large sauce pan, then place pan over a medium flame and add butter. Allow butter to melt, add vegan marshmallows and mix until completely melted.  Quickly add food coloring color of your choice ( I used red, blue and a little black to make a dark purple) to marshmallow mixture and mix until color is completely incorporated.  Now add rice krispie cereal, pretzels, and M&M’s to marshmallow mixture and mix to combine.

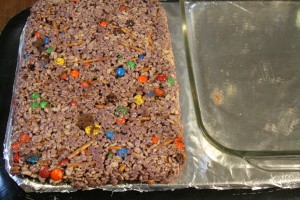
Take your 13×9 pyrex and spray with pam.  Then place all rice krispie cereal mixture into pyrex.  Spread with a spatula (sprayed with pam) and even it out to fit the pyrex dish.  Let cool for 1 hour and then turn it upside down and watch it plop right out onto your working surface.


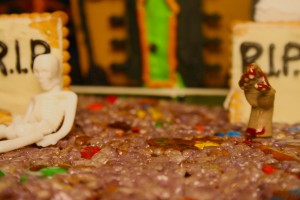
Now for the fun part, you get to decorate your graveyard.  I added a haunted house to give it an extra hair raising feeling.  I used cookies and chocolate for the headstones, and ghost peeps to spook you.  I decorated the haunted house with an assortment of candy and painted the hand coming out of the grave with red food coloring.  This graveyard is going to taste as good as it looks!

All photos taken by: Nicole Presley and Mando Lopez


       Here’s the SCARY part, the mess this project made in the kitchen. Trick or Treat!!!! IMG_8723-1024x757

Lindt Fall Recipe Contest!

Lindt Fall Recipe Contest!

Last year my Mom , my Auntie Rosie, and I made candy wreaths for Christmas and we used Lindt chocolates to give our wreaths a red accent.  I love spending time with two of the most important ladies in my life, but the truth is we had to go out and buy more Lindt because we couldn’t stop eating the chocolate.  Yes we love to eat and pass our Sunday afternoon in project mode.  I thought to myself how am I going to recreate that feeling of closeness again this year?  What could we do?  We wouldn’t want to make the same wreaths.  That’s when I found out about this super fun contest Lindt is having.  I know a ton of my readers LOVE CHOCOLATE, and I know a bunch of you enjoy baking too….. Naturally I want to share this tidbit of info with you.

Lindt is giving chocolate lovers a chance to submit an original recipe to their Fall Recipe Contest from now to Nov 7th, 2011.  The only rule is you must use Lindt chocolate in your recipe…  Want me to tell you what the prizes are?

A year’s supply of Lindt Chocolate

A brand new KitchenAid 7-quart bowl-lift residential stand mixer

Lindt gift cards ($100 & $50)

Lindt chocolate passion recipe book

This lady will not only tell you about the contest she’ll show you the prizes too.

Want to enter? Click HERE to submit your recipe!

Once your all done with that…. you might want to look at the rules. You can click HERE for the regulations.

So back to what us girls will be doing this holiday season….  I think my Mom, my Aunt and I will make chocolate tamales.  I don’t know if we will end up submitting them to the recipe contest or not.  We are such tragonas (big eaters), the chocolate will probably never make it into the recipe. 🙂  Good Luck Friends!