Tag: Family Fun

Halloween Caramel Apples.  A super simple how-to video

Halloween Caramel Apples. A super simple how-to video

Halloween holds such joyous memories for me.  I equate October with creativity, imagination, family closeness, traditional sweet confections, and the kick off to the official holiday season. However you decide to mask your face, as a ghost, mummy, witch, sexy nurse or last years vampire…. make sure you leave enough room to stuff your face with my Halloween Caramel Apples.  Why? Because they are FREAK-ing delicious and simple to make!

Ingredients for Halloween Caramel Apples:

7 – Melissa’s Produce Granny Smith Apples or Pears

7 – popsicle sticks

2 – tablespoons milk

1 – package of caramels (about 50 unwrapped pieces)

melted chocolate of your choice

royal icing or frosting

 Directions:

1. Wash and dry apples and/or pears

2. Insert stick into apple or pear

3. Over a medium low flame in a sauce pan add milk and caramels. Stir until completely melted.

4. Line a platter or cookie sheet with a piece of buttered wax paper.

5. Dip apples into caramel until completely covered, and place on lined platter.

6. Place apples/pears in refrigerator for 1 hour to set.

7. Melt chocolate of your choice, White works well for decorating purposes.

8. Dip caramel apples/pears into chocolate and place back into the fridge for an additional 45 minutes.

9. Once the apples/pears are set remove from fridge and decorate with royal icing or frosting to make a spook-tacular frightfully delicious apple!

10. Enjoy and HAPPY HALLOWEEN!

I would like to thank Melissa’s Produce for suppling me with all the apples and pears.

Video and photos by: Mando Lopez
How to make Confetti Eggs!

How to make Confetti Eggs!

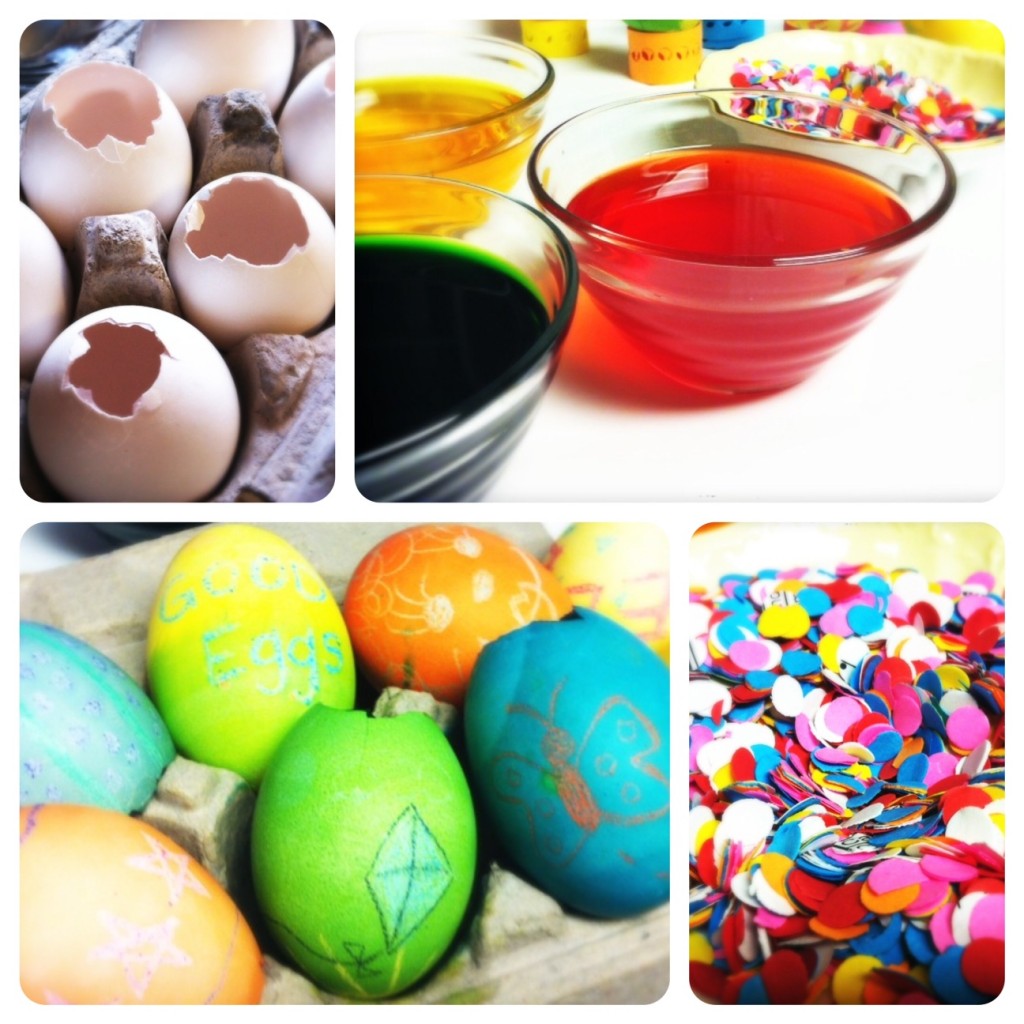
This is what happens when you get me and Ericka Sanchez from Nibbles and Feasts together….. We make confetti eggs to celebrate Easter with! Hippity Hoppity your way over to The Two Good Eggs and check out our HOW TO MAKE CONFETTI EGGS by clicking HERE! 

BOMBS AWAY!!!!

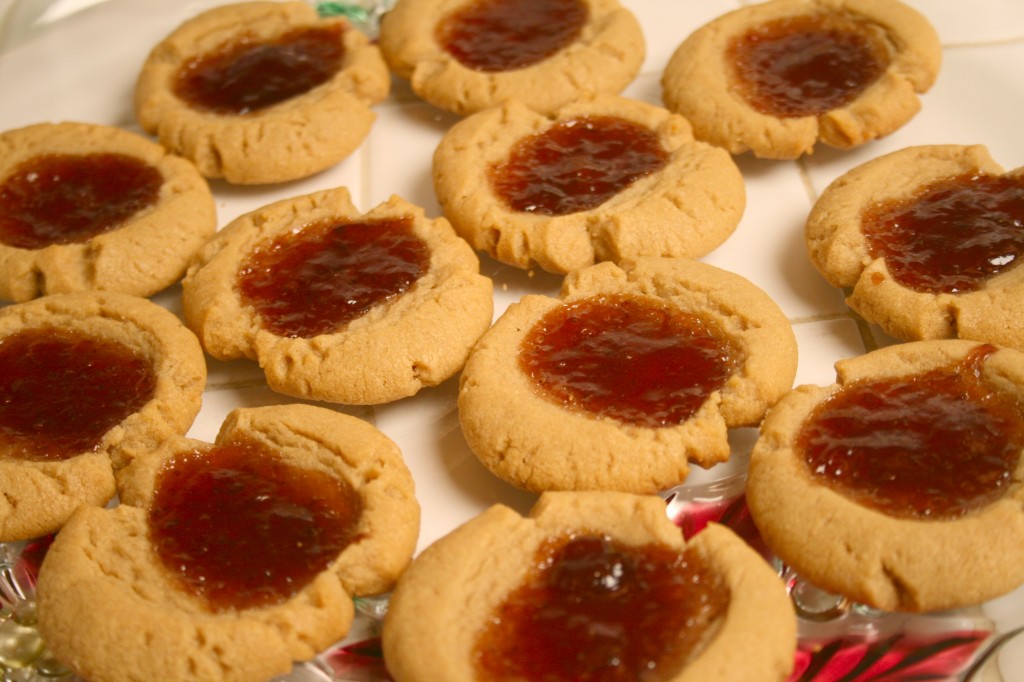
Just in time for the Holidays! My lovely Peanut Butter and Jam Cookies!

Just in time for the Holidays! My lovely Peanut Butter and Jam Cookies!


Ingredients for peanut butter and jam cookies:

1 1/2 – cups creamy peanut butter

1/2 – cup butter (room temperature)

1 1/2 – cups sugar

1/2 – cup dark brown sugar (packed)

2 – eggs

1 – cup flour

1/4 – cup almond meal

1 – teaspoon baking powder

1/2 – cup jam (I use strawberry or fig….use the flavor of your choice)

Preheat oven to 350 degrees fahrenheit

In a mixer bowl add peanut butter and butter and mix to completely combine. Then add sugar and dark brown sugar and mix on medium speed for 4 to 6 minutes or until smooth.  Add in one egg at a time till incorporated.

In a small bowl add flour, almond meal, and baking powder. Give it a good stir to ensure all powders are combined.

Add flour mixture  to butter mixture and mix just till combined.

Line cookie sheet with baking mat or wax paper.


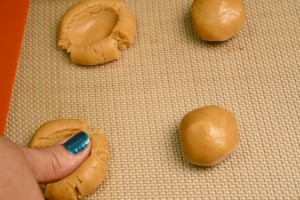
Using a tablespoon measure out a dough and drop into your hand an d roll each piece into a ball. Place each ball at least two inches apart.


Then gently press your thumb into the center of each cookie ball to create your dent to fill with jam.


Fill each cookie with 1/2 teaspoon of jam. Bake for 13 to 14 minutes or until golden.  Let cool on cookie sheet for 8 minutes, then remove and place on rack for extra cooling. Makes 50 cookies.  Happy Holidays!

The Joy of being a Blog Amiga. Long Live Maseca!

The Joy of being a Blog Amiga. Long Live Maseca!


As the holidays circle around us and I start to organize my schedule counting down the days till the next celebration, the one prominent thing I have on my mind is making tamales with my family.  It’s a tradition that goes hand in hand with the holiday season.  There’s something about making the chile, preparing the meat, the smell of Maseca masa as you spread it on the husk, and the feeling of unity as my family and friends gather for this ritual.  My tribe flocks together every year at my Tia Rosie’s house to embark on 35 dozen or so tamales.  We set up an assembly line and everyone is responsible for a different task.  Red chile with beef, Green chile with pork, vegetarian, and sweet tamales for all to enjoy come Christmas eve.  We make them fresh, package them neatly, freeze them and steam them once Dec. 24th rolls around.  This is the opening of my holiday season, and I consider it one of the best gifts.  There is one difference I must share this year… I am delighted to announce I am part of a campaign for Maseca called Blog Amigas.  Can you imagine the joy it brought me to be involved with a product I whole heartedly celebrate along with my family every year already?  Now it will be something I’ll share with you too.  Hopefully you feel the same warmth it brings me.

Let me invite you over to the New Mi Maseca website. You can find all types of recipes there from tamales to tortillas and some healthy recipes for you and your family to enjoy. Click here to look around.  Or you can play “Raspa y Gana” sweepstakes for a chance to win free groceries!  Sweepstakes ends Dec. 12th so you better hurry.

Disclosure: This is a sponsored campaign between Maseca and Latina Bloggers Connect.
Halloween fun in a SPOOKY rice krispie treat graveyard!

Halloween fun in a SPOOKY rice krispie treat graveyard!

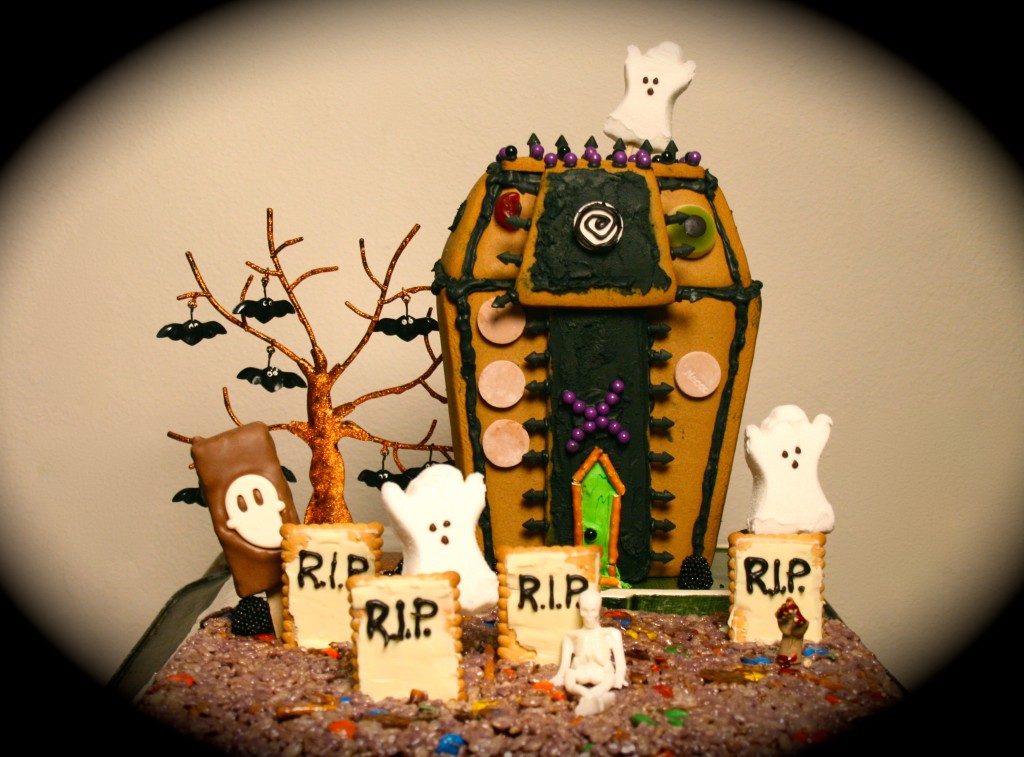
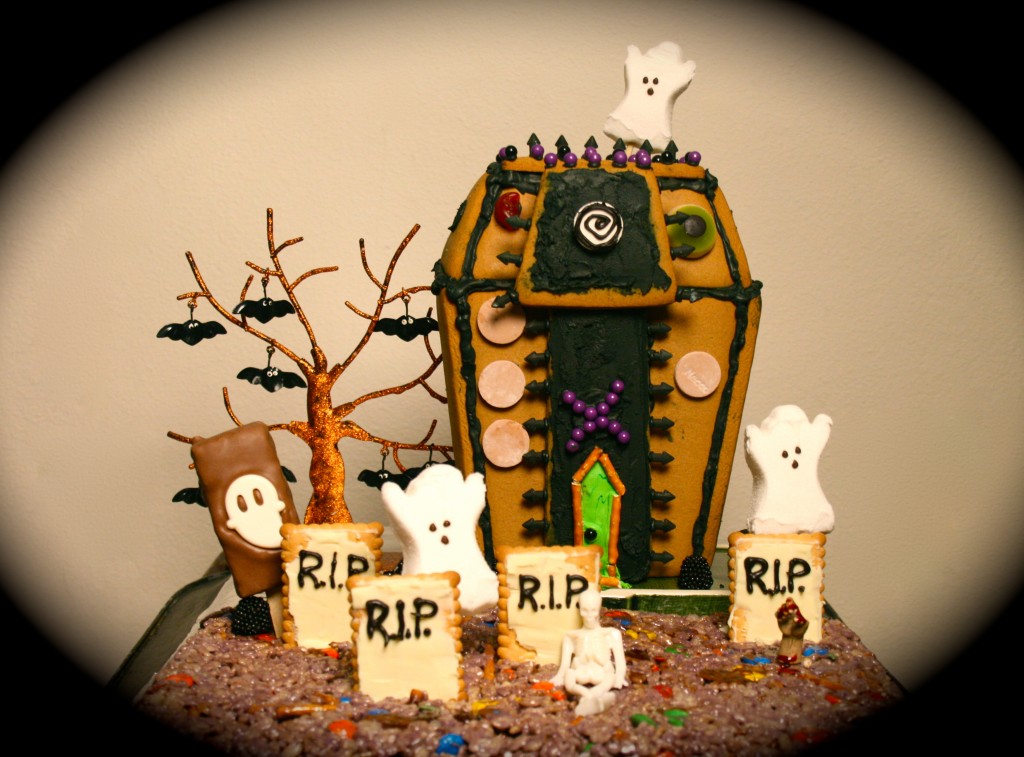
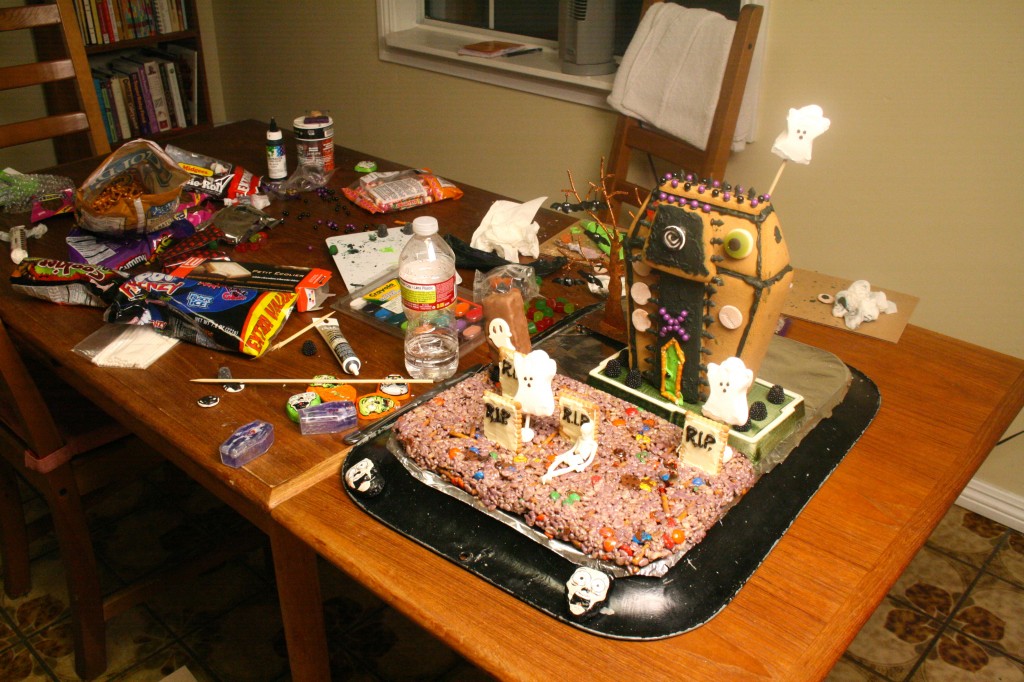
Halloween came out of nowhere for me this year.  I am known in my circle of friends as a Halloween queen…..  I always have my costume ready weeks in advance and try and make it myself.  I’m NOT the store bought kinda Halloween gal.  This year time sideswiped me and I am slightly behind on my ghoulish duties.  Over the weekend I decided it was time to play catch up…. fast.  I started by decorating the house, and getting my son’s costume in order.  Then I wanted to do a fun edible graveyard scene for my kitchen.  Well let me tell you it certainly turned into a project.  I had never made rice krispie treats and thought it would make for a good graveyard….. that’s until I started melting the vegan marshmallow.  Holy Moly!  That stuff sticks to everything.   So there I go….. I used Pam on my rice krispie treat graveyard, and it was so much easier to manage.  Don’t laugh, I had to make them twice, the first time was a complete disaster, it was like being stuck in a spider web.  Once that was settled, we built a little haunted house and let some ghost come and squat there. Gosh…. I love Halloween.  Now I’m on a roll.  The festivities in this house have not stopped.  Here’s a little play by play incase you want to make a spooky graveyard in your kitchen too!

Ingredients for graveyard rice krispie treats:

Pam non-stick cooking spray

4 – tablespoons butter

10.5 – ounces of vegan marshmallows

food coloring

5 – cups rice krispie cereal

1 – cup pretzel sticks

3/4 – cup plain m&m’s

1 – 13×9 pyrex dish

Spray pam in a large sauce pan, then place pan over a medium flame and add butter. Allow butter to melt, add vegan marshmallows and mix until completely melted.  Quickly add food coloring color of your choice ( I used red, blue and a little black to make a dark purple) to marshmallow mixture and mix until color is completely incorporated.  Now add rice krispie cereal, pretzels, and M&M’s to marshmallow mixture and mix to combine.

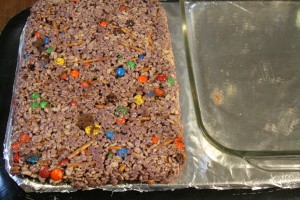
Take your 13×9 pyrex and spray with pam.  Then place all rice krispie cereal mixture into pyrex.  Spread with a spatula (sprayed with pam) and even it out to fit the pyrex dish.  Let cool for 1 hour and then turn it upside down and watch it plop right out onto your working surface.


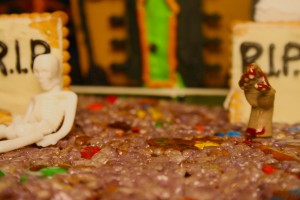
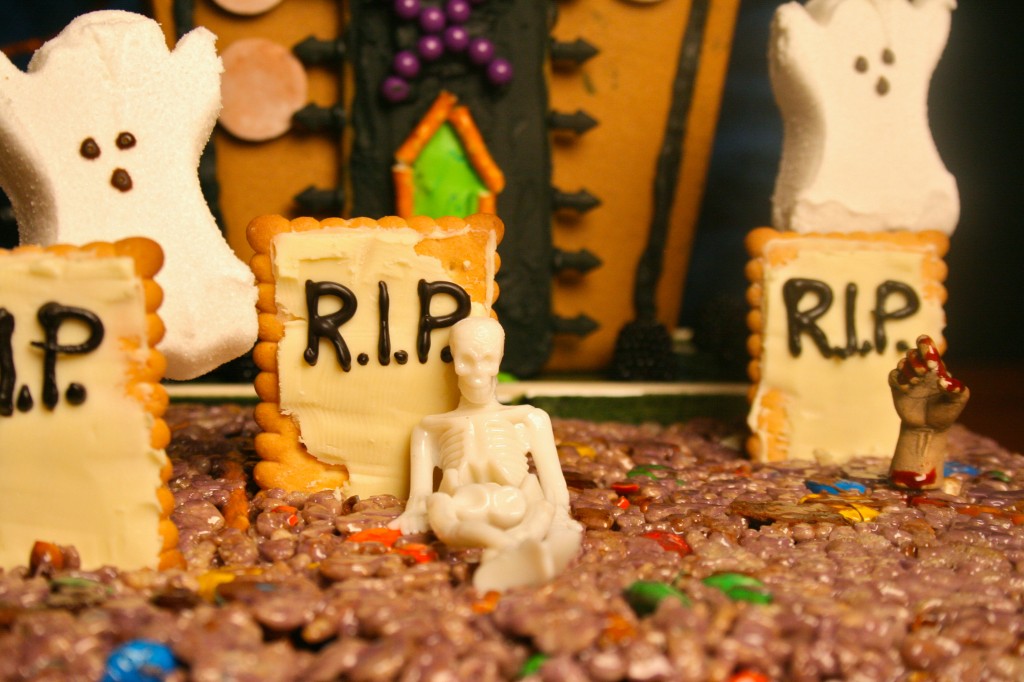
Now for the fun part, you get to decorate your graveyard.  I added a haunted house to give it an extra hair raising feeling.  I used cookies and chocolate for the headstones, and ghost peeps to spook you.  I decorated the haunted house with an assortment of candy and painted the hand coming out of the grave with red food coloring.  This graveyard is going to taste as good as it looks!

All photos taken by: Nicole Presley and Mando Lopez


       Here’s the SCARY part, the mess this project made in the kitchen. Trick or Treat!!!! IMG_8723-1024x757