Disney’s “Frozen” Meets “World Of Color – Winter Dreams” Meets “Olaf” Cupcakes

I seem to be obsessed with Olaf from Disney’s new animated feature Frozen. I got to see a screening of the film last week and fell head over heels in love with the adorable snowman character. The film open Thanksgiving day nationwide, and shouldn’t be missed. Then a few days later I found myself hopping between Disneyland and California Adventure, both parks were decorated in full Christmas cheer with lights and trees sparkling around every corner. The holidays bring a different type of magic to the Disney theme parks and what I was most thrilled to see was the premiere of “World Of Color – Winter Dreams” water show at Disney California Adventure. I almost became giddy when I realized that Olaf (the cute snowman from Frozen) was the host of the new show. What perfect timing and another opportunity for me to swoon over my cartoon crush. The water spectacular is absolutely breathtaking, with fountains spanning the length of a football field and thousands of lights that brighten the night’s sky. This show in particular is something to see with floating snowflakes made of bubbles that blow out and float over the audience. There is a virtual choir that sings the opening segment of the show and their voices sound like angels. One of the coolest things that impressed me the most was the ears….. Disney has certainly outdone themselves with the ears. They have these new Mickey ear hats that light up and synchronize to the show, so as the colors change in the show, so do the ears. Everyone in the audience was wearing the ears and it was so amazing to see such a large group of people interacting with the show, it is definitely a cool extension of something already amazing. Here is a quick snippet of the show I caught with my phone.
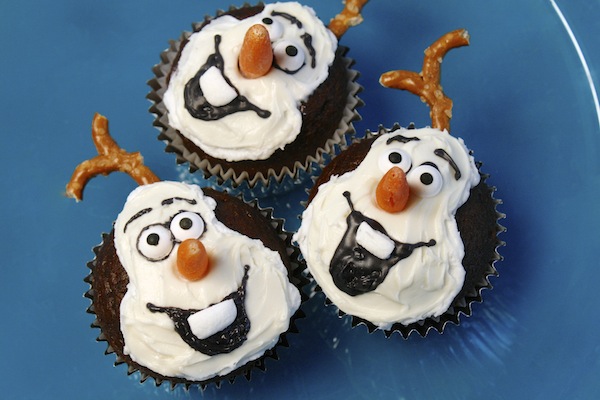
Certainly a magical moment and I can’t wait to get back there over this holiday season to enjoy it again. In the meantime to hold me over from my new Olaf obsession, since I have a few more days till Frozen hits the theaters, and a few weeks till I am back at California Adventure…. I decided to make Olaf inspired cupcakes.
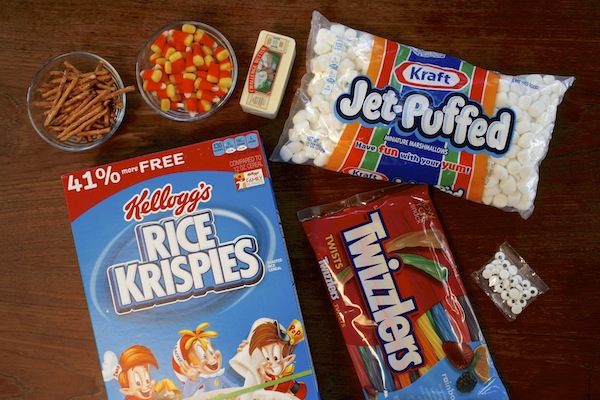
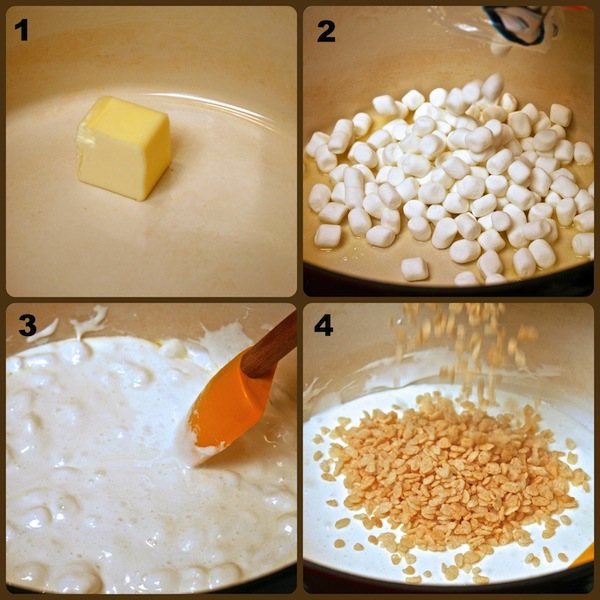
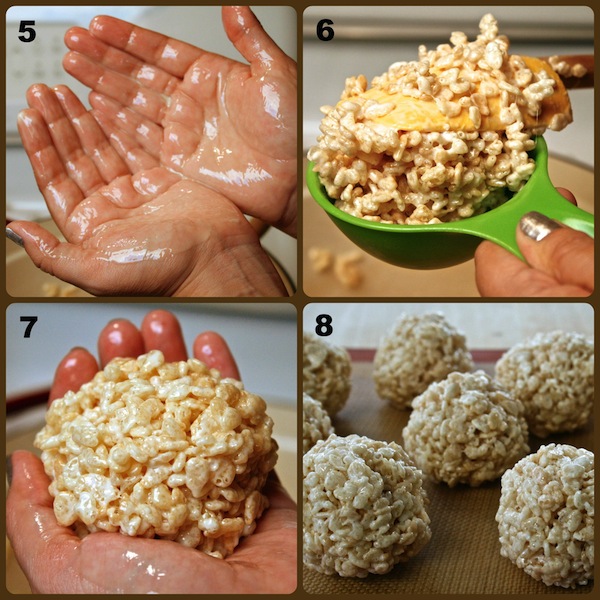
Get the step by step photos on how I made these cupcakes over at Babble.