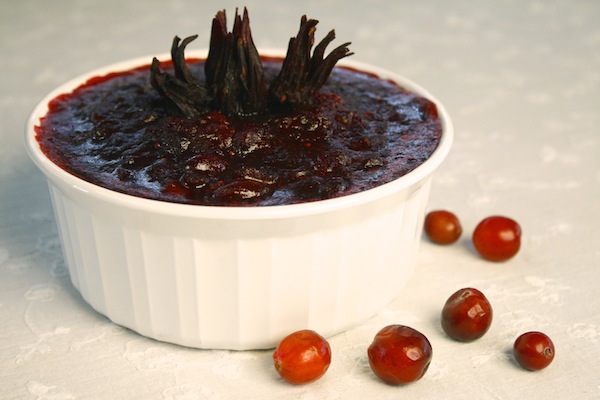
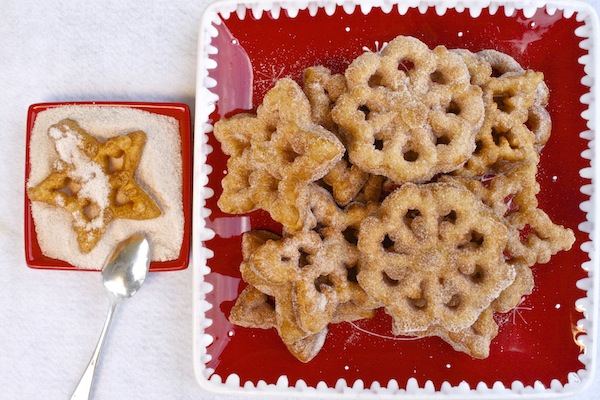
Buñuelos De Viento (Mexican Fritters)
Buñuelos de viento = light as air fritters that are melt in a crunchy type of way delicious. These Mexican fritters are made with a rosette and so easy to make. I know for many people buñuelos are made by rolling out dough or frying a flour tortilla, and I do celebrate that type as well. This year I wanted to make a fancy version for my posada , so I decided to give the rosette a try. In essence a buñuelo is a fritter, it could be shaped in a ball, or flat as a disk, but if it’s deep fried and powdered with cinnamon/sugar then it’s a buñuelo.
Buñuelos are certainly enjoyed throughout Christmas time and served with a hot glass of champurrado. I feel like I’m over explaining this delicate crisp friend of mine, when all I really need to say is …. if you’ve never had a buñuelo…. now is the time. Enjoy them this posada season and never look back.
Watch the short video at the very bottom of this post to see exactly how to make these treats.
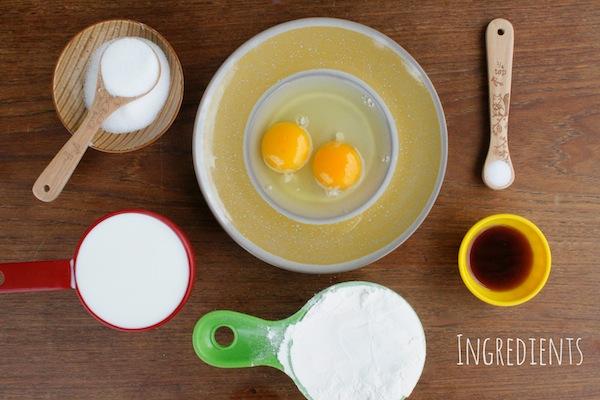
Ingredients for buñuelos de viento:
- 2 – eggs
- 1 – tablespoon vanilla
- 2 – tablespoons sugar
- 1 – cup milk
- 1 – cup flour
- 1/4 – teaspoon salt
- vegetable oil for frying
- rosette set
- cinnamon sugar mixture
Directions:
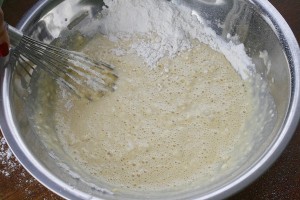
- In a bowl whisk together the eggs and vanilla.
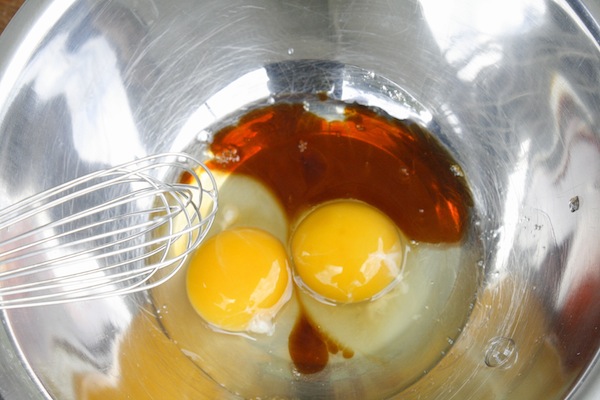
- Add in the sugar and whisk well.
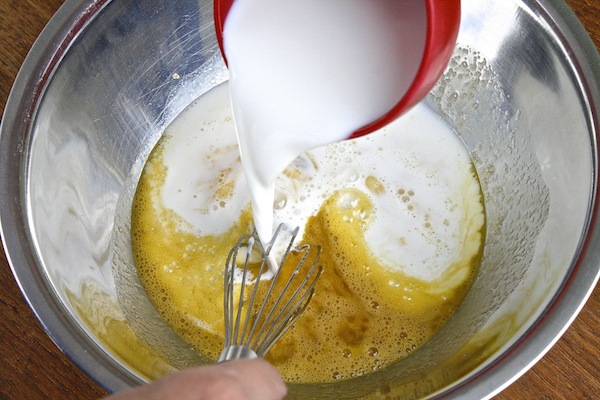
- Add in the milk and whisk to combine completely.
- In a separate bowl mix flour and salt together then sift into the egg/milk mixture. Whisk to combine. It should have the consistency of a thick cream.

- Set batter to the side for 10 minutes.
- In a small frying pan fill with 2 inches deep of frying oil. Place pan over a medium flame and allow to get hot.
- Place rosette on the timbale and place to locked position. Then dip the rosette into the hot oil allowing it to get hot.
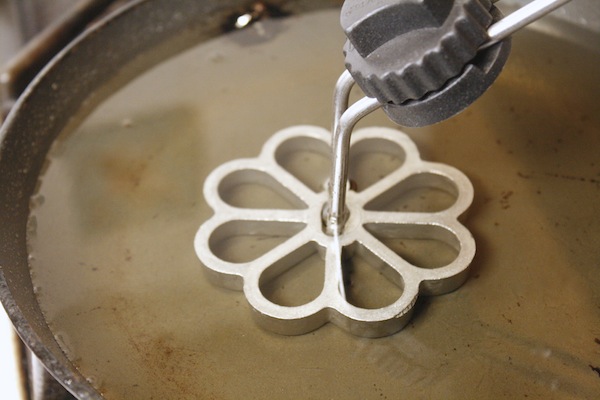
- Remove it from the oil and blot off excess oil.
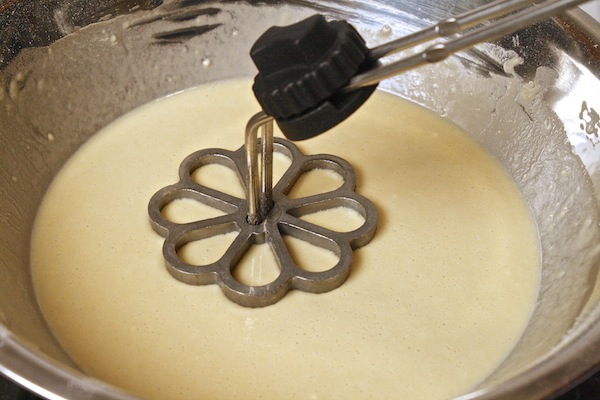
- Then dip the rosette into the batter, but make sure to leave the top of the rosette exposed. Do not submerge it all the way.
- Then dip the rosette back into the hot oil. Fry the batter for about 20 seconds then the rosette will easily slip off. Once the rosette slips off, place it to the side and use thongs to flip the buñuelo over and cook it on the inside.
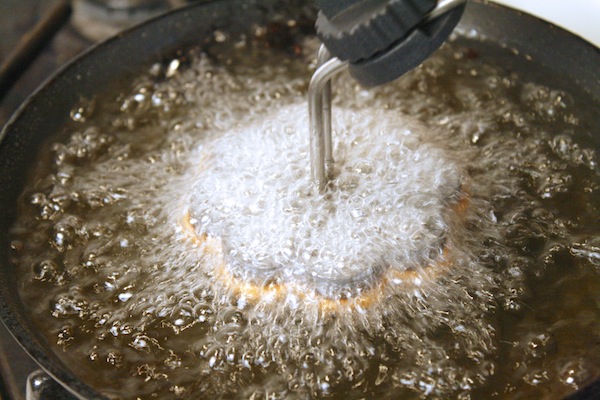
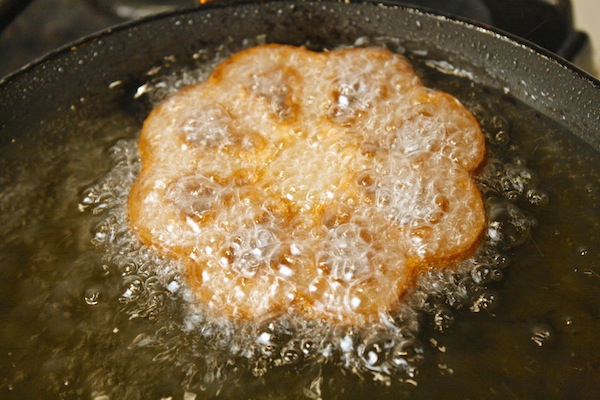
- Let fry until golden crisp.
- Drain each buñuelo on a paper towel lined plate.
- Then dip the buñuelos into the cinnamon sugar mixture and serve.
- Enjoy!