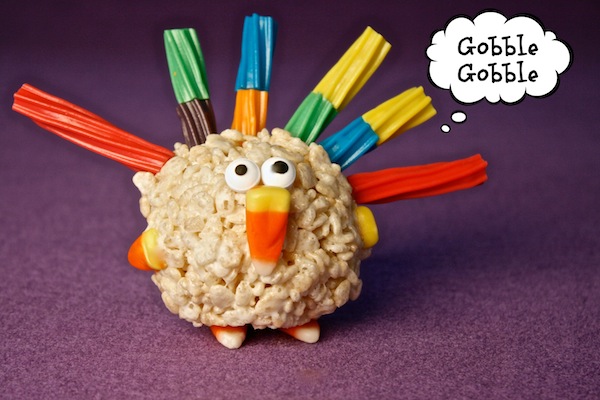
Thanksgiving Rice Krispie Turkey Treats

Yes, I have been known to tag along with my Mom every where she goes, and she loves to go to Walmart. Every Monday, like clockwork she makes her Walmart grocery run, and I come along and pick up the items I need too. This past Monday as we were driving, I was saying I wanted to do some kind of edible Thanksgiving craft with my son. The craft would serve as an introduction to the holiday and somewhat explain to him what the feast represents in the simplest form. My Mom asked what I was going to make, and I told her I would probably make some type of rice krispie treat since I know that is something he will definitely eat. Sometimes a food craft is the best way for me to teach my 4 year old the joys of the holidays. That’s the exact method my Mom and Aunts taught me with.
Enjoy your Thanksgiving holiday and make this cute little craft with the kids before the feast. It also would be a fun activity for the kids to partake in after the holiday dinner. Keep them busy decorating their own dessert. 🙂
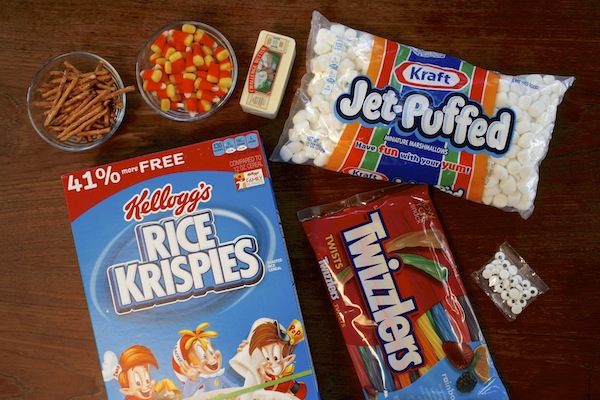 Ingredients for Thanksgiving rice krispie turkey treats:
- 3 – tablespoons butter (plus a little extra to rub on your hands)
- 1 – package (10 ounces) jet-puffed marshmallows
- 6 – cups rice krispies cereal
- frosting or royal icing
- pretzel sticks
- colorful licorice
- candy corn
- edible candy eyes
Directions:
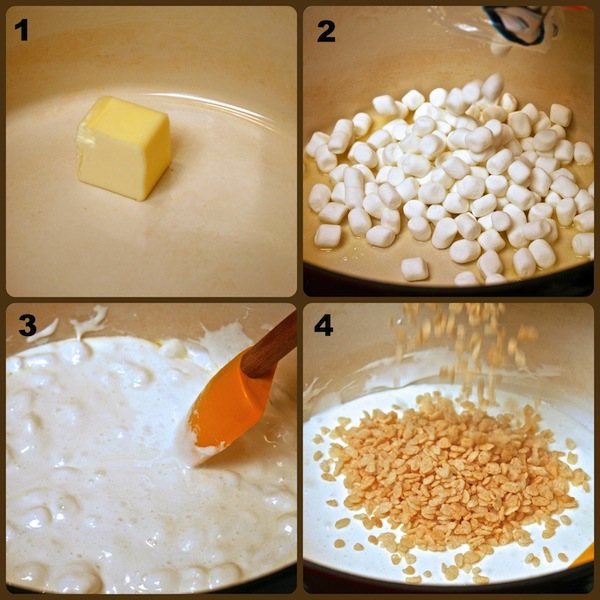
- In a large pot over a low flame add in butter and stir until melted.
- Add in marshmallows.
- Stir until completely melted. Remove from flame.
- Stir in the rice krispie cereal in until completely coated.
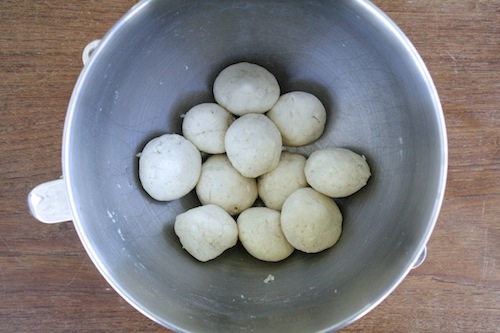
- Butter your hands, and spray a 1/2 cup measuring cup with non stick spray.
- Fill the measuring cup with the warm cereal mixture.
- Shape with your hands to form a ball. Repeat till all cereal mixture is gone.
- Place cereal balls on a baking mat or lined cookie sheet.
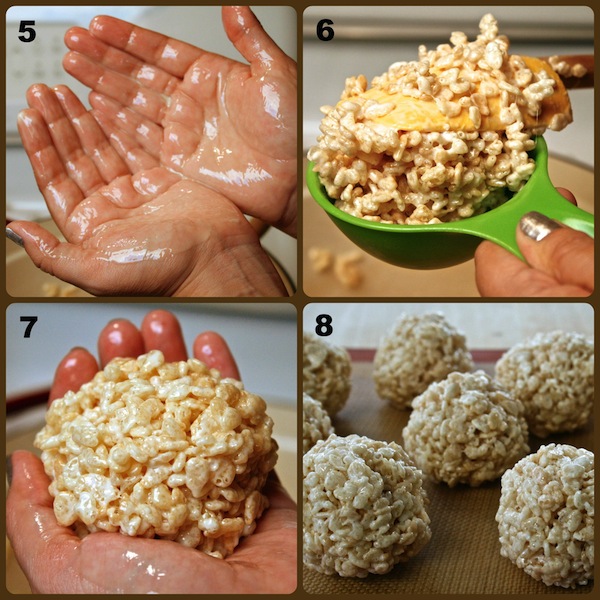
- Allow to cool for about 30 minutes.
Let’s Decorate:
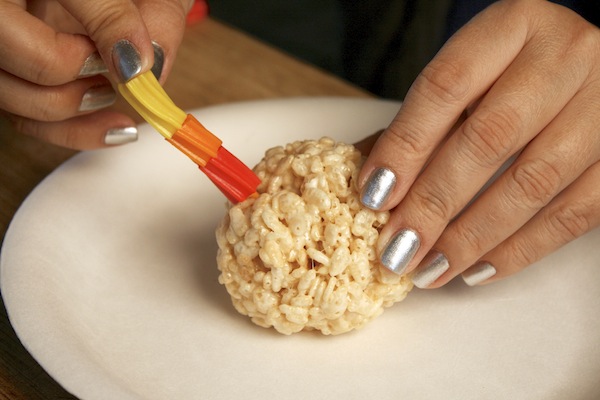
First start by sliding pieces of licorice onto a pretzel stick. Leave about 1/4 of an inch at the bottom of the stick exposed. This will be the part that you stick into the rice krispie treat ball to form the feathers of the turkey.

Once all licorice feathers are in place in the back of the turkey body, it is time to work on the face. Using frosting or royal icing stick a candy corn into the front center of the ball. Then stick two candy eyes about the candy corn.

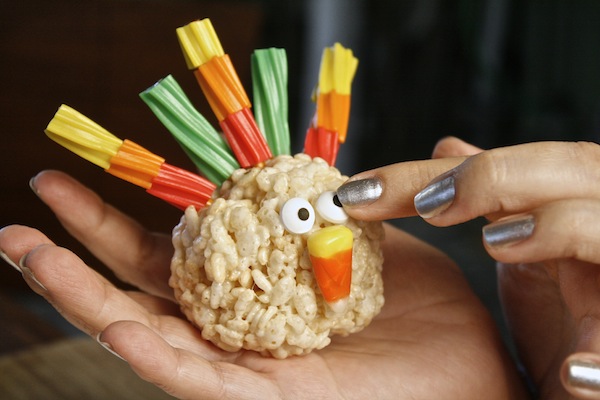
I also added two candy corn to the bottom as feet and two to the side as wings. There are no rules….. Have fun with your turkey!