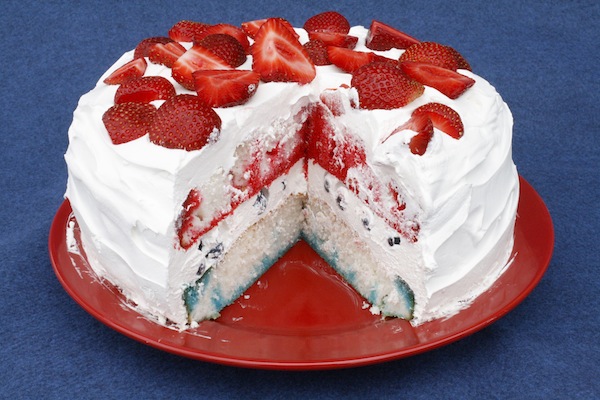
Pastel De Gelatin – 4th of July Style

My tia makes the best jello cake. She calls them “Pastel de Gelatin.” I personally don’t care what she calls them as long as I get my slice. This year I took my personal stab at it and bought it out in true 4th of July style. One fork in you’ll make jello cakes a part of your summer too!
INGREDIENT LIST:
- 1 – white cake mix
- 1 – 6 oz. box of strawberry jello
- 1 – 6. Oz box of blue jello
- 2 – cups boiling hot water
- a fork
- 1/2 – pint fresh blueberries
- 1 – basket fresh strawberries
- 24 – ounces cool whip
Directions:
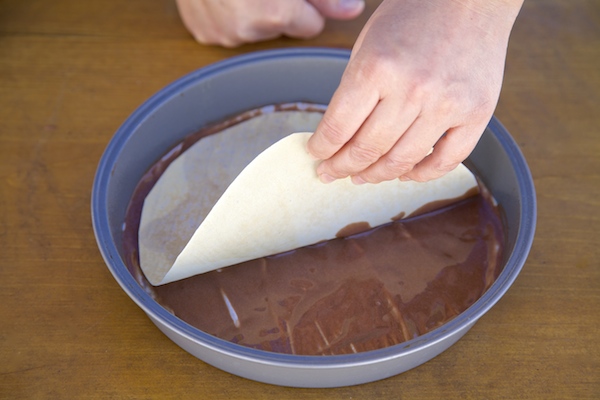
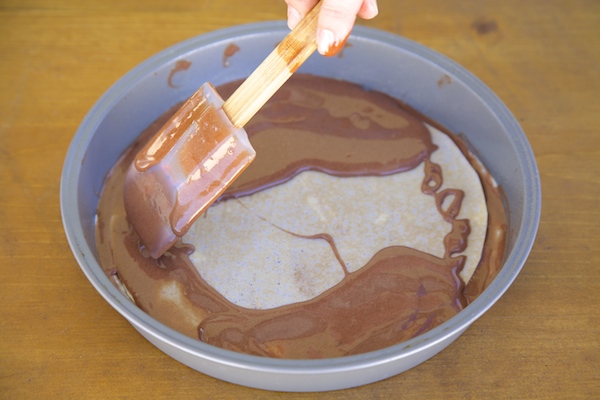
- Bake cake per the instructions on the box in two 8 inch round pans lined with wax paper.
- Boil water, then place the cherry jello in one bowl and the blue jello in the other bowl. Add 1 cup of water into both bowls. Stir to completely dissolve gelatin. Set each bowl to the side.
- Remove cakes from oven and poke about twenty holes into each cake with a fork. Then slowly pour 1 cup of the liquid jello mixture over each cake. The first cake gets poured with red, and the second cake gets poured with blue.
- Place cakes in the fridge to set for 4 hours.
- Then carefully remove cakes from pan. Remove wax paper from the bottom of the cakes. Place one of the cake layers on a plate.
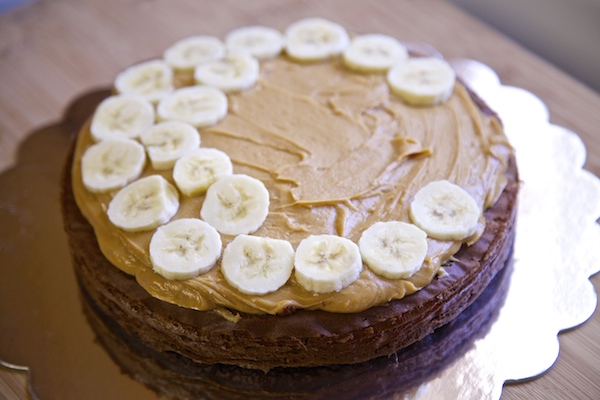
- Take a scoop of cool whip and frost the top of the first layer of cake, then top with blueberries.
- Add the second layer of cake and frost the entire cake. Sprinkle with strawberries.
- Place back in the fridge to chill for at least an hour.
- Enjoy!