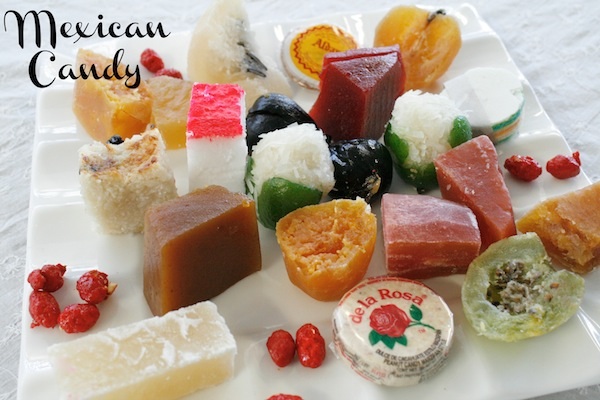
The Mexican Candy Guide!
Does this picture excite you with the idea of Mexican candied fruits and a little candy on the side? I placed my candy guide on Babble. Click here to see the complete list of all my favorite goodies.
Does this picture excite you with the idea of Mexican candied fruits and a little candy on the side? I placed my candy guide on Babble. Click here to see the complete list of all my favorite goodies.

Are you ready to rev up that Bar-B-Q pit and shish kabob for grilling? It’s officially grilling season with Memorial Day around the corner and Father’s day a stones throw away. It’s time to start planning your menus and gathering people around the pit. What do you typically like to grill? My family grills carne asada and anaheim chiles stuffed with queso quesadilla. We love to grill veggies and green onions, if my uncle is around he always wants his share of jalapenos thrown a top the fire-y hot grate. I like to make packets of aluminum foil and fill them with chopped zucchini a little bit of olive oil and cotija cheese…… I call them Bar-B-Q calabasitas. Here’s the serious truth, we can’t have an outdoor cooking session without making Grilled Corn And Queso Fresco Salad. I usually prep the corn in the house then throw it on the barbie, while the maize is grilling I chop up the other ingredients and make a dressing of crema, lime juice, and a little cotija cheese. OMG…. My mouth just watered recounting the details of this recipe back to you. Every time I make the salad (which is when we have a Bar-B-Q) my fiance tells me I need to be making this salad at least once a week. My Mom loves it cuz it’s vegetarian, and I heart it because it’s down right GOOD! I usually make it as a side dish but it could be enjoyed as a meal all on it’s own. Don’t get me wrong, it does taste lickable paired with a slice of chicken or sizzling piece of carne asada as well. But what really makes this salad pop is the queso fresco teamed up with the sweet corn and the tangy crema lime cojita cheese dressing. Delish! Make it for your next Bar-B-Q! Plus it’s so easy to get all the hispanic dairy needed for this recipe. With California being the leading producer of hispanic dairy products all you have to do is look for the Real CA Milk / cheese seals on the labels of your hispanic dairy. These cheeses will give your next meal the authentic touch of latin cuisine and make it taste better then you could have imagined. Enjoy!

Ingredients for Grilled Corn and Queso Fresco Salad:
Ingredients for Crema Lime Cotija Cheese dressing:


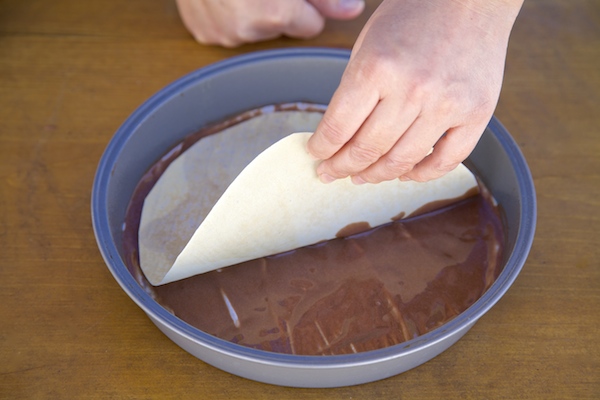
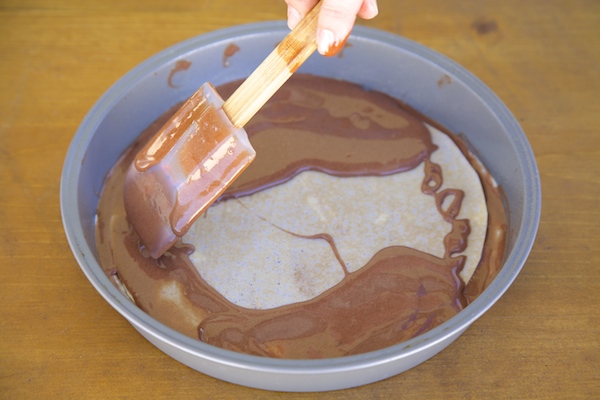
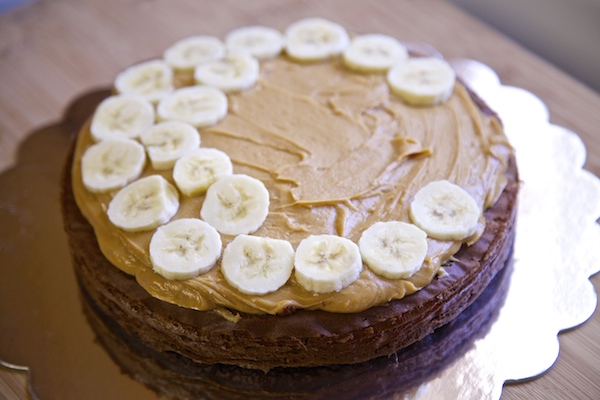
Layered cake is considered something special in my book. I have had the divine pleasure of the black and white indonisian cake. I have had layered berry cakes and the list goes on. I know people make crepe cakes by staking crepes on top of each other with gooey fillings in between. But never have I had a crepe cake with layers of crepes baked into the cake. I decided to make one for myself since chocolate crepe cake was exactly what I was craving. I don’t want you think I’m mad as a hatter, but this was one of the best cakes I ever tasted. Make it for yourself…. it’s a special treat. The peanut butter honey frosting and fresh banana slices will seriously make you a firm believer in this cake. Promise.
Ingredients for honey peanut butter chocolate crepe cake:
Directions:


 Mother’s Day is one of the most treasured times of the year. We love our Mothers each day of the year, but really show it with a bang every May. A few of the best Latina food bloggers I know and myself got together to create a special e-book for a Mother’s Day Brunch. I submitted a savory scone recipe. Pictured below…. Click on the photos to get to the e-book and find more recipes perfect for an afternoon brunch. Feliz Dia de Las Madres! Happy Mother’s Day! Enjoy!


I’ve been raised eating hard shell tacos. Crispy on the outside and perfectly tender and succulent on the inside. Greasy fingers and lots of napkins. My grandfather always drains his on a paper bag. I guess I’ve graduated into modern times and drain mine on a paper towel lined plate. Either way, the tacos are always delicious and they’re part of my family food soundtrack. I start to get a little antsy when they are freshly taken out of the frying oil and are scorching hot, and I’m trying to let them cool enough to get the toothpicks taken out. I just want to stuff my taco with all the fixings and crunch. It’s the anticipation that drives me insane. I can almost get in a bad mood for that instant until the taco hits my lips and all problems are solved. Temporarily at least.
Well tonight was like any other taco night I’ve shared with my family, except I had to have dinner on the table pronto…. we were all starving after a crazy day. I knew my fiance was craving meat, and I had some left over potatoes in the fridge. So I made the type of tacos I always make when I’m extremely pressed for time. We call them hamburger tacos. Here’s the thing… you put the meat in the tortilla raw and as it fries the meat cooks. You just have to make sure to spice it up right. I think the real secret lies in the McCormick chipotle chile pepper, not too much just the right amount. It seasons your taco and takes your ground beef from being a bland everyday ground to something special and you really didn’t do that much. Well you did, but you really didn’t…. McCormick did.

Ingredients for Hamburger Tacos:


Now for the give away….. First follow McCormick on Pinterest. Then follow the rules below: Pinterest Taco Night Challenge ends May 31st, 2013! Good Luck!

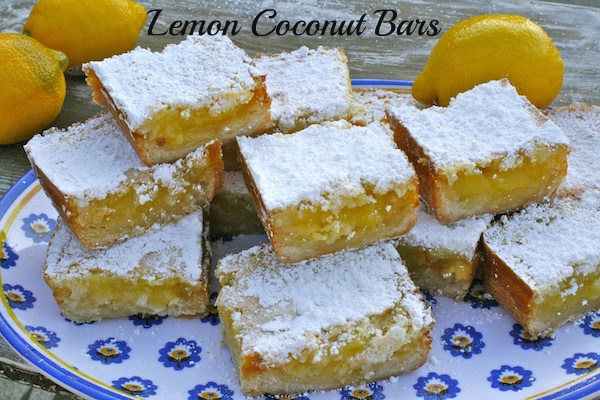

Bright yellow custard. Sweet tangy lemon. Meaty coconut. Wrapped in English short bread cookie crust. Chewy and magnetically addictive. If they only existed on another planet, I’d have to book my flight. They could transport me to a coffee shop across the Atlantic with brick stone roads and cold air. Or I could easily be on a beach with the ocean crashing at my feet… that’s how these bars make me feel. Close my eyes and entwined in their delicious magic I feel adventurous.
Ingredients for Lemon Coconut Bars:
Crust
Filling


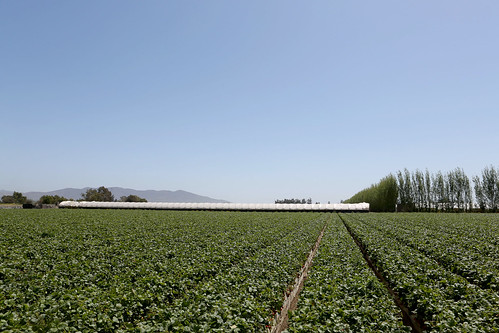
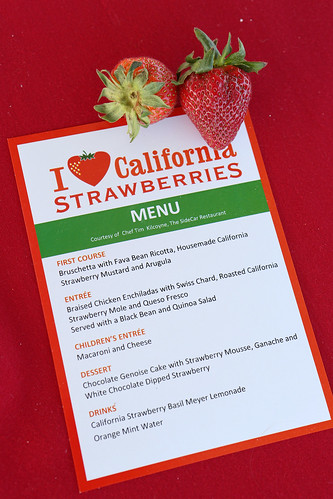
I recently went on a trip to an Oxnard, California Strawberry field. I know, that makes you think of the Beatles song “Strawberry Fields Forever.” I couldn’t stop humming that tune to myself the whole day, such a melancholy song in one of the sweetest fields of California…. I learned all sorts of new fun facts about strawberries, and got to spend the day with a few of my good friends. I ran around in the fields looking for the biggest prettiest reddest strawberry I could find and tried to shove as many in mouth as possible. Picking them fresh and tasting them at the warm temperature made such a sweet difference. I guess I’m use to eating them out of my fridge and cold. Here are a few interesting facts that Farmer Bill Reiman and The CA Strawberry Commission shared.
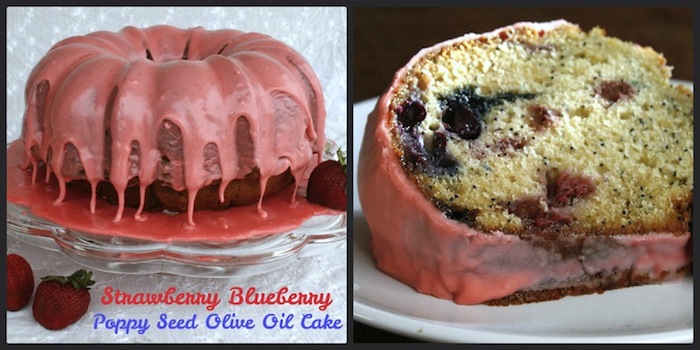
With all these great facts about strawberries I decided to bake a cake to celebrate strawberries and how much my family loves them.
Ingredients for Strawberry Blueberry PoppySeed Olive Oil Cake:
Ingredients for Strawberry Icing:
Directions for Cake:


Here are a few pictures from the field trip!
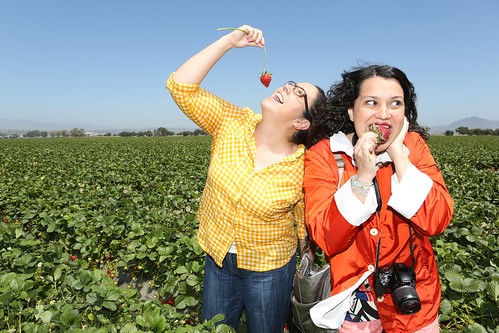
Ericka and I being greedy with our strawberries, and hoping nobody catches us!
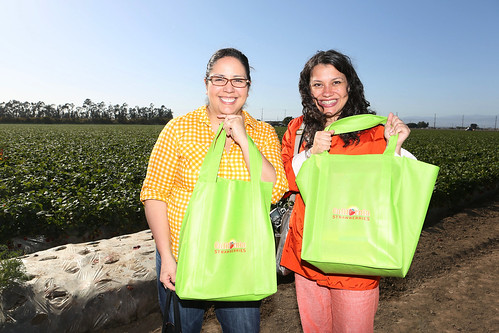
Thank you CA Strawberry Commission for a fun and sweet day!


 Caldo De Vegetales – Mexican Style Vegetable Soup
Caldo De Vegetales I've gone a little soup crazy lately...
Caldo De Vegetales – Mexican Style Vegetable Soup
Caldo De Vegetales I've gone a little soup crazy lately...
 Aguinaldos (Posada Candy Bags)
Since we are in the thick of the posada days (from Dec...
Aguinaldos (Posada Candy Bags)
Since we are in the thick of the posada days (from Dec...
 Buñuelos De Viento (Mexican Fritters)
Buñuelos de viento = light as air fritters that are me...
Buñuelos De Viento (Mexican Fritters)
Buñuelos de viento = light as air fritters that are me...
 How To Make Calaveras For Dia De Los Muertos: Sugar Skulls
This is the first time I have ever tried my hand at ma...
How To Make Calaveras For Dia De Los Muertos: Sugar Skulls
This is the first time I have ever tried my hand at ma...
 Easy Mexican Rice Recipe Made With Hunt’s
Disclosure: This post is sponsored by Latina Bloggers C...
Easy Mexican Rice Recipe Made With Hunt’s
Disclosure: This post is sponsored by Latina Bloggers C...
 The Best Atole de Coco
I don’t think I really grasped the full idea of Dia De...
The Best Atole de Coco
I don’t think I really grasped the full idea of Dia De...
 Mango Toasted Coconut Flan For Family, Friends, And All Things Good!
...
Mango Toasted Coconut Flan For Family, Friends, And All Things Good!
...


