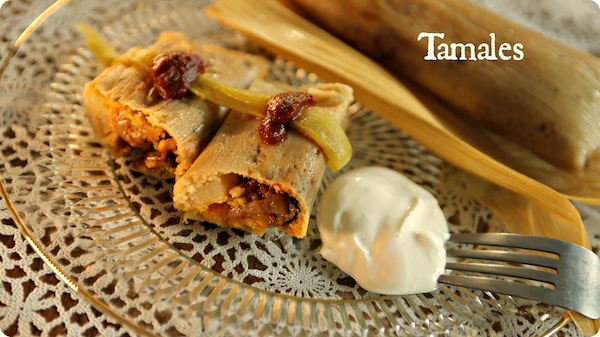
Webisode 5: Christmas Special: How to make Tamales
Merry Christmas Everyone! We decided to put this webisode together to help anyone out who is anxious to start making tamales this holiday season or just wondered how it’s done. Without further ado…. Here’s our Christmas Special (Everyone loves a Christmas Special, right!?)
Tamale Tips:
Buy your masa prepared from your local Mexican/Latin Market or use Maseca Masa for Tamale flour. For those of you that live in Los Angeles, I buy my masa at a place called “La Favorita,” and have been buying from them for YEARS! They are located at 600 N. Brannick Ave, Los Angeles, CA 90063. The best in Los Angeles. 🙂
I wrap my tamales in corn husks but take it a step further and wrap them additionally in a grease resistant 12 x 12 sandwich wrap paper.
A friend asked where do you pour the water when you are steaming your tamales and want to replenish the water? You pour it right on the side of the tamale pot. The tamales are covered in corn husks on top and damp towels. The water is NOT going to disturb them at all.
If you are looking to be less stressed right before the holidays, make your tamales in advanced and freeze them in a ziplock raw (make sure to mark them so you know which side is the opening). Then the day you are ready to enjoy them, take them directly from the freezer and straight into the steamer and steam them for 5 1/2 to 6 hours.
If you are unable to find a tamale steamer pot, you can always make your own. Use a smaller pot with a vegetable steamer basket placed at the bottom or flipped upside down. Place enough water and a penny at the bottom of the pot, when you hear the penny bouncing that means the water level is low and time to replenish. Make note, the water level will go low. Also, you don’t want the water level to ever surpass the vegetable steamer. Then follow the directions in the video. Make sure to cover in corn husks on top and a damp towel.
Place the Idaho potato in the tamale raw, it will cook as the tamale steams. The potato is the perfect addition to a meat tamale or a vegetarian one.
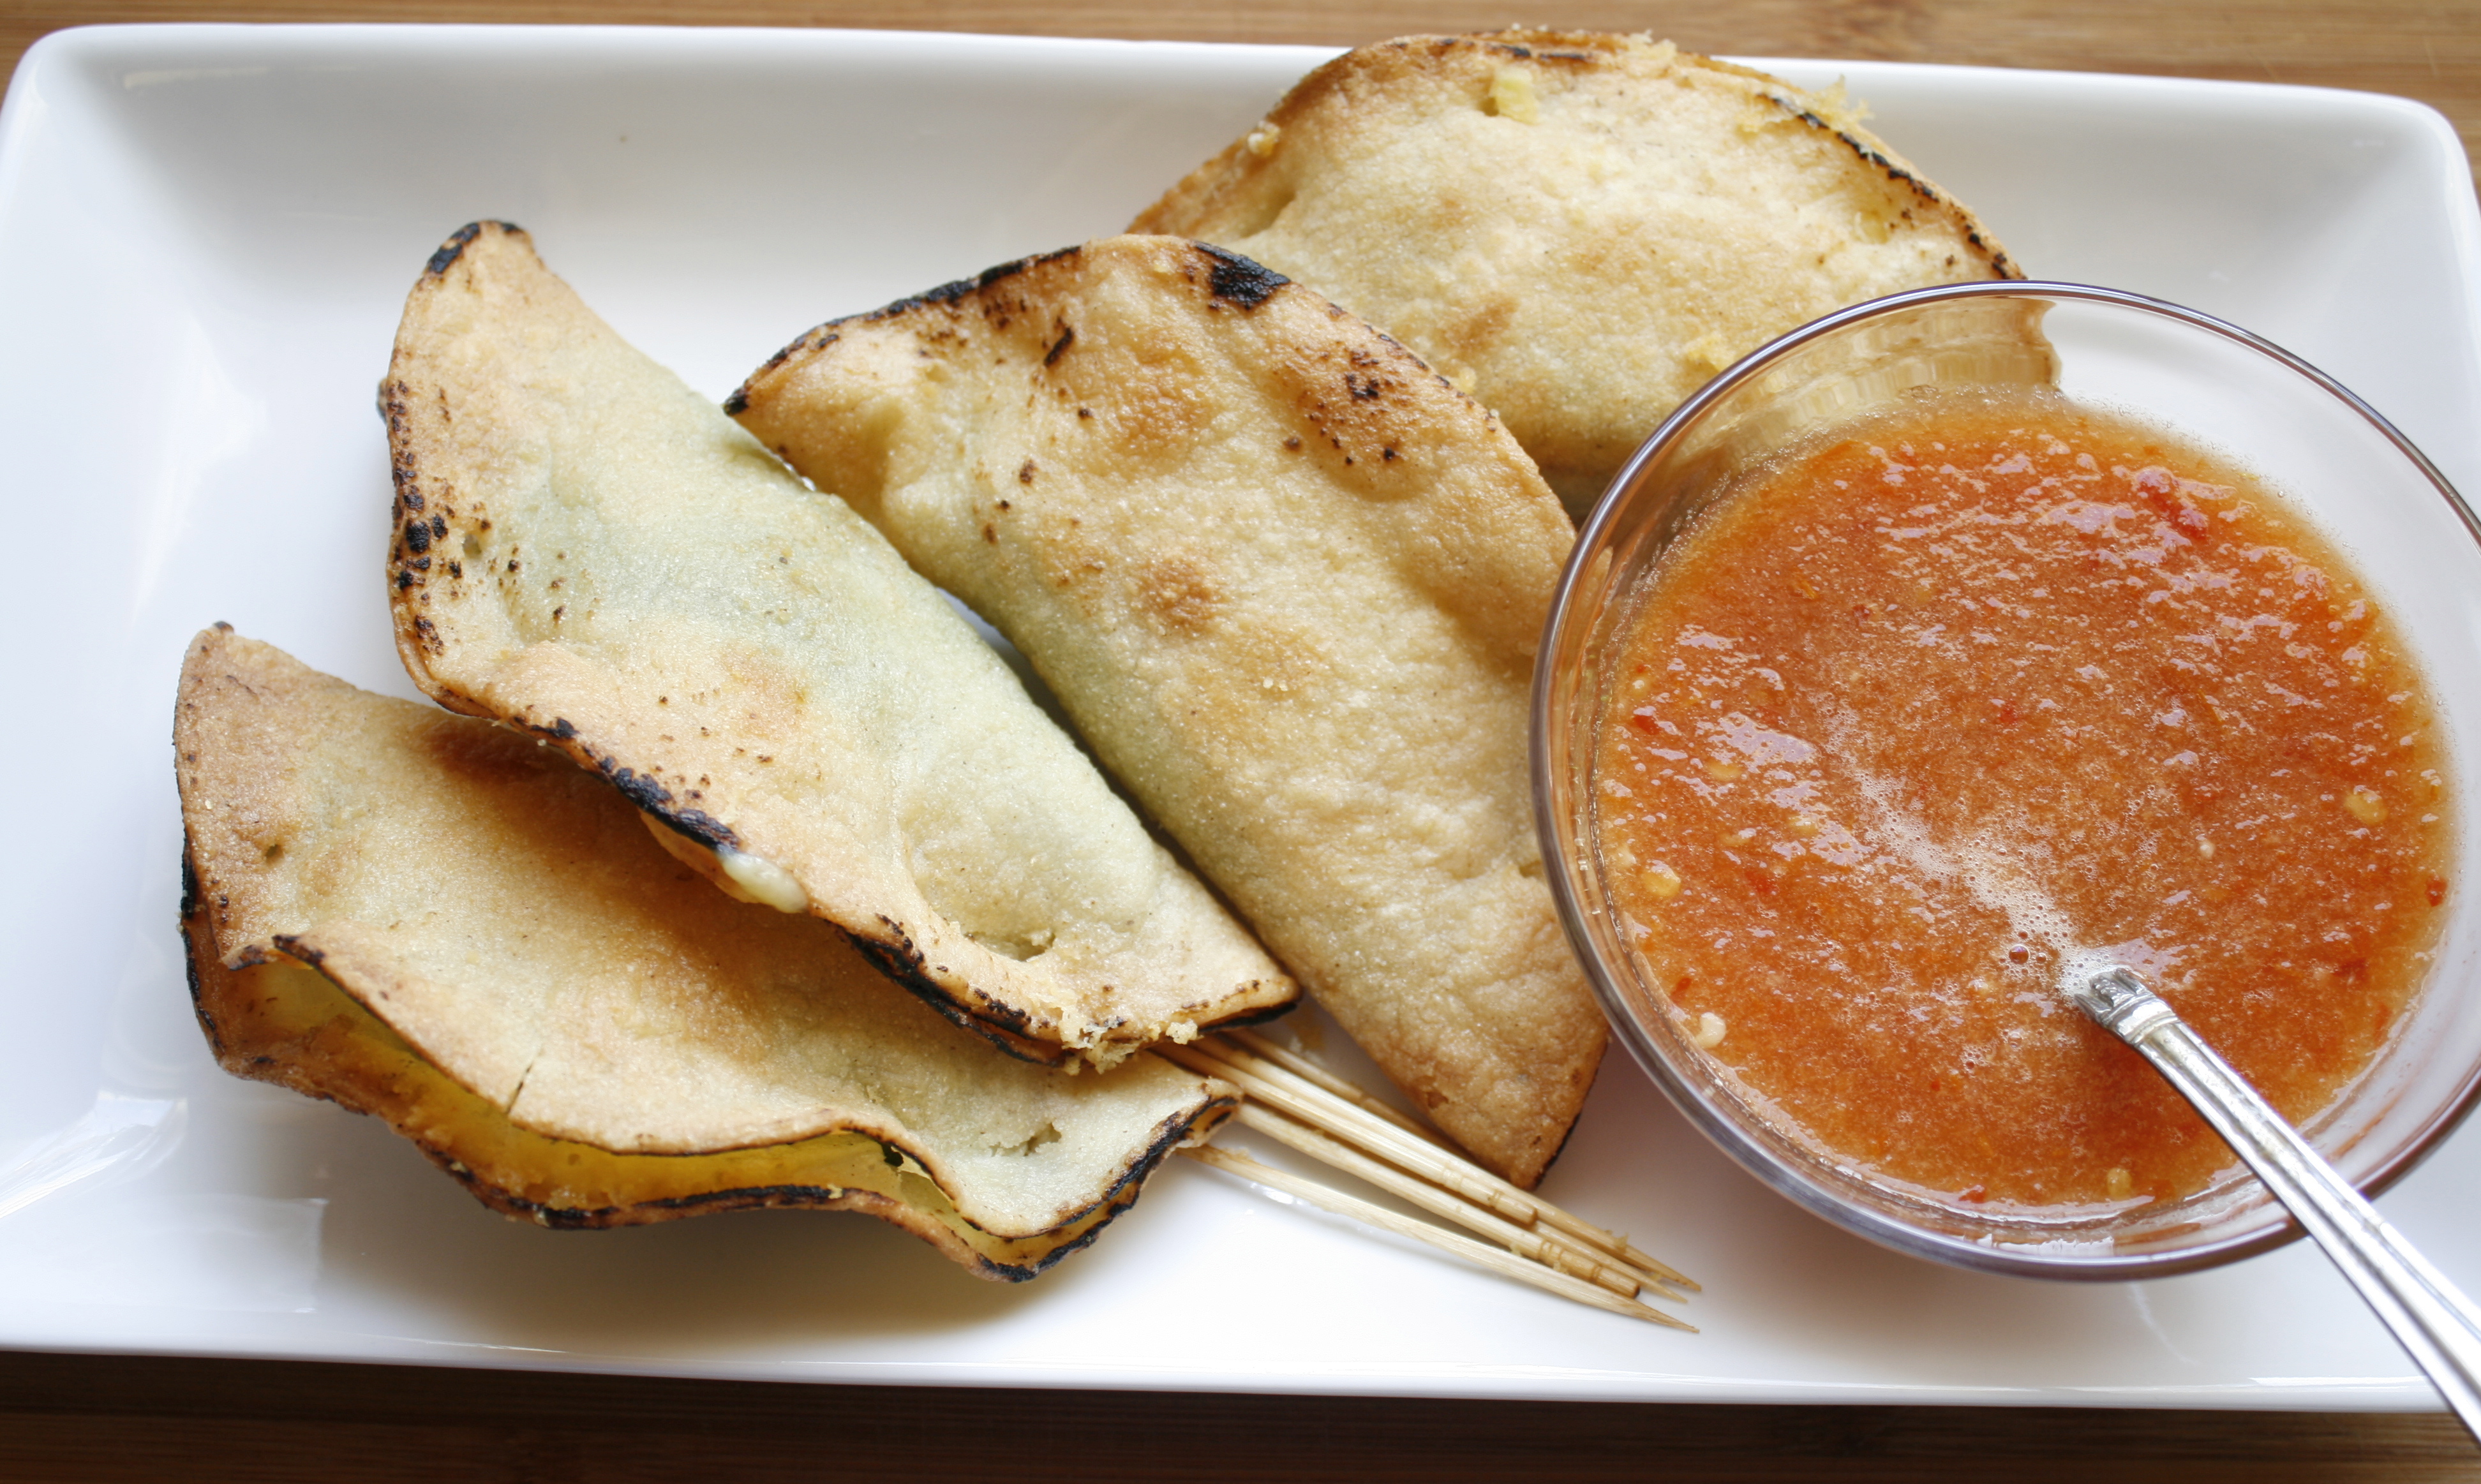
In the vegetarian tamales on the video, I used green anaheim chile strips, but I personally use jalapenos in place of the green chile strips for more heat. Feel free to swap them out if you love the heat or don’t at all.
I usually season my masa with green chile for the vegetarian tamales and for my green chile pork tamales. For my red chile beef tamales (which were not featured in this video) I season the masa with the red chile. I also use the red chile inside the vegetarian tamales. I am adding the recipes for both chiles below.
I make my chiles the day before I’m going to make my tamales. I also chop everything I’ll need and cook my meat in the crock pot. For the pork, I use the pork shoulder.
Feel free to leave me any questions and I will follow up with you right away. This is a very traditional recipe but also a very ambitious one….. but heck, give it a whirl. This is such a fun recipe to attempt.
Here is my green chile recipe:

- 9 – tomatillos
- 6 – guero chiles (yellow chiles)
- 8 – serrano chiles
- 7 – jalapeno chiles
- 5 – garlic cloves (browned/fried)
- 3 – cups of water (from water chiles boiled in)
- 1 – teaspoon of vinegar
- 2 – teaspoons chicken bouillon (I use Knorr)
- 1 – teaspoon dried oregano
- 1 – teaspoon black pepper
Fill two pots halfway with water and place over a medium high flame. Bring water to a boil. Then put tomatillos in one pot and in the other put all chiles. Boil tomatillos for 15 minutes, you will know they are ready when they go from light green to a greenish yellow color. Remove from flame and set to the side.


Boil chiles for 30 minutes or until soft and a bit limp. While chiles are boiling place garlic cloves in a frying pan with a little oil and fry till browned. Set to the side. Once chiles are boiled remove from flame but DO NOT discard water… you will need it to blend chile.


You will have to work in batches. In a blender add chiles (discard stem), browned garlic cloves, water from the pot the chiles boiled in, vinegar, chicken bouillon, oregano, black pepper and tomatillos. Blend until smooth about 1 minute. Pour into a bowl. Set to the side.


Here is my red chile recipe:

- 1 – large onion peeled
- 5 – garlic cloves peeled
- 3 – ounces new mexico dried chile (I use Don Enrique)
- 3 – ounces california dried chile (I use Don Enrique)
- 1 – large dried pasilla chile (I use Don Enrique)
- 3 – tablespoons salt
- 7 – cups water
In a big pot add water, 2 tablespoons of salt, all chiles, onion, and garlic cloves. Bring to a boil. Boil for 30 minutes. Water will turn dark brown.


Remove chiles and garlic cloves from water. Discard onion. Do not discard water, you will be using it in the next step. Remove stems from chiles, then add to a blender along with 1 cup of water from the pot, garlic cloves, and a tablespoon of salt. Blend for 2 minutes.


Once blended get a big bowl and add 1/2 cup of water from pot into the bowl, then take the blended chile and put through a strainer. It will be thick. Add a little bit of water from pot to chile strainer and scrape with a spoon. Use up to 1 3/4 cups of water for the entire process. It’s time consuming but your red chile will be clean and super tasty. Set to the side.


A hundred hugs to my crew for all the hard work we put in together! A special thank you to the Idaho Potato Commission for believing in us! Thank you to the Zardeneta Family for being the best! xoxoxox! Love you guys and Merry Christmas!