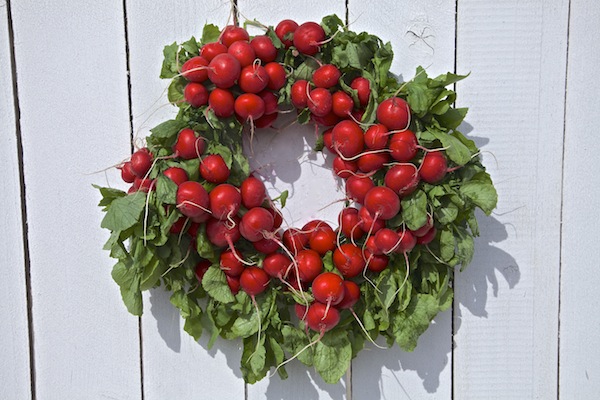
Food Craft: Radish Wreath
Looks like this spring break I will be home. Finally a long awaited rest en mi casa. I have been traveling and running around like a mad woman lately. Even though it may sound like a let down to some people, I just fantasize about staying home with my fiance and our son and maybe inviting some friends over for a nice dinner.
Okay so here’s the skinny… I decided to stop fantasizing about it and start planning my little staycation at home instead. I hopped in the car and headed over to Walmart. With no particular plan in mind, just as a way to rummage through the store and see what I could find. I walked aimlessly through the aisles and found myself in the craft area. There on a hook was a variety of wreath skeletons empty and begging to be filled with something. I remembered these cool wreaths I had seen a while back made of vegetables and thought “I have that white fence that needs some color to welcome in spring.” Before I knew it a wreath skeleton was in my cart and I had made my way to the produce section of the store to see what leafy beauty I could fill it with. I found little bunches of radishes and they were certainly priced right for my project. I grabbed 10 bunches and rushed to the cashier, so I could get home and start my project. Taking me one step closer to my staycation and making the place feel more like spring with a simple veggie wreath. Now all I have to do is pick up the phone and invite some friends over for dinner.
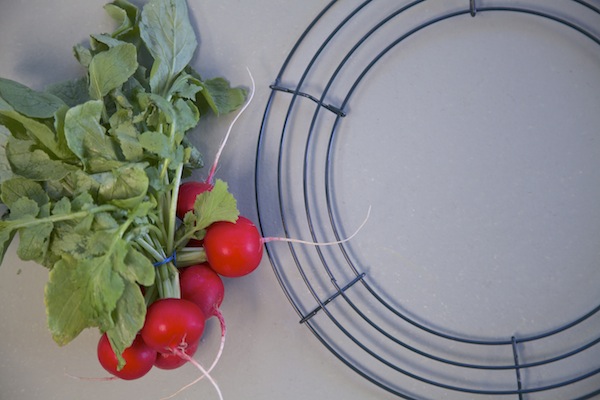
Items needed for radish wreath:
- 8 inch wreath
- 10 to 15 – radish bunches
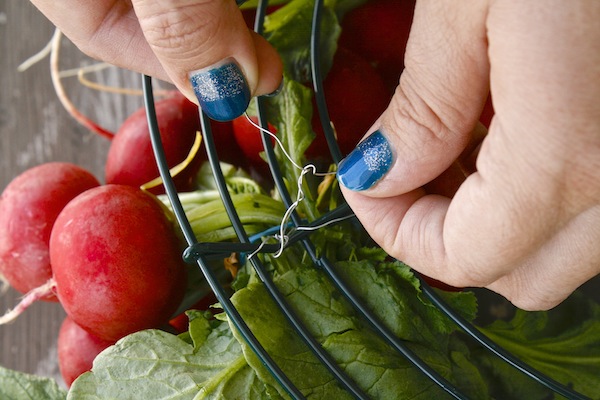
- thin floral wire (26 gauge)
- Scissors
Directions:
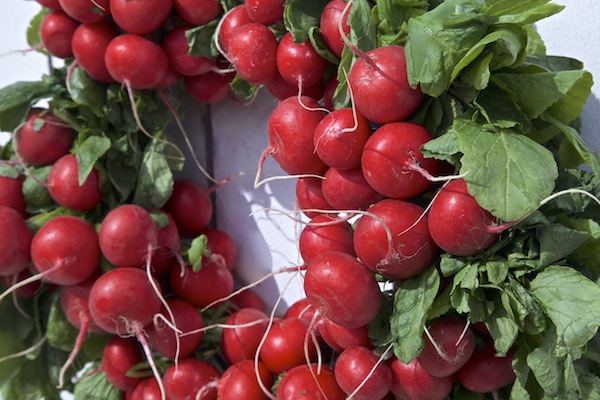
- Start by spreading out your radishes in clusters.
- Then cut 6 inch pieces of wire and wrap them around the radish clusters where they are gathered by a rubber band.
- Carefully place the radishes onto the wreath with the radishes pointing toward the center and the leaves pointing toward the outer ring of the wreath.
- Then on the other side of the wreath twist the wire to tie it to the wreath.
- Continue until the entire wreath is filled with radishes.
- Hang and enjoy for a few days.