Tag: Christmas recipe

Buñuelos De Viento (Mexican Fritters)

Buñuelos De Viento (Mexican Fritters)

Buñuelos-de-viento-mexican-fritters

Buñuelos de viento =  light as air fritters that are melt in a crunchy type of way delicious. These Mexican fritters are made with a rosette and so easy to make. I know for many people buñuelos are made by rolling out dough or frying a flour tortilla, and I do celebrate that type as well. This year I wanted to make a fancy version for my posada , so I decided to give the rosette a try. In essence a buñuelo is a fritter, it could be shaped in a ball, or flat as a disk, but if it’s deep fried and powdered with cinnamon/sugar then it’s a buñuelo.

Buñuelos are certainly enjoyed throughout Christmas time and served with a hot glass of champurrado. I feel like I’m over explaining this delicate crisp friend of mine, when all I really need to say is …. if you’ve never had a buñuelo…. now is the time. Enjoy them this posada season and never look back.

Watch the short video at the very bottom of this post to see exactly how to make these treats.

ingredients-for-bunuelos

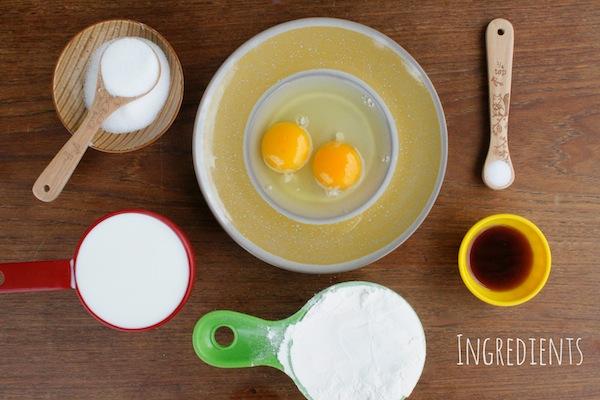
Ingredients for buñuelos de viento:

  • 2 – eggs
  • 1 – tablespoon vanilla
  • 2 – tablespoons sugar
  • 1 – cup milk
  • 1 – cup flour
  • 1/4 – teaspoon salt
  • vegetable oil for frying
  • rosette set
  • cinnamon sugar mixture

Directions:

  1. In a bowl whisk together the eggs and vanilla. eggs-vanilla-bunuelos
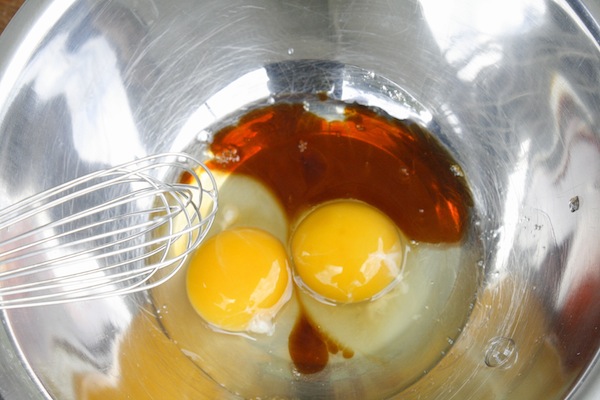
  2. Add in the sugar and whisk well.
  3. Add in the milk and whisk to combine completely. milk-bunuelos
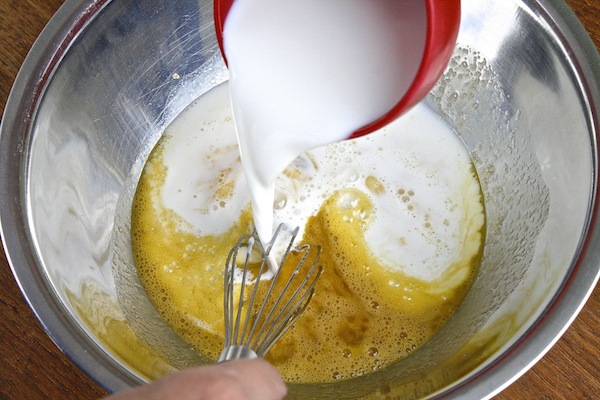
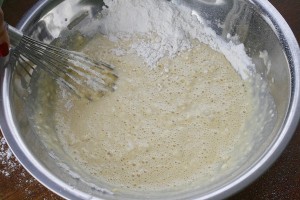
  4. In a separate bowl mix flour and salt together then sift into the egg/milk mixture. Whisk to combine. It should have the consistency of a thick cream. Sift-flour-bunuelos bunuelos-de-viento
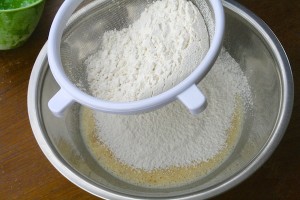
  5. Set batter to the side for 10 minutes.
  6. In a small frying pan fill with 2 inches deep of frying oil. Place pan over a medium flame and allow to get hot.
  7. Place rosette on the timbale and place to locked position. Then dip the rosette into the hot oil allowing it to get hot. bunuelos-rosette
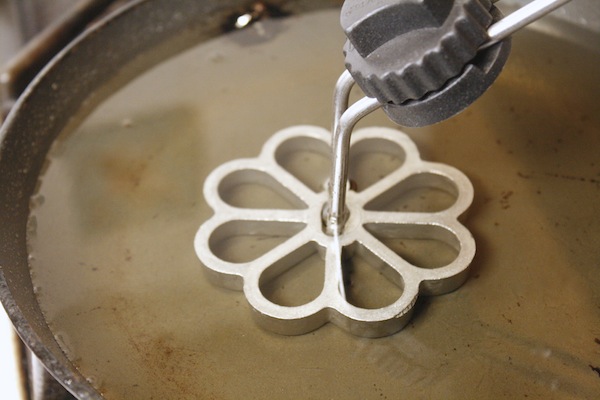
  8. Remove it from the oil and blot off excess oil.
  9. Then dip the rosette into the batter, but make sure to leave the top of the rosette exposed. Do not submerge it all the way. Rosette-in-bunuelo-batter
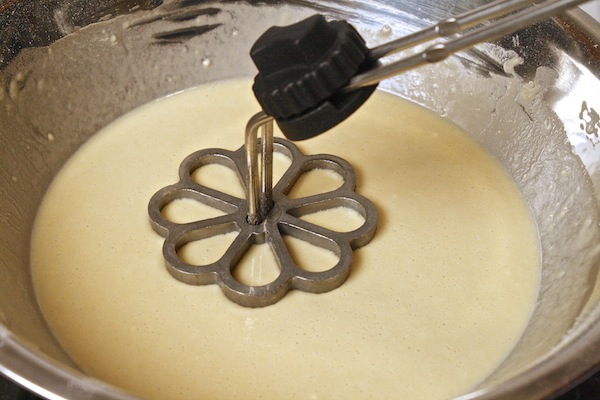
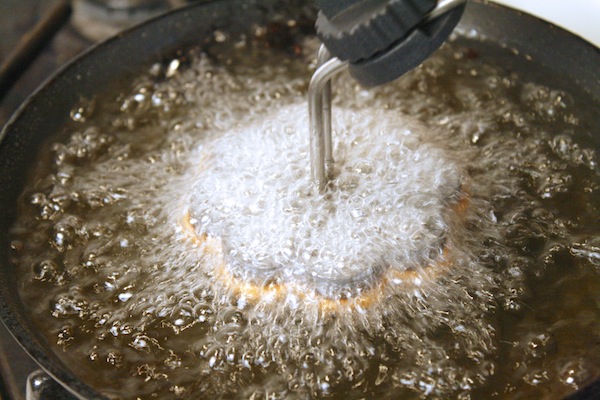
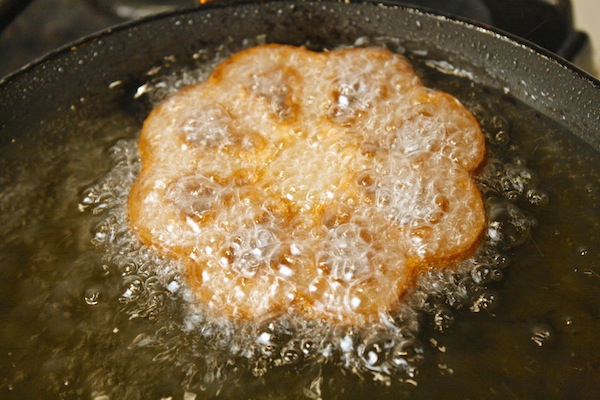
  10. Then dip the rosette back into the hot oil. Fry the batter for about 20 seconds then the rosette will easily slip off. Once the rosette slips off, place it to the side and use thongs to flip the buñuelo over and cook it on the inside._MG_0200bunuelo-frying-rosette
  11. Let fry until golden crisp.
  12. Drain each buñuelo on a paper towel lined plate.
  13. Then dip the buñuelos into the cinnamon sugar mixture and serve. sugar-bunuelos-de-viento
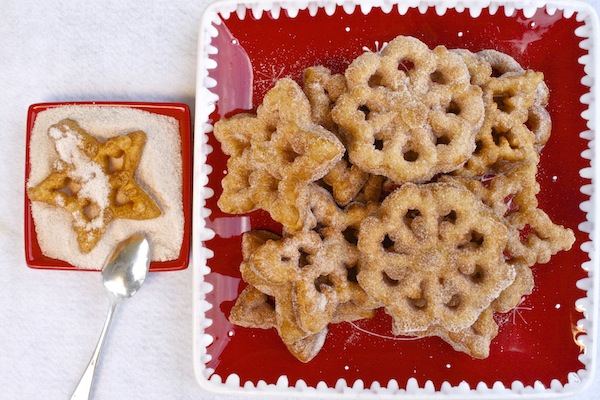
  14. Enjoy!


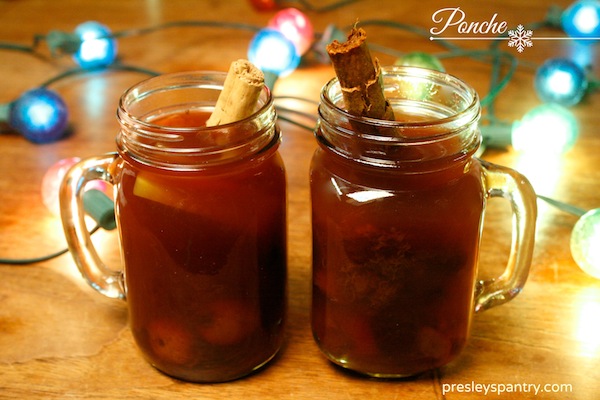
Pour Me Some Ponche!

Pour Me Some Ponche!

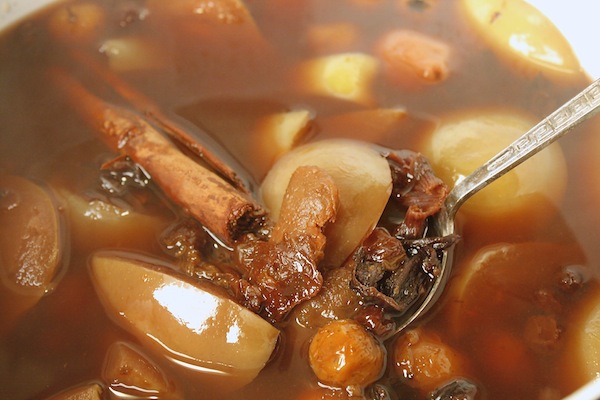
ponche

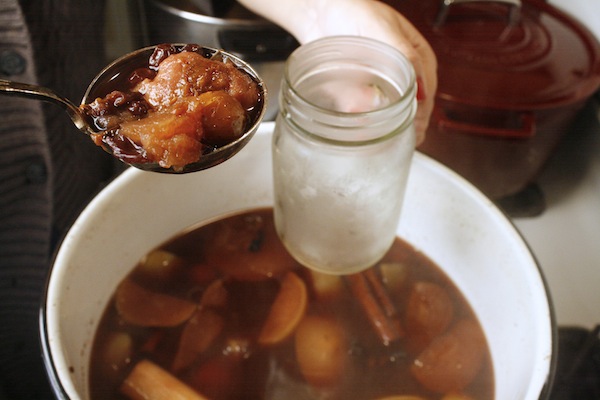
Do you ever make things in advance to try them out? You know, like try a recipe a few weeks in advance before a party. I’m a little crazy like that. Well I don’t know if you can call it crazy…. I like to think of it as uber prepared. That happened this past weekend. It had been a year since the last time I made ponche, I make it annually but like to change little things here and there each year.  I think the truth of the matter is I was looking for a reason to make ponche, and Walmart tempted  me further by having everything I needed to make it right there in the store. As I walked down the isles I filled my cart up with apples, prunes, raisins, sugar cane, and tamarindo. I told myself as I pushed the cart that I was gonna have my Christmas party / posada in a few weeks and I had to give my ponche recipe a spin. That was enough to convince me, as everyone knows you can not have a posada without a good pot of ponche. Next thing I knew I was home peeling my tamarindo pods and coring my apples. A few hours later my house smelled of Christmas…. the weather was cold outside and my hands warm wrapped around my gorgeous ponche.

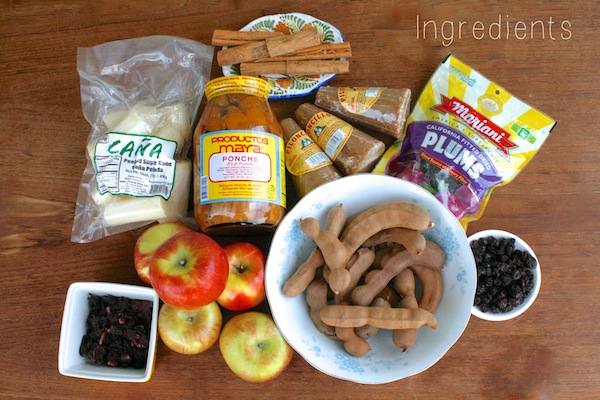
ingreds

Ingredients for ponche:

  • 2 – gallons water
  • 15 – tamarindo pods (peeled and devein)
  • 18 – dried hibicus flowers
  • 4 – cinnamon sticks
  • 20 – tejocote
  • 5 – apples (cut in half and cored)
  • 15 – guavas
  • 1/2 – cup raisins
  • 20 – prunes (pitted)
  • 3 – piloncillo cones

Directions:

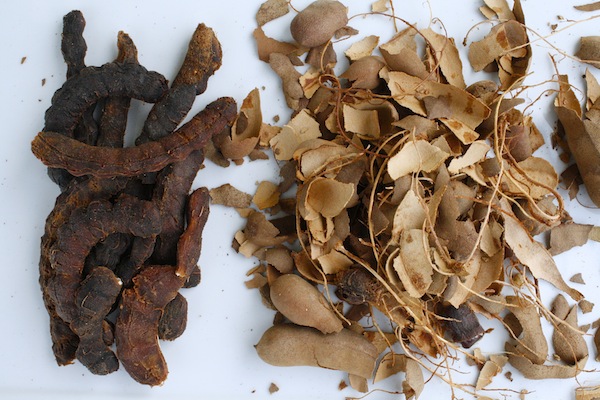
  1. Peel and devein tamarindo. _MG_0822
  2. Cut apples in half and core.
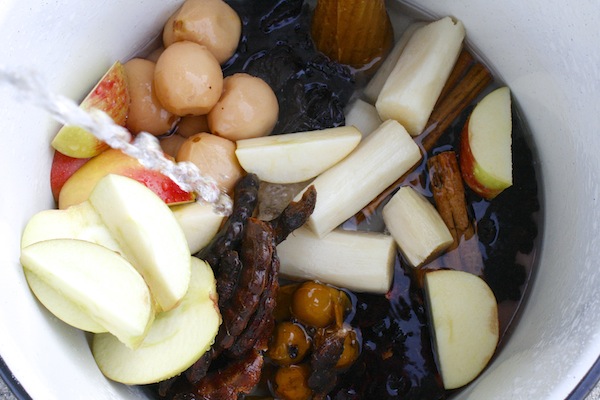
  3. Place all ingredients in a large pot over a high flame and bring to a boil. _MG_0841
  4. When the mixture starts to boil,  lower flame to low/simmer and cover with a lid.
  5. Cook for 3 hours. _MG_0936
  6. Remove from flame and serve hot. _MG_0950
  7. Enjoy!
Here is a little snippet of how to devein a tamarindo pod.

Walmart-Mom2-Disclosure2

How To Brine, Marinate, And Bake A Turkey

How To Brine, Marinate, And Bake A Turkey

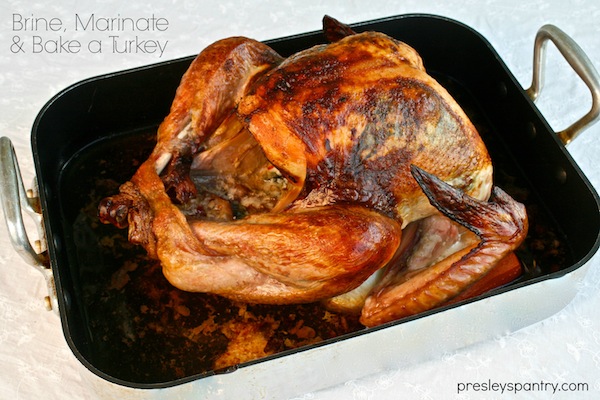
Brine-Marinate-Bake-Turkey

I’m a Thanksgiving cook. I live to get a bird in the oven and dress it up and carve it and serve it to my loved ones. I think about my Thanksgiving menu weeks in advance and always buy a turkey either frozen or fresh when I could find a good deal. I sometimes make one in advance…. because I just can’t wait. Plus I like to make other things out of turkey, so I like to have plenty leftover.

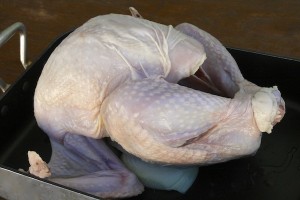
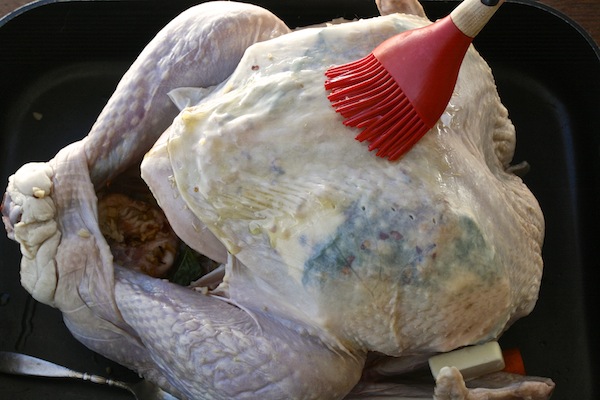
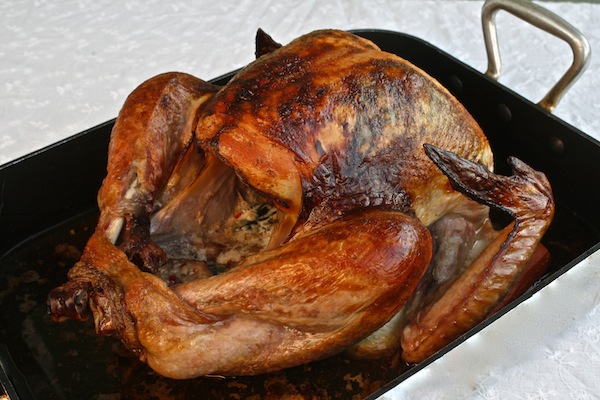
Walmart TurkeyThe other day I was at Walmart and couldn’t believe how good of a deal I found…. I thought is this a deal or a steal? I grabbed a 12 pound turkey and brought it home to thaw. A few days later I removed the neck bone and packet of giblets from the cavity, made a simple brine, and let my turkey soak up the salty water. After a 24 hour bath for the bird, I decided it was time for a marinade. I put together a simple combo of white wine and orange juice and let my turkey now sit in a tangy boozy orange marinade for a few hours. When I was ready to get started I pulled my bird from the liquid and pat it dry. Placed it in a roasting pan propped up by a sliced onion and some carrots. I shoved pieces of butter wrapped in fresh basil under the skin and then added teaspoons of minced garlic and chile pepper flakes. The turkey baked in a total of 3.5 hours and made for a spectacular dinner. I recommend never going over 12 pounds when baking a turkey. A smaller turkey stays more moist and if feeding a bigger amount of people, then bake two.  Here are a few of my best tips.

How to brine a turkey:

  • 2 – gallons cold water
  • 1 – cup kosher salt
  • 1/4 – cup sugar
  • 1 – 12 pound turkey

Directions:

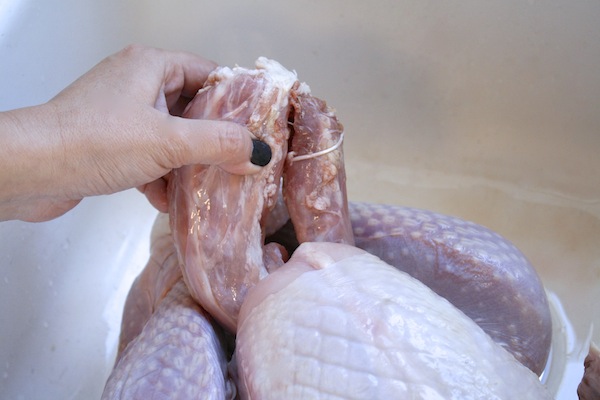
  1. Remove turkey neck bone and giblets. Rinse the turkey. Turkey-neck
  2. In a large pot add water, salt and sugar. Mix until salt and sugar are completely dissolved.
  3. Place the turkey in the brine and place in the fridge for 12 hours. Make sure entire turkey is covered in the brine.
  4. Remove from liquid and rinse. Pat dry with paper towels and get ready for marinade.

How to marinade turkey:

  • 1.5 – liters pinot grigio or other white cooking wine
  • 2.78 – quarts orange juice (with pulp)

Directions:

  1. Place turkey in a large pot.
  2. Pour wine and orange juice over the top of the turkey. _MG_0263
  3. If a little bit of the turkey is still poking out of the top you can either soak some cheese cloth with the marinade and place it on top. Or you can rotate the position of the turkey half way through the marinade time. marinade-turkey
  4. Cover and place in the fridge for as little as 2 hours and up to 8 hours. The longer you leave the turkey in the marinade the stronger the flavor. Do not exceed the 8 hour mark or the marinade will make the texture of the meat mushy.
  5. Remove from marinade and pat dry.

How to bake and dress a turkey:

  • 1 – onion (chopped into 4 parts)
  • 2 – carrots (peeled and tops removed)
  • 2 – sticks of butter
  • 1/2 – cup fresh basil
  • 2 – tablespoons minced garlic
  • 1 – teaspoon chile pepper flakes (the kind you put on pizza)
  • bay leaves
  • olive oil
  • roasting pan

Directions:

  1. Preheat the oven to 325 degrees fahrenheit.
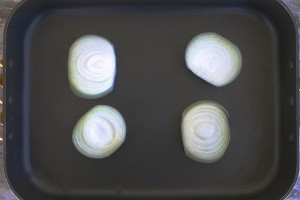
  2. In a roasting pan place onion and carrots in to keep the turkey elevated. _MG_0293_MG_0298
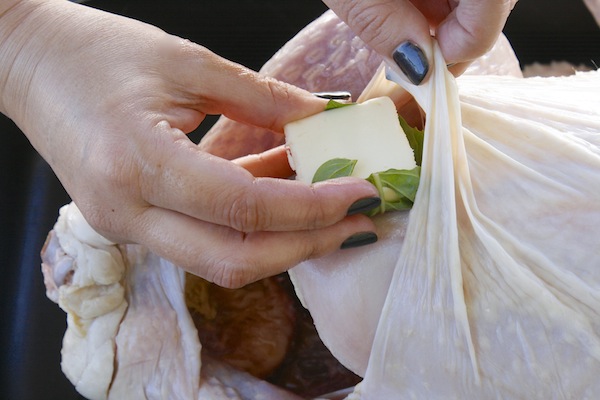
  3. Pull the skin on the top of the turkey away from the meat by sliding your hand under the skin to create a pocket. _MG_0301
  4. Wrap fresh basil around butter cubes and shove under the skin. _MG_0304
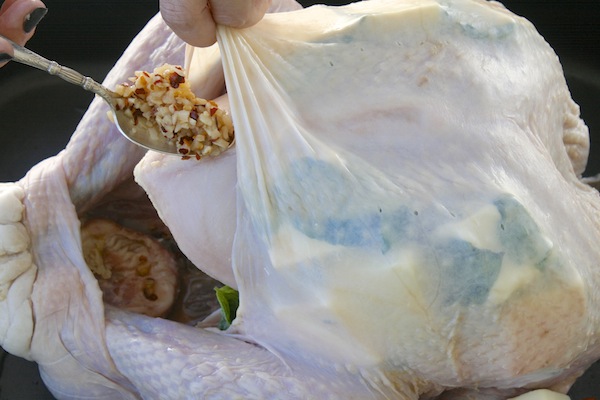
  5. Then in a small bowl combine minced garlic and chile pepper. Mix to combine. Add under the skin and massage in with your hand. _MG_0313
  6. Add bay leaves into the center of the turkey along with any left over butter, garlic or onions.
  7. Then with a pastry brush add a little olive oil to the entire outside of the bird for a crisp appearance. _MG_0323
  8. Bake for 15 to 17 minutes uncovered per pound. I baked my 12 pound bird for 3.5 hours. _MG_0046
  9. Remove from oven and cover it/ tent it with aluminum foil and allow to sit for 30 minutes before carving.
  10. Remove foil and carve.
  11. Enjoy!

Walmart-Mom2-Disclosure2


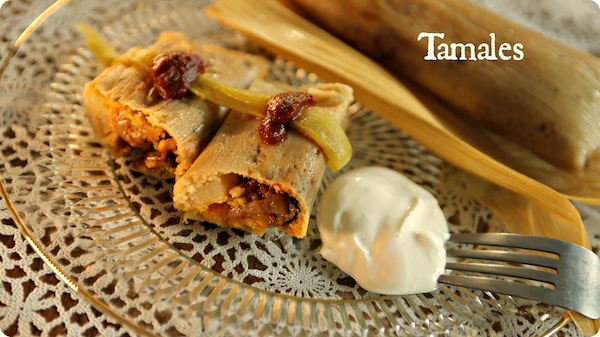
Webisode 5: Christmas Special: How to make Tamales

Webisode 5: Christmas Special: How to make Tamales

Merry Christmas Everyone!  We decided to put this webisode together to help anyone out who is anxious to start making tamales this holiday season or just wondered how it’s done.  Without further ado…. Here’s our Christmas Special (Everyone loves a Christmas Special, right!?)

Tamale Tips:

Buy your masa prepared from your local Mexican/Latin Market or use Maseca Masa for Tamale flour.  For those of you that live in Los Angeles, I buy my masa at a place called “La Favorita,” and have been buying from them for YEARS!  They are located at 600 N. Brannick Ave, Los Angeles, CA 90063.  The best in Los Angeles. 🙂

I wrap my tamales in corn husks but take it a step further and wrap them additionally in a grease resistant 12 x 12 sandwich wrap paper.

A friend asked where do you pour the water when you are steaming your tamales and want to replenish the water?  You pour it right on the side of the tamale pot.  The tamales are covered in corn husks on top and damp towels.  The water is NOT going to disturb them at all.

If you are looking to be less stressed right before the holidays, make your tamales in advanced and freeze them in a ziplock raw (make sure to mark them so you know which side is the opening). Then the day you are ready to enjoy them, take them directly from the freezer and straight into the steamer and steam them for 5 1/2 to 6 hours.

If you are unable to find a tamale steamer pot, you can always make your own.  Use a smaller pot with a vegetable steamer basket placed at the bottom or flipped upside down.  Place enough water and a penny at the bottom of the pot, when you hear the penny bouncing that means the water level is low and time to replenish.  Make note, the water level will go low.  Also, you don’t want the water level to ever surpass the vegetable steamer.  Then follow the directions in the video. Make sure to cover in corn husks on top and a damp towel.

Place the Idaho potato in the tamale raw, it will cook as the tamale steams.  The potato is the perfect addition to a meat tamale or a vegetarian one.

In the vegetarian tamales on the video, I used green anaheim chile strips, but I personally use jalapenos in place of the green chile strips for more heat. Feel free to swap them out if you love the heat or don’t at all.

I usually season my masa with green chile for the vegetarian tamales and for my green chile pork tamales.  For my red chile beef tamales (which were not featured in this video) I season the masa with the red chile.  I also use the red chile inside the vegetarian tamales.  I am adding the recipes for both chiles below.

I make my chiles the day before I’m going to make my tamales.  I also chop everything I’ll need and cook my meat in the crock pot. For the pork, I use the pork shoulder.

Feel free to leave me any questions and I will follow up with you right away.  This is a very traditional recipe but also a very ambitious one….. but heck, give it a whirl.  This is such a fun recipe to attempt.

Here is my green chile recipe:

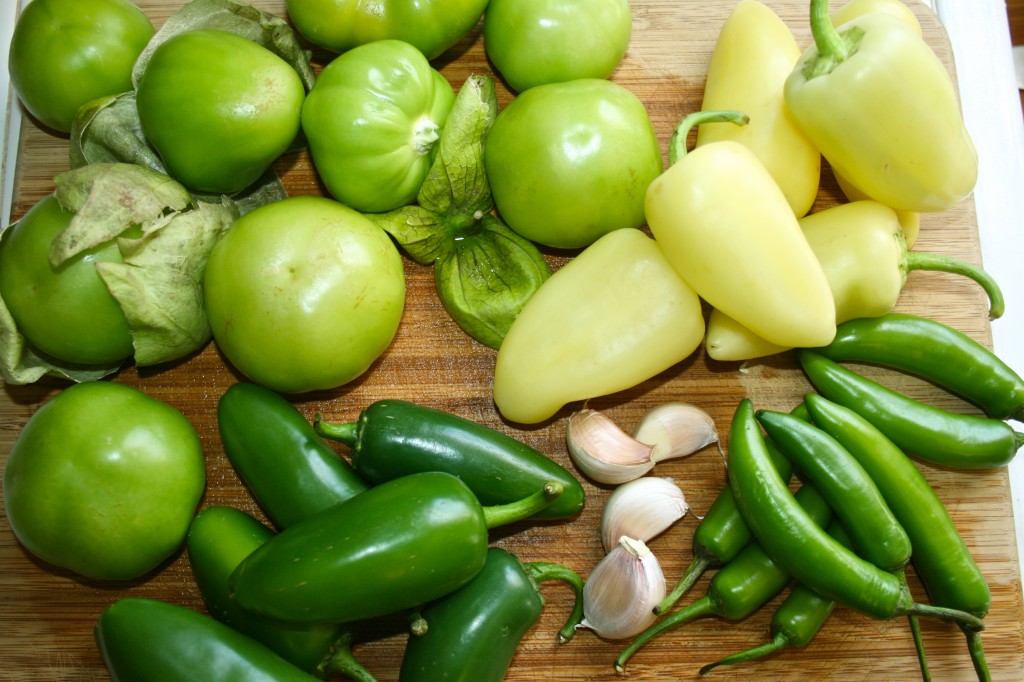
  • 9 – tomatillos
  • 6 – guero chiles (yellow chiles)
  • 8 – serrano chiles
  • 7 – jalapeno chiles
  • 5 – garlic cloves (browned/fried)
  • 3 – cups of water (from water chiles boiled in)
  • 1 – teaspoon of vinegar
  • 2 – teaspoons chicken bouillon (I use Knorr)
  • 1 – teaspoon dried oregano
  • 1 – teaspoon black pepper

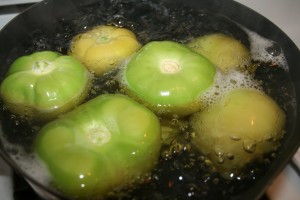
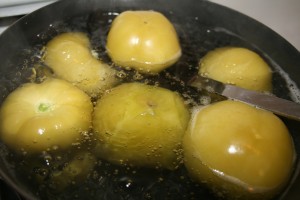
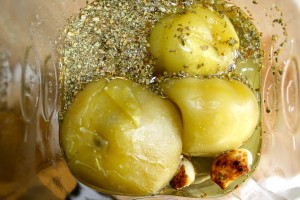
Fill two pots halfway with water and place over a medium high flame.  Bring water to a boil.  Then put tomatillos in one pot and in the other put all chiles.  Boil tomatillos for 15 minutes, you will know they are ready when they go from light green to a greenish yellow color.  Remove from flame and set to the side.


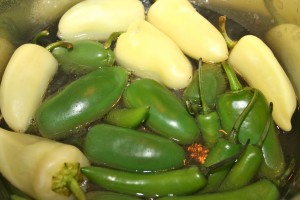
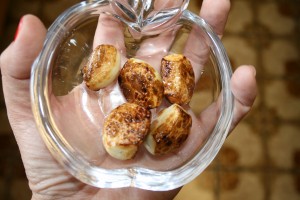
Boil chiles for 30 minutes or until soft and a bit limp.  While chiles are boiling place garlic cloves in a frying pan with a little oil and fry till browned.  Set to the side.  Once chiles are boiled remove from flame but DO NOT discard water… you will need it to blend chile.


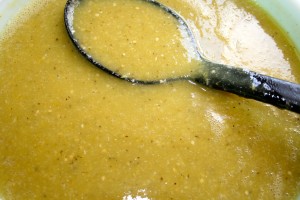
You will have to work in batches.  In a blender add chiles (discard stem), browned garlic cloves, water from the pot the chiles boiled in, vinegar, chicken bouillon, oregano, black pepper and tomatillos.  Blend until smooth about 1 minute.  Pour into a bowl.  Set to the side.


Here is my red chile recipe:

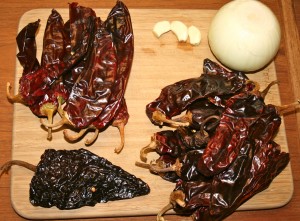
  • 1 – large onion peeled
  • 5 – garlic cloves peeled
  • 3 – ounces new mexico dried chile (I use Don Enrique)
  • 3 – ounces california dried chile (I use Don Enrique)
  • 1 – large dried pasilla chile (I use Don Enrique)
  • 3 – tablespoons salt
  • 7 – cups water

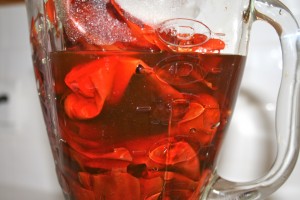
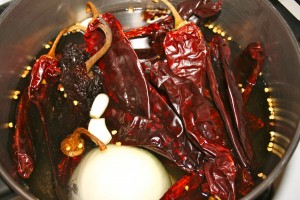
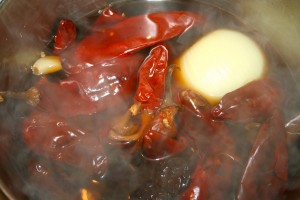
In a big pot add water, 2 tablespoons of salt, all chiles, onion, and garlic cloves. Bring to a boil.  Boil for 30 minutes. Water will turn dark brown.


Remove chiles and garlic cloves from water.  Discard onion.  Do not discard water, you will be using it in the next step.  Remove stems from chiles, then add to a blender along with 1 cup of water from the pot, garlic cloves, and a tablespoon of salt.  Blend for 2 minutes.


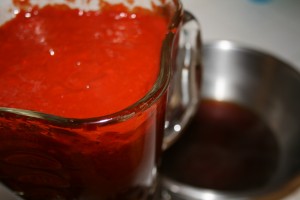
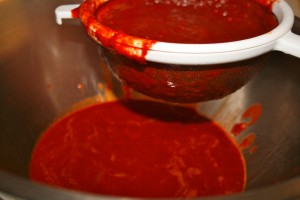
Once blended get a big bowl and add 1/2 cup of water from pot into the bowl, then take the blended chile and put through a strainer. It will be thick.  Add a little bit of water from pot to chile strainer and scrape with a spoon.  Use up to 1 3/4 cups of water for the entire process. It’s time consuming but your red chile will be clean and super tasty.  Set to the side.


A hundred hugs to my crew for all the hard work we put in together!  A special thank you to the Idaho Potato Commission for believing in us! Thank you to the Zardeneta Family for being the best! xoxoxox! Love you guys and Merry Christmas!